Category Archives: Planting

Planting garlic (Allium sativum)

By Sharleen Pratt, Master Gardener

Happy Thanksgiving! While we navigate through this pandemic, we hope that you will be able to enjoy some happy moments in a safe and healthy environment. The colours have been beautiful this year and I have marveled at the many different shades of red, orange, yellow and green that still exist in my small urban backyard.

Photo credit: Sharleen Pratt

Thanksgiving reminds me that it is time to plant garlic for next years’ harvest. Here is a ‘Fact Sheet’ that I have put together for those who might be interested in planting this very easy to grow root vegetable.

PLANT DESCRIPTION:

Garlic is part of the Onion Family (Alliaceae) and although there are hundreds of varieties, they all fall under two main categories; Hardneck and Softneck.

Hardneck have a long flowering stem called a scape which eventually develops tiny bulbils at its top end. They usually have a single row of cloves and tend to do best in colder climates. They peel easier than softneck but do not store as long. They last approximately 4 to 6 months.

Softnecks are best for warmer climates, will last 9 to 12 months and have more than one row of cloves in each head. They do not develop a flowering stalk or scape. Softneck garlic are the type that are used to make garlic braids.

Elephant Garlic (Allium ampeloprasum) is a type of leek that is grown like garlic, but is 6 to 7 times bigger and has a milder flavour.

PLANTING NEEDS:

Full sun and well-drained soil with infrequent watering.

WHEN TO PLANT:

In the Peterborough area, October is the best month to plant your garlic. It can be done in early spring but you will produce a larger harvest if done in the previous Fall. Do not use garlic from your local grocery store as it may not be the best variety for your region and it’s often treated with an anti-sprouting chemical to inhibit growth. I purchase my garlic from my local nursery or Farmer’s Market and I also use my own garlic that was harvested in early August.
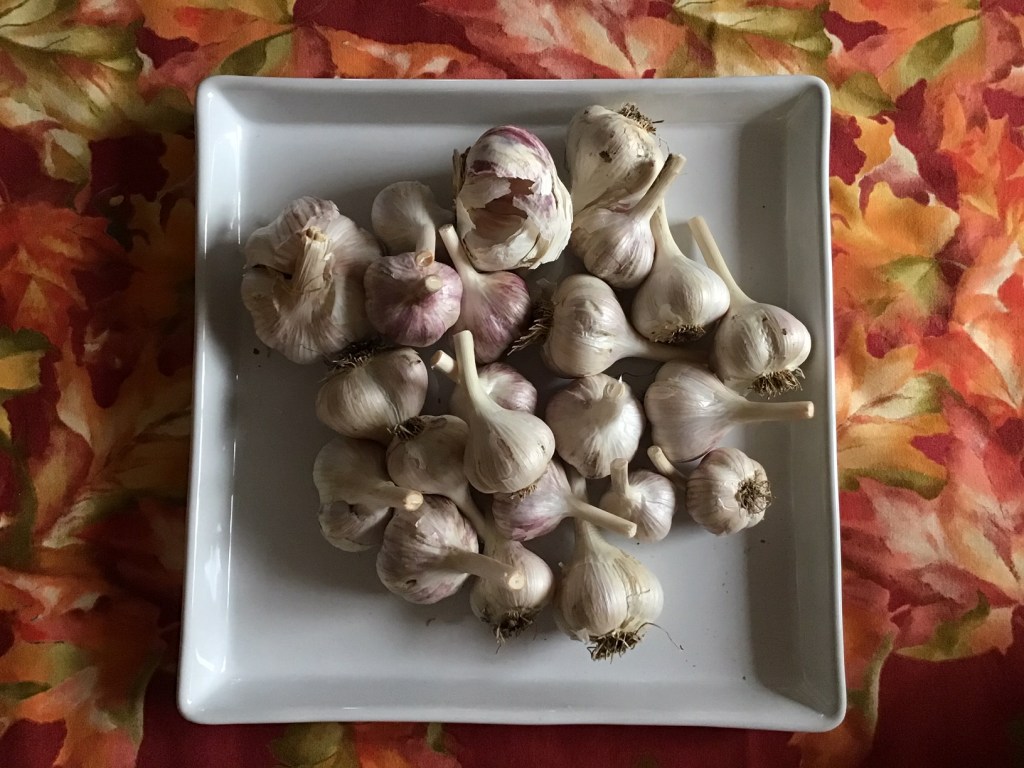
Photo credit: Sharleen Pratt

HOW TO PLANT:

Separate the inner cloves but do not remove the papery covering. Plant the largest cloves with the pointy end up. Space cloves five to six inches apart and two to three inches deep. You can mulch with straw, but I always mulch the garlic bed with shredded leaves which will be plentiful in the next couple of weeks.

CHALLENGES:

I have never had any garlic concerns; however, my daughter did deal with the leek moth this year. Adult moths lay their eggs and the hatched larvae tunnel into the leaves. She was able to keep it under control by going out each morning and removing the leaves that were encasing the larvae. If you have the space, it is always best to rotate your garlic each year.

HARVESTING SCAPES:

Garlic produces a garlic scape which appear on hardneck varieties, usually in June. They look a little like green onions that spiral and have a small bulbil at the end (which looks like a small hat). They should be cut once you see the spiral or they will become tougher the longer you leave them. Cut it at the base where it comes out of the stalk. Chop them up and fry with a little olive oil or they can be made into garlic scape pesto. It is wise to remove the scapes even if you don’t plan on eating them. This allows the energy to go back into growing the underground bulb.

HARVESTING GARLIC:

You will know your plant is ready to harvest when two to three sets of the bottom leaves have died or turned yellow. Do not leave them too long as the bulb will begin to split. Gently pull out the bulbs with a garden fork.

CURING GARLIC:

Garlic needs to be dried. Gently remove the dirt and trim the dangling white roots to approximately 1 cm. I tie my garlic together in bunches and hang it in my shed to dry for two weeks. Keep it out of direct sunlight and ensure it doesn’t get wet.

STORAGE:

Once dried, clean gently. Trim the long stalk off and store in a cool dry area. Garlic does not like to be refrigerated. You could also store them in empty egg cartons.

If you would like to learn more about growing garlic, read this extensive article from the Ontario Ministry.

A new kind of lawn?

By Mary-Jane Pilgrim, Master Gardener

If you scroll through some of the gardening groups on Facebook these days, you’ll often see people asking “How do I get rid of the clover in my lawn?” Shortly thereafter, you’ll see a lot of people respond with “Love my clover”, “Leave it”, “Food for pollinators”, etc., all of which is true. This post follows fellow MG Emma Murphy’s post from last week quite well, I think!

As a contract gardener/landscaper, if I had a loonie for every person who asked me what to do about their weed-ridden lawns post-herbicides, I’d be a rich person.

Clover may be just the ticket, as it requires less water, fertilizer and weeding than lawns without clover. It stays green all summer. It requires little or no mowing as it only grows 10-20cm (4 -8″) high. It out-competes other weeds, as it has a dense root structure. It grows well in poor soil. It feels great on bare feet. The seed is inexpensive (see below for a tip on where to buy it!)

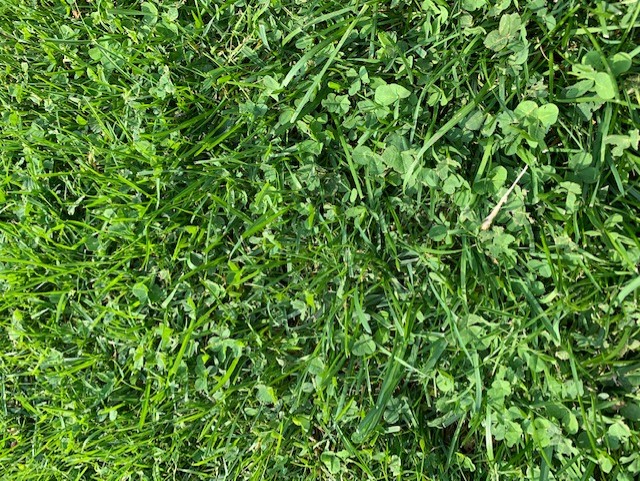
White clover (Trifolium repens) or Dutch white clover can be established in an existing lawn by overseeding whatever is currently there or by planting a mixture of clover and basic grass seed in a new lawn. From my reading, I’ve found that people have had disappointing results when trying to establish a pure clover lawn. You really need both clover AND grass as they are complementary to each other and one supports the other. Clover does best in full sun, but can do OK in partial shade. It doesn’t grow well in full shade. When mixed with grass, it does well in high traffic areas as well.

Author’s back lawn showing already successfully combined grass and white clover

For us, it started with the white grubs. Whole sections of grass in the front yard are gone. Just gone. Turns out that grubs also do not like clover. Bonus.

Be sure to use Dutch white clover and not the larger red clover. The best time to plant clover is in the early spring before the grass starts growing quickly because the other broadleaf plants are not in competition with it. Early seed sown will germinate when the soil starts to warm up in late April. Clover seed can be purchased at your neighbourhood garden centre or hardware store, but I’ve found it to be much cheaper (less than half price) at my local co-op as it is also a farm product. Clover seed to cover my large front lawn (150ft x 150ft) cost about $10 at the Co-op. About 2 ounces of clover is needed for every 1,000 sq ft of lawn, so my front yard required about 3 pounds or 1.4kg of clover, mixed with about $30 worth of grass seed.

Late summer/early fall is an alternative time to plant. The grass should be cut short and raked first to remove any existing thatch. Clover seed can be spread onto the soil along with grass seed on a 10:1 or 15:1 grass/clover ratio. I’d suggest top-dressing with some triple mix for best results so that the seeds are covered well. Most seed will germinate in less than a week if the temperature is above 15C and if it’s well watered.

It may be necessary to overseed with clover every 2-3 years for the first few years until the mixture gets established.

One caution: If you or any of your loved ones are allergic to bee stings, clover may not be right for you. The clover will flower, and bees will be attracted to the flowers! You can, however, minimize this risk by mowing regularly from June through August during flowering time.

Author’s front lawn showing recent overseeded and top-dressed grass/clover mix.

Resources:

How to Overseed Clover Into a Lawn
Establishing White Clover in Lawns:
Advantages and Disadvantages of Clover Lawns

Gardening is Not Cancelled – Continued…

by Emma Murphy, Master Gardener

Just 3 short weeks ago I shared my thoughts on the impacts of the coronavirus (COVID-19) on our gardening activities, shortly after the World Health Organization declared it to be a pandemic.

So many events have been cancelled – garden shows, seminars, Seedy Saturdays (and Sundays) – that even the cutest cat photos are not making us feel any better. (yes these are my two cuties – Lulu and Roxy).

girls

Although garden centres and nurseries that grow their own stock are permitted under the conditions of the Emergency Management and Civil Protection Act (as an agricultural activity), many of our favourite nurseries have closed their doors to in-person shopping and resorted to online sales with no-contact pickups at their entrances in order to protect staff and the public.

vandermeer
Source: http://www.vandermeernursery.com/

Fellow gardeners are panicking. After all, this is the time of year when we finally get outside again, clean up our gardens, start seeds, decide on our plans, and look forward to purchasing our favourite plants at the stores.

However, gardening is not cancelled. This year will definitely be different, and we will have to adjust.

In these chaotic times, let gardening be therapy, providing a place for you to find calm and peace.

Working in the soil, with the sun on your face, can take away your worries, at least temporarily. You are using your hands, digging in the dirt, taking in the fresh air, watching the birds flutter around the yard and – best of all – all the news and social media is in the house! Your garden is an escape!

For families with kids at home, gardening offers the opportunity to get the kids outside and busy, while building their self-esteem and bringing variety to what has suddenly become a lot of time spent together. For those on their own you are never truly alone in a garden – there are always birds, bugs, plants or other living things to observe all around you.

small-83025_1280

COVID-19 is forcing us to re-examine how we live, and how we consume goods and services. This has translated into an increased interest in people wanting to grow their own food, taking us back to World War II, when millions of people cultivated Victory Gardens to protect against potential food shortages while boosting patriotism and morale. victory garden

We still don’t know whether we will be able to get starter plants, so many people are ordering seeds. As a result, seed companies are experiencing a deluge of orders, with many stopping new orders until they can catch up. Your local Master Gardener groups and horticultural societies can help you out if you need some advice on how to grow plants from seeds.

  1. Start some seeds. Just seeing something grow out of the soil is a very positive experience. Hopefully you have some seed starter mix around (or can get some) and you can use anything to grow seeds in – from old roasted chicken containers to yogurt cups to folded up newspapers.
  2. Check out social media gardening groups – there are groups out there for every topic under the sun, from seed starting to plant identification to perennials. Since the pandemic began, I have noticed far more people joining these groups, which is wonderful because gardeners just love to share their experiences.
  3. Plan your vegetable garden – figure out which ones you can grow easily from seeds. Learn from others and search Google for ideas.
  4. Stuck inside on a rainy day? Find some online gardening classes or check out YouTube for some good instruction videos on any number of gardening topics.
  5. Get outside for a walk in nature – while maintaining physical distancing, enjoy getting some exercise and seeing all the plants emerging from their winter slumber.
  6. Repot your houseplants. You might just find they reward you with some lovely blooms once we start getting more sunshine.

Hopefully soon we’ll be able to look forward to getting plants at our favourite nurseries (you can be sure they are working very hard to find safe ways to do this). When we do, make sure you support your local nurseries and #buylocal as much as possible.

Until then, find your inner gardening zen, whatever that may be, and enjoy all that spring has to offer. I know I will be sitting by my garden pond, thinking about brighter days ahead.IMG_6524*For best information on the COVID-19 situation contact your local health unit or the Government of Ontario website. Peterborough Public Health, led by Medical Officer of Health Rosana Salvaterra, also has great resources.



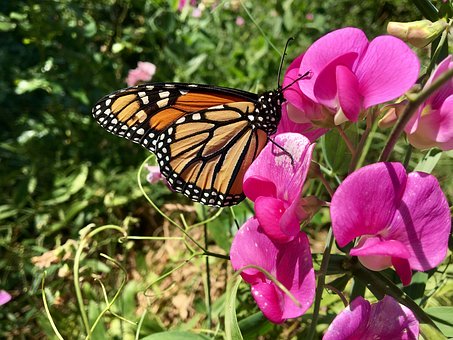
Sweet Peas

by Mary Jane Parker, Master Gardener

Somebody once told me that you should try growing something six times unsuccessfully before you give up. I have not stopped there yet with Sweet Peas. I grow them but they never are as full and beautiful as the pictures I have seen or the seed package covers. So I bought The Sweet Pea Book by Graham Rice. It has lots of interesting ideas and a multitude of cultivation tips.

book

The first thing that I learned is that some varieties were selected over time for our climate of hot summers and cold winters. Cuthbertsons and the Royals are two examples. This is at variance with the British climate where they can be planted either in pots or the ground in the fall and overwintered outside.

Another thing that I learned is that timing is everything. I planted mine March 6. If you grow them and pinch the growth at 3 inches, how much more will they grow and how fast? Graham Rice says that if they get too tall and lanky before planting out they will not thrive. The package says to plant in April outside and I remember my Dad (he of the farming roots) saying that they used to plant peas as soon as the ground could be worked – sometimes even in February. This, I think, has been my downfall in years past.

Planting is straightforward and cultivation is pretty easy. Low nitrogen fertilizer every couple of weeks and good organic compost. Situating your sweet peas is pretty important. Here iour zone they require full sun in early spring but not so much when temperatures heat up. As with lots of other plants, do not plant in dry zones around walls of buildings and tree bases.

So here’s hoping that this year’s crop of Sweet Peas will be an enormous success at last.

butterfly-2537098__340

Gardening Is Not Cancelled

by Emma Murphy, Master Gardener

Just when Ontario gardeners thought spring was peeking through the piles of snow – with warmer weather and the change to daylight savings time – we’ve been derailed, and not by Mother Nature.

GDD2

It’s been a tough few weeks with the increasing spread of the coronavirus disease (COVID-19) to North America. People are becoming increasingly alarmed, and in the past few days we have seen measures by our local health authorities and governments to ‘flatten the curve’ of the pandemic by imposing restrictions on travel, movement, and large events. For best information on the COVID-19 situation contact your local health unit or the Government of Ontario website. Peterborough Public Health, led by Medical Officer of Health Rosana Salvaterra, also has great resources.

curve
Flattening the curve – Proactively instituting protective measures to protect our healthcare system’s capacity to respond.

For Ontario gardeners, the past week has seen the cancellation of two major garden shows, numerous Seedy Sundays (and Saturdays), various Ontario Horticultural Association District meetings, and local meetings (in venues that have closed their doors to external groups). 90116313_3010310689020706_8668654371803758592_oThe biggest shock was the last minute cancellation of Canada Blooms just before its opening (March 13-22) as so much hard work and preparation goes into this event (6 days of building, but also plant-forcing, planning, designing etc.). But all is not lost! Thanks to Paul Gellatly (new Director of Horticulture at the Toronto Botanical Gardens), Sean James (Master Gardener and gardening consultant), and Helen Battersby (Toronto-based writer and garden speaker), we have photos and video of Canada Blooms before it was dismantled so that everyone can appreciate the results, even if we don’t have “smell-o-rama” and can’t see it in person.

Photos of Canada Blooms (thanks Paul Gellatly) Here and here

(note that all the TBG’s plants from Canada Blooms will be on sale at the TBG at 777 Lawrence Ave East on March 14th and 15th from 10 a.m. to 4 p.m.)

Video Tour of Canada Blooms (thanks Sean James) Here

More Photos of Canada Blooms (thanks Helen Battersby) Here

gardenshow

The Peterborough Garden Show is also a huge draw for Ontario Gardeners. This year was to be the 20th Anniversary show – completely community run by volunteers from the Peterborough Horticultural Society, with all profits being reinvested in the community in Peterborough.

In addition, our beloved Peterborough Seedy Sunday this March 15th has been cancelled (along with many others across the province). Organizer Jillian Bishop (of Nourish and Urban Tomato) is encouraging people to visit the website and click on links for the various vendors to support them by buying seeds online.

89690140_2770661179669493_8297570305530920960_o

What are Gardeners to Do?

Don’t give up hope.

  1. Bring spring inside! Check out my recent blog on bringing dormant spring flowering branches inside and forcing them for early colour and bloom.forsythia-4083551_1920
  2. Plant some seeds! You may not be able to go to Seedy Saturdays/Sundays but you can order seeds from local companies or find them at your local nurseries. A great activity for March Break with kids.
  3. Do some virtual garden tours! Google Arts and Culture has some, or there’s a virtual tour of Prince Charles’ Highgrove Gardens that I just found. I’m sure a quick Google search for “virtual tour” and “gardens” would bring up many more.Highgrove
  4. Plan your 2020 garden. Whether it’s reworking your perennial beds, planning a new garden, or deciding on your vegetables and herbs for this year, best to get your design ideas laid out now before spring arrives. Maybe think about a rain garden or pollinator garden for this year?
  5. Clean your tools. Get in your garage or garden shed and take inventory of what tools need repair or replacing, and what new tools may be helpful this season. Clean your tools now so you are ready for the season.20190713_140635
  6. Get outside. Yes we might still have snow (well some of us do) but that doesn’t stop you wandering around your garden and dreaming does it?
  7. Go wander in nature. Many of the COVID-19 restrictions are stopping our regular activities in our communities. But that is no reason not to enjoy our wonderful environment. Take this opportunity to get out for a hike, see the plants emerging from their winter hibernation, listen to the spring birds singing, and relax in nature. (more on this in our MG Sharleen’s blog on Monday)09_RiverView

These are challenging times, but our gardens and love of gardening will help get us through. If you have other ideas please tweet them out to us or share them on our Facebook page.


Where Do I Go but Up?

By Suzanne Seryck, Master Gardener

I’ve just spent a rather pleasant afternoon looking through one of the many gardening catalogues, occasionally glancing out at my snow covered garden; trying out ideas in my mind to create more space. Having had a one acre garden for over fifteen years I am still trying to get used to a smaller space. No longer can I just go out and build new beds, or purchase trees or shrubs without having a space to plant them. No longer can I try out different pumpkin, squash, zucchini or cucumber plants without some kind of a plan. To create more space for all the vegetables and fruit I want to grow, I am going to have to get creative making use of all my available space.

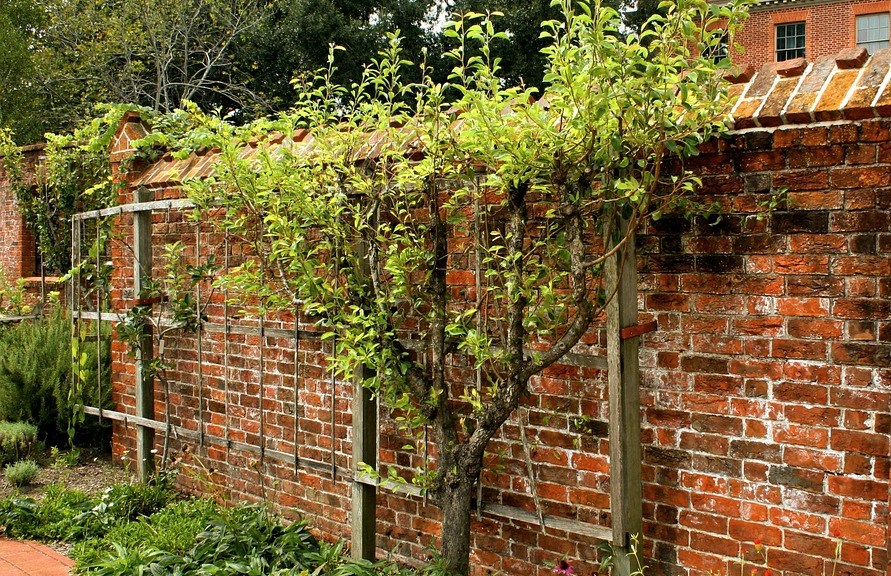
Vertical vegetable gardening is a great way to grow vegetables when space is tight. Supports such as obelisks, trellises, fences, stakes, even other plants can be used as a support for many vegetables. Ensure that you select ‘vine’ varieties of specific crops instead of the ‘bush’ varieties. Certain vegetables such as beans will produce tendrils allowing them to climb up supports by themselves, others such as squash or zucchini will need a little help and can be tied at regular intervals. Supports do not need to be expensive; you can build many yourself using cheap materials or in my case left over materials I find in my husband’s workshop. If you don’t have the time or inclination, there are many different plant supports in catalogues or stores. Fruit trees can be espaliered to a fence, while fruit bushes can be grown either against a fence or up stakes; pruning to keep them from becoming too wide. I grow my currant and gooseberry bushes as double or triple cordons (a cordon is a single main stem growing vertical), which take up less space than a traditional bush shape and for me are easier to pick.

IMG_0215

My mother loves scarlet runner beans which are vigorous climbers with beautiful clusters of red flowers. Last year I grew them in 2 raised beds side-by-side, creating a tunnel between the two beds using bamboo stakes. I only used up a 4 inch wide strip in both beds and was rewarded with beans for many meals. A lot of people grow beans on a teepee structure which also works well, with a side benefit of being able to use the space under the teepee for planting lettuce. Beans can also grow up other crops such as corn as in the Three Sisters Guild.

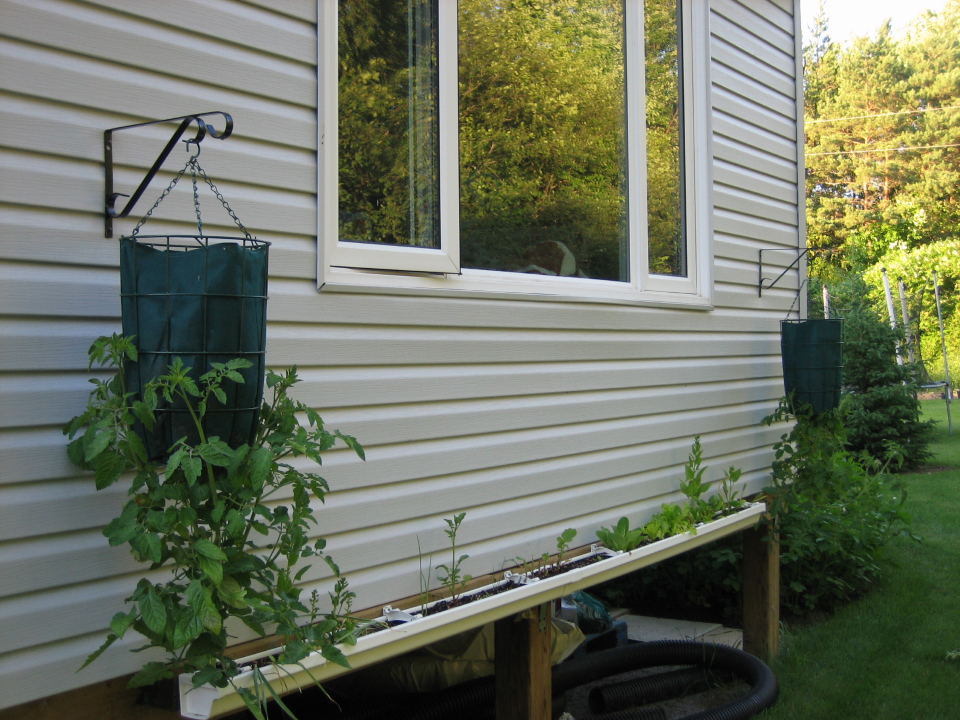
Fences and walls are ideal spots to create living walls, especially if located in sun or part-shade. They are ideal for growing leafy vegetables such as lettuce as well as herbs. There are many examples on the internet showing living walls, examples include using wooden pallets, window boxes and gutters. The photo below shows a gutter bed that I had in my last house that I used to grow lettuce and spring onions. The bed worked really well and was both weed free as well as pest free, and if you have difficulty bending down this makes harvesting pain free. The only thing to remember when creating a living wall is to add drainage holes and use a soil that both retains moisture and provides nutrients.

2010-06-97

As you can see from the above photo, tomatoes are growing upside down in hanging baskets. This method worked really well for me, although I have heard many negative stories about growing tomatoes the wrong way up. Tomatoes work really well grown in pots as does asparagus and peppers, you just need to ensure that you are growing the correct variety when growing in a pot. You can also grow salad greens in pots which works really well if located on the patio outside the back door where they are easy to pick. Again you do not need to buy expensive pots, I have been known to grow many vegetables in recycle bins, see picture below or even in an old laundry sink. Again, you just need to ensure you have drainage holes and use a moisture retentive soil combined with compost.

And finally, one last space saving idea that I am planning on trying this year is a pillar of peppers. This idea is from a newsletter that I receive monthly called ‘Dallying in the Dirt‘. Peppers are grown in a pillar made of heavy wire and landscape fabric. The pillar is then filled with soil, holes cut into the fabric at intervals all around the pillar and filled with pepper plants. I’m not sure my pillar is going to be quite as tall as the example shown, but I like to experiment in the garden and this sounds like an interesting method of growing peppers.


Planning and Dreaming

by Judy Bernard, Master Gardener

Winter is a time for planning and dreaming about our gardens.

Since we decided to move and downsize, I’ve been planning on how I want to create my new garden. Right now, under the snow, is mostly compacted construction zone. Debris from bricks, rocks, and stones ( I’ve collected some of the larger stones for garden beds) and weeds have been partly covered by sand fill. I’m hoping that we will have topsoil and sod fairly early in the spring. In the meantime, I’ve been dreaming and planning.

watercolour-2045917_1920

Our house is oriented east-west. There are two story houses to the north and south of us. Before planning on what shrubs and plants to put in those areas, I want to see how much shade they provide and for how long during the daytime. I’m keeping a record of where the sun is in the sky relative to those areas. The front and back are wide open, like a blank canvas.

summer-4282857_1280

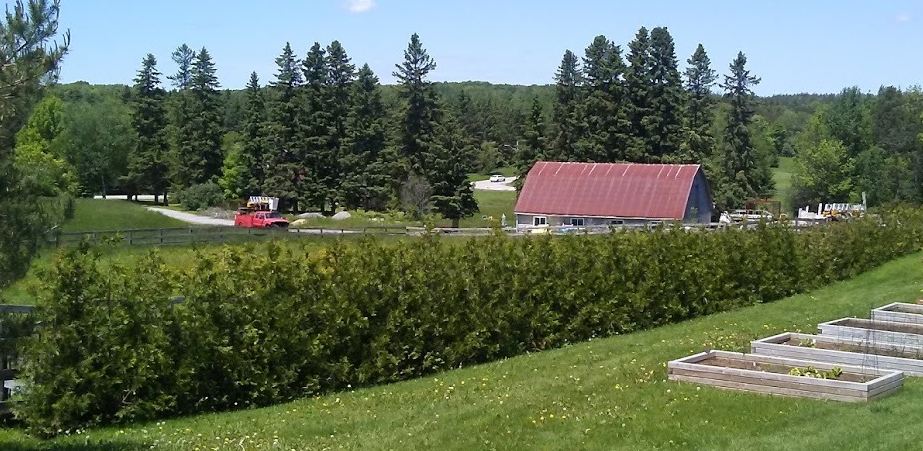
At the same time, I’m making plans for what trees and shrubs I want to put in those areas. My choices are for mostly native shrubs, trees and and fruit producing plants. Other than the usual garden centres, I’ve been looking for places to purchase native plants and have found some close by Peterborough that grow shrubs and trees. Richardson’s Pineneedle Farms in Pontypool is one. They are a major commercial grower and have a lot of native shrubs and trees for sale. You can buy in bulk there. Another one Eastern Evergreen Inc. grows white cedar for hedges and is located in Warkworth.

With an office in downtown Peterborough, Cedar Ontario has a long track record of providing healthy natural eastern white cedar trees and installing hedges throughout Peterborough and the Kawarthas.

2019-Smith-8' 3rd season-2
Photo courtesy of Cedar Ontario

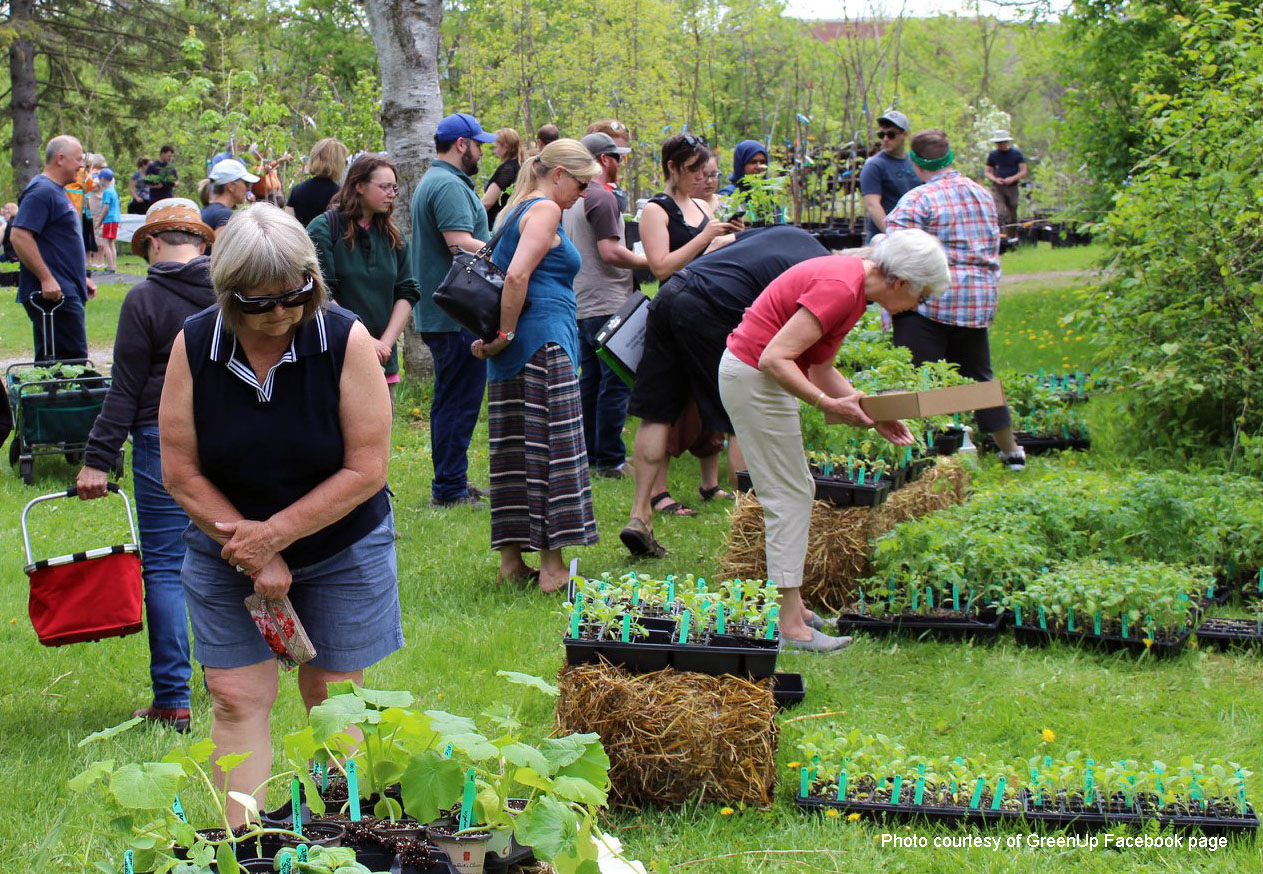
When it opens, Ecology Park in Peterborough is another good place to purchase native plants. Their big annual plant sale is Saturday May 16th at 10 am. Remember to bring your own containers for leaf compost and cedar mulch. The bulk sales are self loading , with a 20 bucket limit per person, per visit. Knowledgeable staff and are there to help you (and often Master Gardeners are there too).

plantsalecourtesyofGreenUpFBpage

In the meantime, I’m researching trees and shrubs, drawing plans, and dreaming.


Permaculture: Where do I start?

By Suzanne Seryck, Master Gardener

So what do gardeners do in the winter? Once we’ve read all our seed magazines and compiled our purchasing lists, or designed new or changes to existing perennial beds, or decided on our vegetable crop rotation for the upcoming season, or read a new gardening book, or watched some gardening videos or TED talks, or found ourselves in the middle of taking a gardening course, what next? Personally, once I’ve exhausted all these possibilities, I tend to reread my favourite gardening books. I have an incredibly bad memory and find it really helps me when I reread the same books over and over; hoping eventually something will sink in. My books to reread this year are both permaculture-related: Toby Hemingway’s “Gaia’s Garden” and Rosemary Morrow’s “Earth User’s Guide to Permaculture”.

When I first became interested in permaculture a number of years ago, I started reading books and watching videos by the two founders, Australians Bill Mollison and David Holmgren. The concept, ethics, and principles resonated with me, but I have to admit that I struggled based on the literature available at that time, to understand how to translate this into my own Canadian garden. It was not until a couple of years later that I attended a couple of local permaculture design courses and read the book by Toby Hemingway who focuses on North American gardens, that I felt confident enough to bring some of those concepts and methods into my home garden

As I mentioned in my last blog, permaculture is a design system, a set of guidelines, principles and practices for sustainable living and land use, working with nature in a continuous cycle that benefits both people and wildlife. As with anything new or overwhelming, it is easy to be deterred by the big picture.  Instead, focus on smaller ideas or concepts. If you start implementing smaller more manageable tasks, it will give you confidence to tackle the larger concepts.

The following are a few easy-to-implement permaculture techniques to get you started:

  1. Sheet mulching. This was actually the first group activity I performed in my first design course.  It can also be called lasagna gardening. Permaculture encompasses a no-dig philosophy focusing on building soil life. Sheet mulching allows you to create new beds whilst eliminating weeds and building up the health of the soil. It is also a lot healthier on your back. You simply lay a heavy layer of newspaper or cardboard over the area and top it with 12 inches or so of organic mulch.
  2. Keyhole garden beds. Keyhole beds are often used in permaculture because they maximize use of space, whilst building soil fertility.  They decrease irrigation needs and are easy to plant, harvest and maintain. The bed can be either raised or not, and is often created in a circular pattern which decreases the space required for paths and increases space for plants. This type of bed is most often used for growing herbs & vegetables and because of the circular design, plants with different growing requirements can be planted together often creating different microclimates. For more information: https://permaculturefoodforest.wordpress.com/2016/04/14/keyhole-gardens/
  3. Creating gardening communities or guilds. In permaculture, a guild can be defined as a grouping of plants, trees, animals and insects that work together protecting their health, habitat and productivity. Probably one of the most familiar guilds is the Three Sisters Guild in which squash, corn and beans are grown together; each one supporting and benefiting the others. The beans grow up the corn and provide nitrogen, whilst the squash mulches and covers the soil. In my last garden, I grew apple tree guilds, surrounding each apple tree with daffodils in the spring (deter predators from chewing bark), comfrey and yarrow, and herbs such as dill & fennel along with chives & onions.
  4. Multiple stories or forest gardens. As an avid gardener and someone who has difficulty saying ‘enough is enough’ when it comes to plants–and also the owner of a small city garden–this technique is one I am especially interested in. The idea is that a garden can have multiple stories or layers; from a low herb or ground cover layer up to perennials, shrubs, small trees and finally the canopy trees. The plants in each layer combine and support each other to create and maintain a healthy ecosystem.

seryck1
Vegetable garden incorporating annuals and perennials

Permaculture is much more than the simple examples I have given.  It can encompass everything from designing landscapes and buildings, to water and waste management. The benefits for me include enriching the land, feeding and providing habitat, growing food for my family, and giving me somewhere to unwind and feel good about life. However, I am omitting one very important benefit for myself–by incorporating some permaculture practices into my garden, the garden tends to look after itself much more with less interference and work for me!

Gardening Resolutions for A New Year

by Emma Murphy, Master Gardener

As this decade comes to a close, I like to think that I over the past ten years that have learned some things about gardening. And with that in mind, I’ve set a few New Year’s resolutions to guide me through this next year (and decade).

1. Be Better at Cleaning My Tools

I have some great tools – my Felco #12 secateurs/pruners (several pairs), my delightful drain spade, and my Japanese hori hori knife. But I am neglectful and do not clean these well during the season and especially at the end of the gardening year. My resolution to improve my tool maintenance for next year. Some guidance here and here.

20190713_140635

2. Make a Plan

I was basically back to square one in my garden a few years ago after a major house renovation. Since then we have installed some hardscaping and I have tried to replan my gardens. I’m 15 years older than when I first did my gardens, so my plan needs to take into account my aging and energy level, so I have eliminated those fussy perennials and focused more on a garden built on flowering shrubs that are lower maintenance. But I don’t have a plan, and my engineer husband keeps saying “where’s the plan?”. So my resolution is to spend this January laying out a plan for spring, rather than just going with my gut.

gardenplan

3. Don’t Order Too Many Seeds

This will be a tough one. After all who hasn’t looked out their window in January at the snowy landscape while reviewing seed catalogues and dreaming of a perfect garden? The diversity available via seed companies is just astonishing these days, and it’s nice to grow something that your friends don’t have and that you can keep seed for the next year! But we all tend to indulge and over purchase, so my resolution is to have a specific place for any seeds that I order (see previous note for a plan), and to test all the existing seeds I have for viability like this.

rucola-salad-plant-leaf2

4. Share my Knowledge and Start a Blog

While I write a blog for the Peterborough Master Gardeners on a regular basis, I’d like to start a garden blog of my own. The challenge? Just finding the time when I work full time and write for a living. My resolution is to spend January getting a basic blog set up, and then to try and write once a week starting in February. I’ll share a link once it’s up and running, and you can all hold me to task for getting it off the ground. The great part is there is lots of good advice on how to start a blog out there.

wordpress-265132_1280

Create a Holistic Garden

I am passionate that my garden should be more than just beautiful flowers – it should be a wonderful habitat for birds and bugs and critters and pollinators, and everything in between. I want to know that I am making a difference that contributes to supporting our local ecology and habitat. My resolution is to continue focusing on this as I re-establish my garden, and share my knowledge with others so that we can all make a difference.

Wishing everyone a Happy New Year and a wonderful 2020 gardening season, wherever you may be.

GDD

Book Review: 100 Easy-To-Grow Native Plants for Canadian Gardens

By Sharleen Pratt, Master Gardener

100 Easy-to-Grow Natvie Plants_RGB 300This book is, without a doubt, one of my favourite go-to gardening books! The new revised third edition of Lorraine Johnson’s book, 100 Easy-to-Grow Native Plants for Canadian Gardens, is a testament to Lorraine’s expertise. She writes in the forward that “one of the greatest satisfactions of growing native plants is that you are supporting a complex web of ecological relationships that are the basis of a healthy, resilient ecosystem.” Lorraine Johnson is the former president of the North American Native Plant Society and the author of numerous other books. She lives in Toronto.
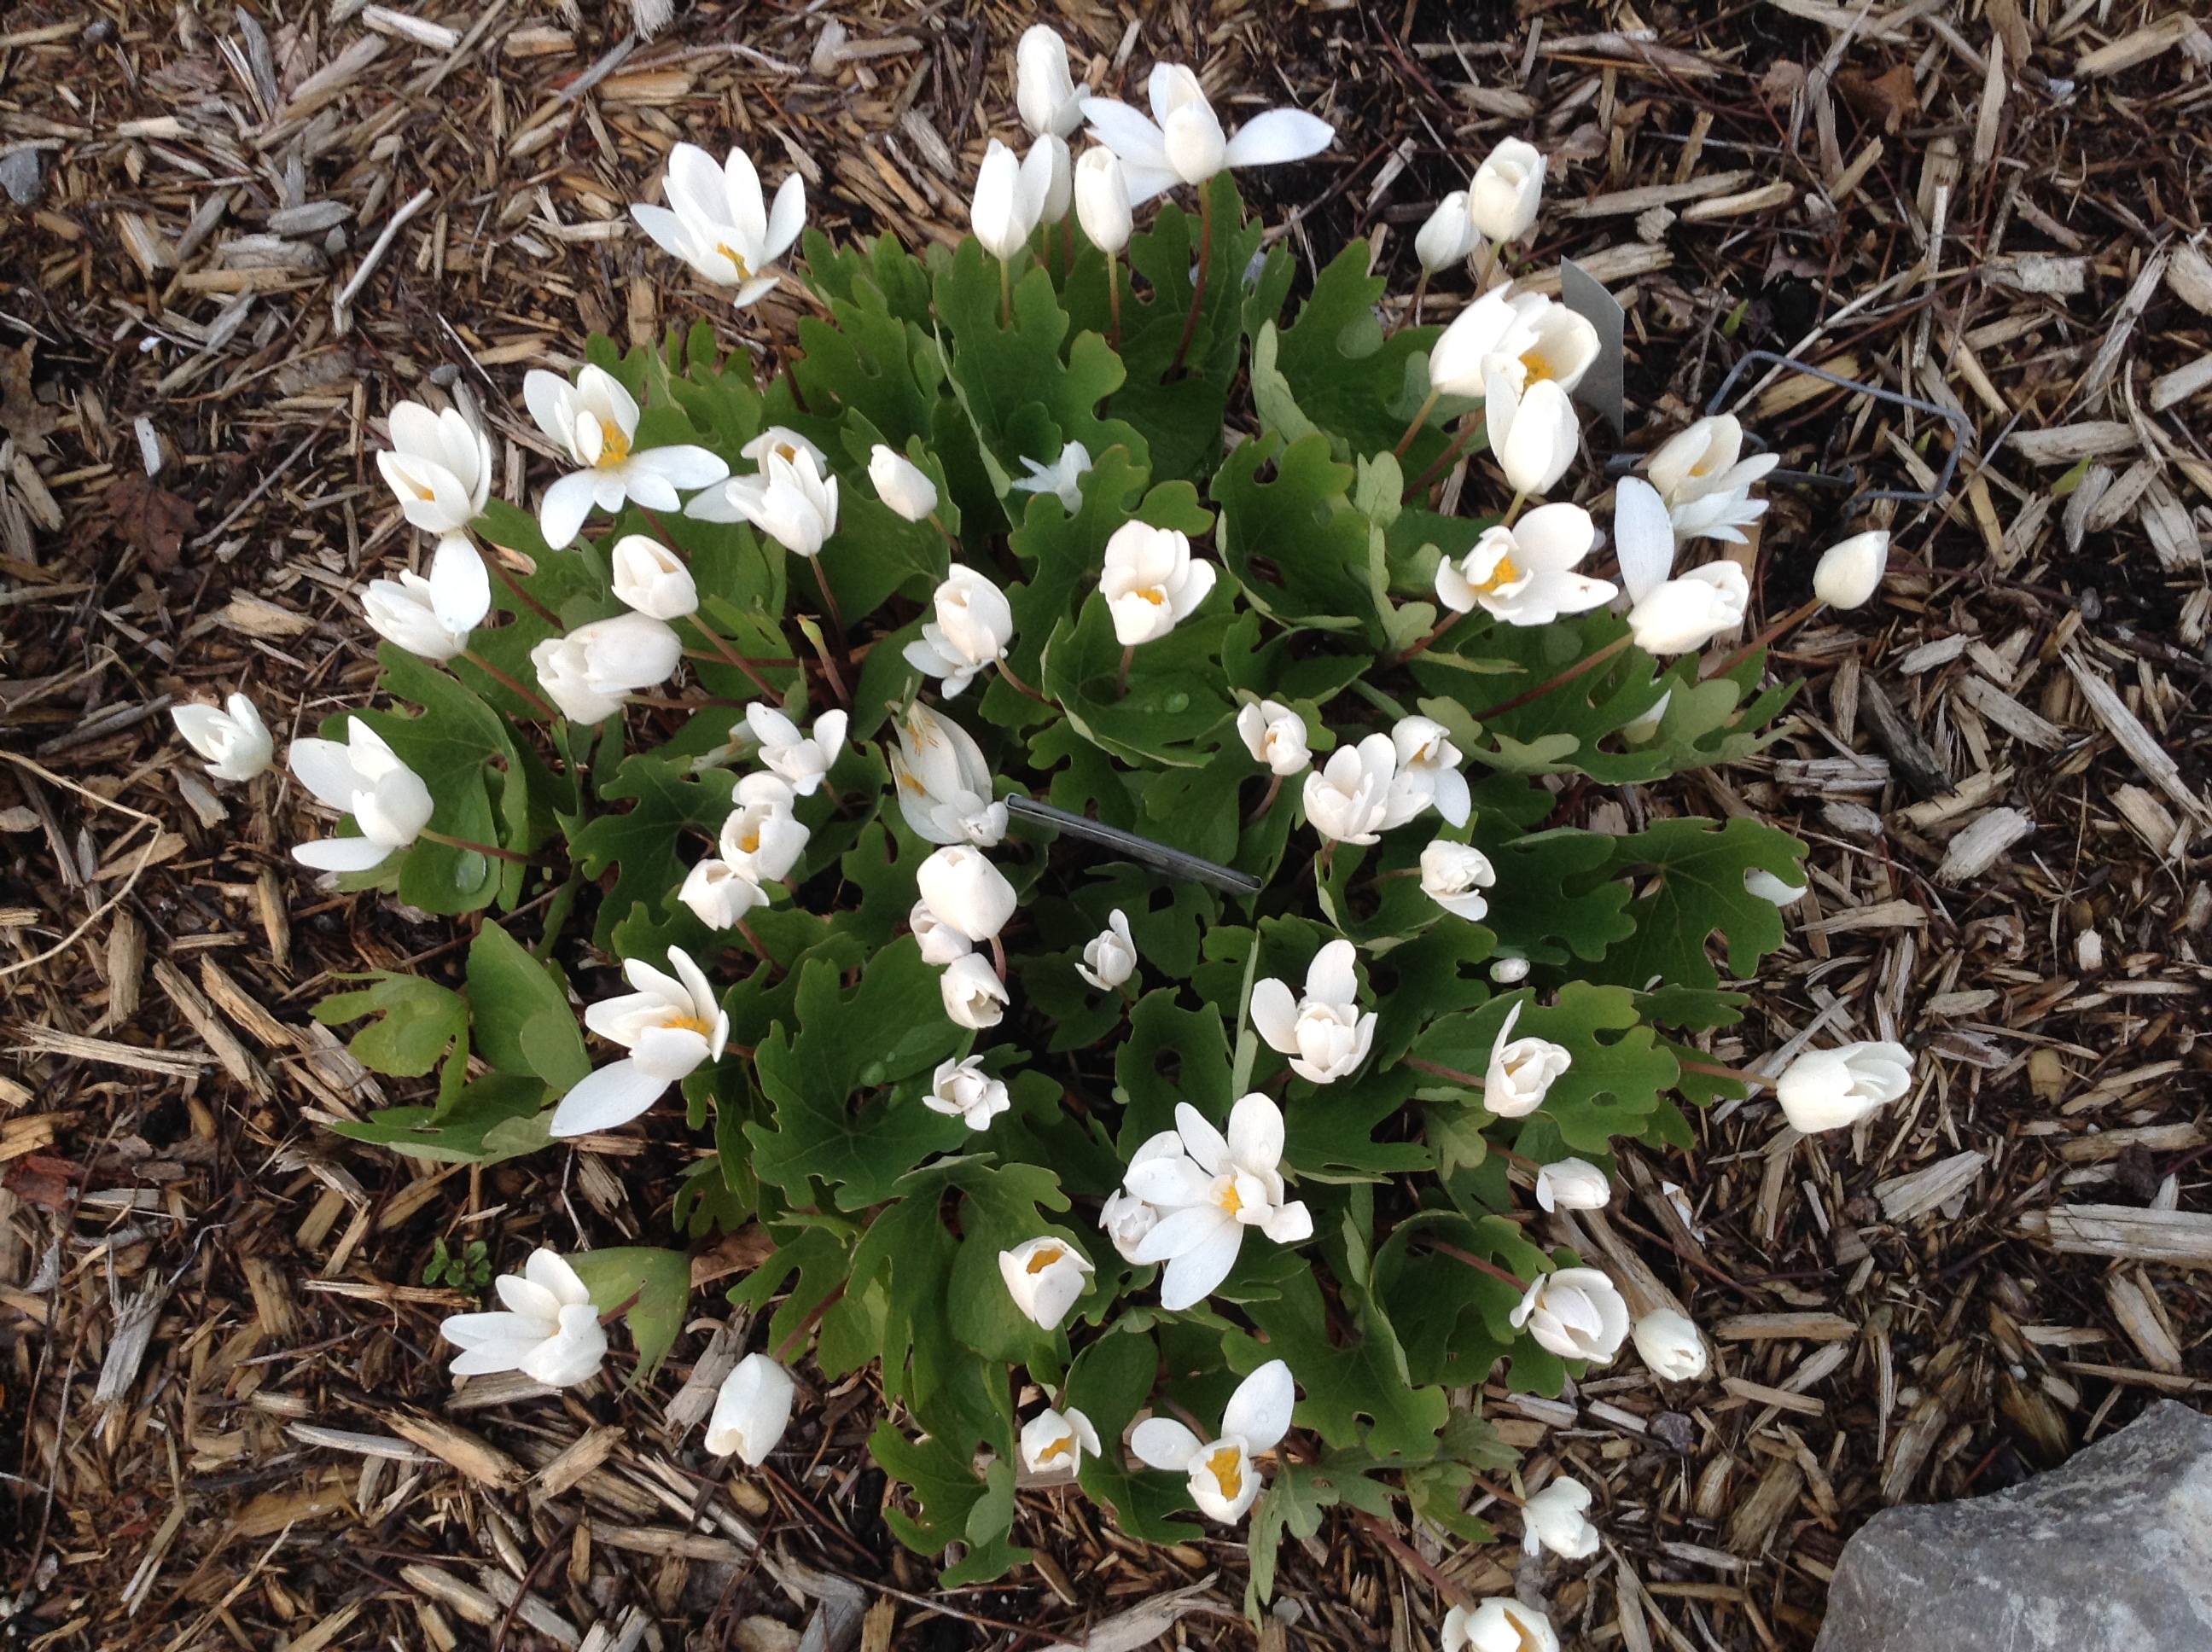
Bloodroot (1)The photos by Andrew Layerle, along with detailed descriptions of the plants, make this book most helpful when trying to decide what native plants you would like to incorporate into your garden. I think many of us can relate to her point that “gardeners tend to be voyeuristic creatures and plant lists are our chaste form of porn”! We all crave the perfect plant and often browse through books over the winter months with dreams of starting a new garden and we wait patiently for the spring weather that allows us to once again get our hands dirty.
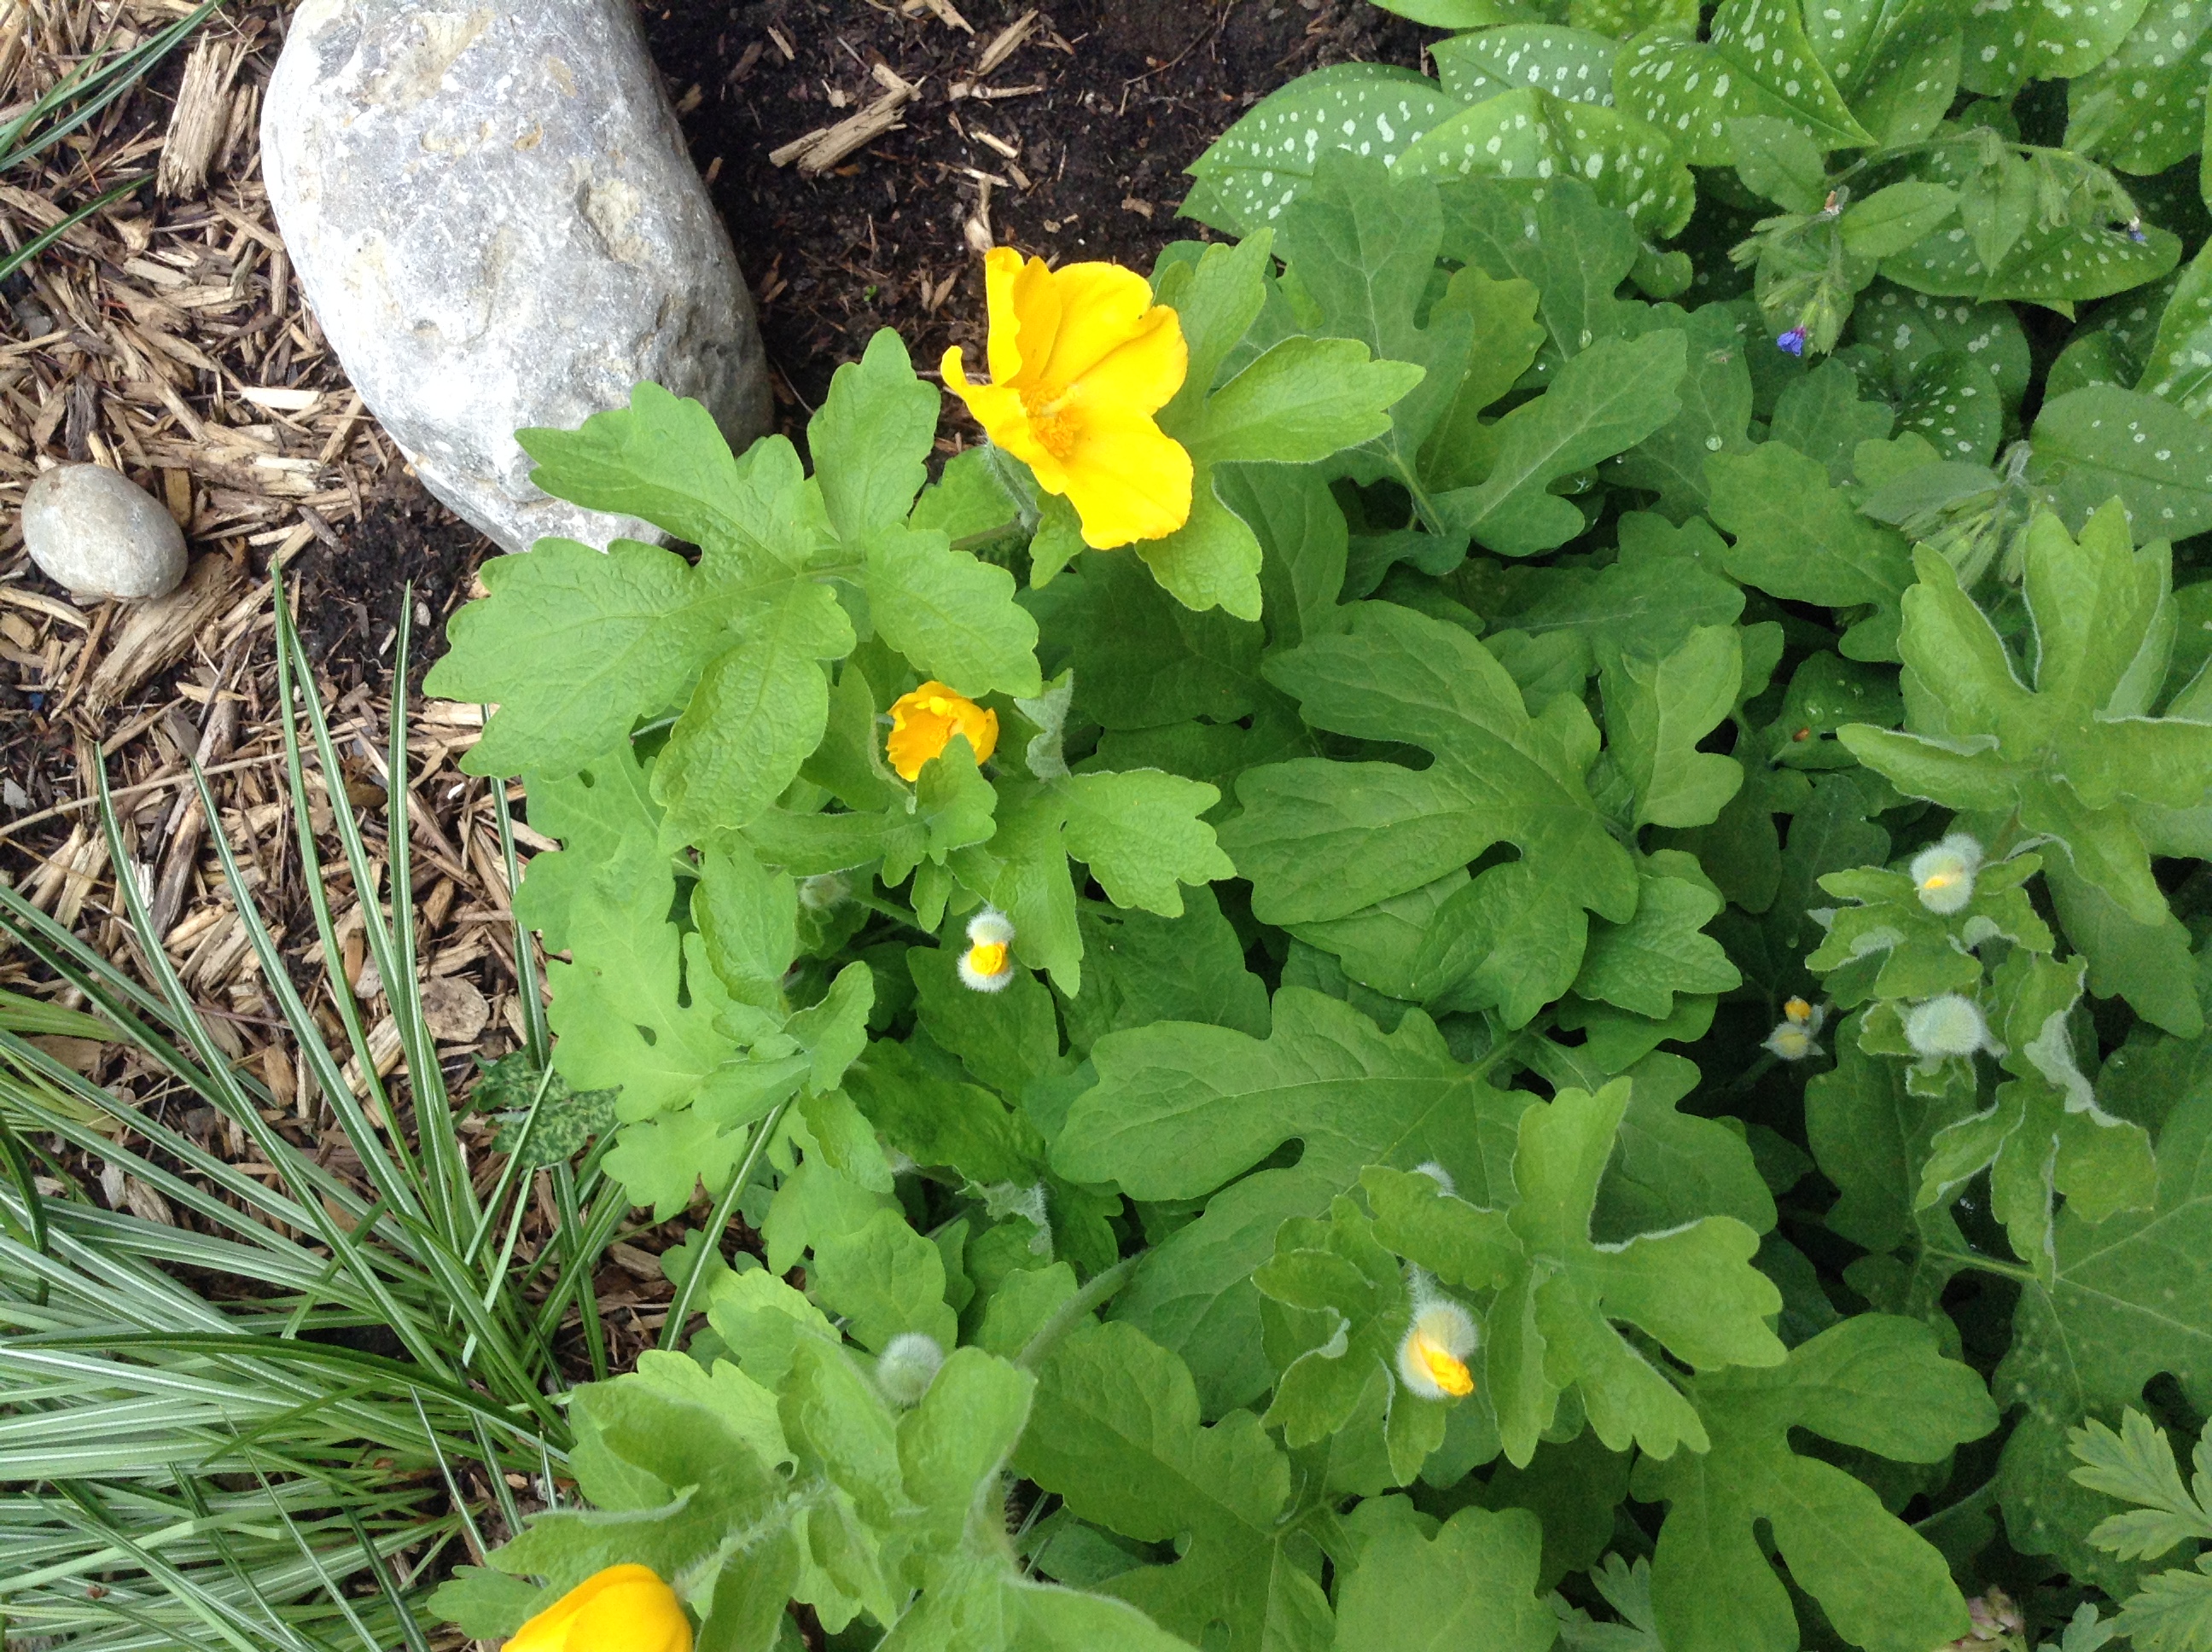
Wood PoppyThe plants are divided into a number of different categories and Lorraine does a good job at listing the common name (although she warns there are sometimes many), the botanical name, the height, blooming period, exposure, moisture, habitat and range. She gives a good description, the maintenance and requirements, along with suggestions on propagation and good companions. I love that she also mentions the wildlife benefits of each plant.
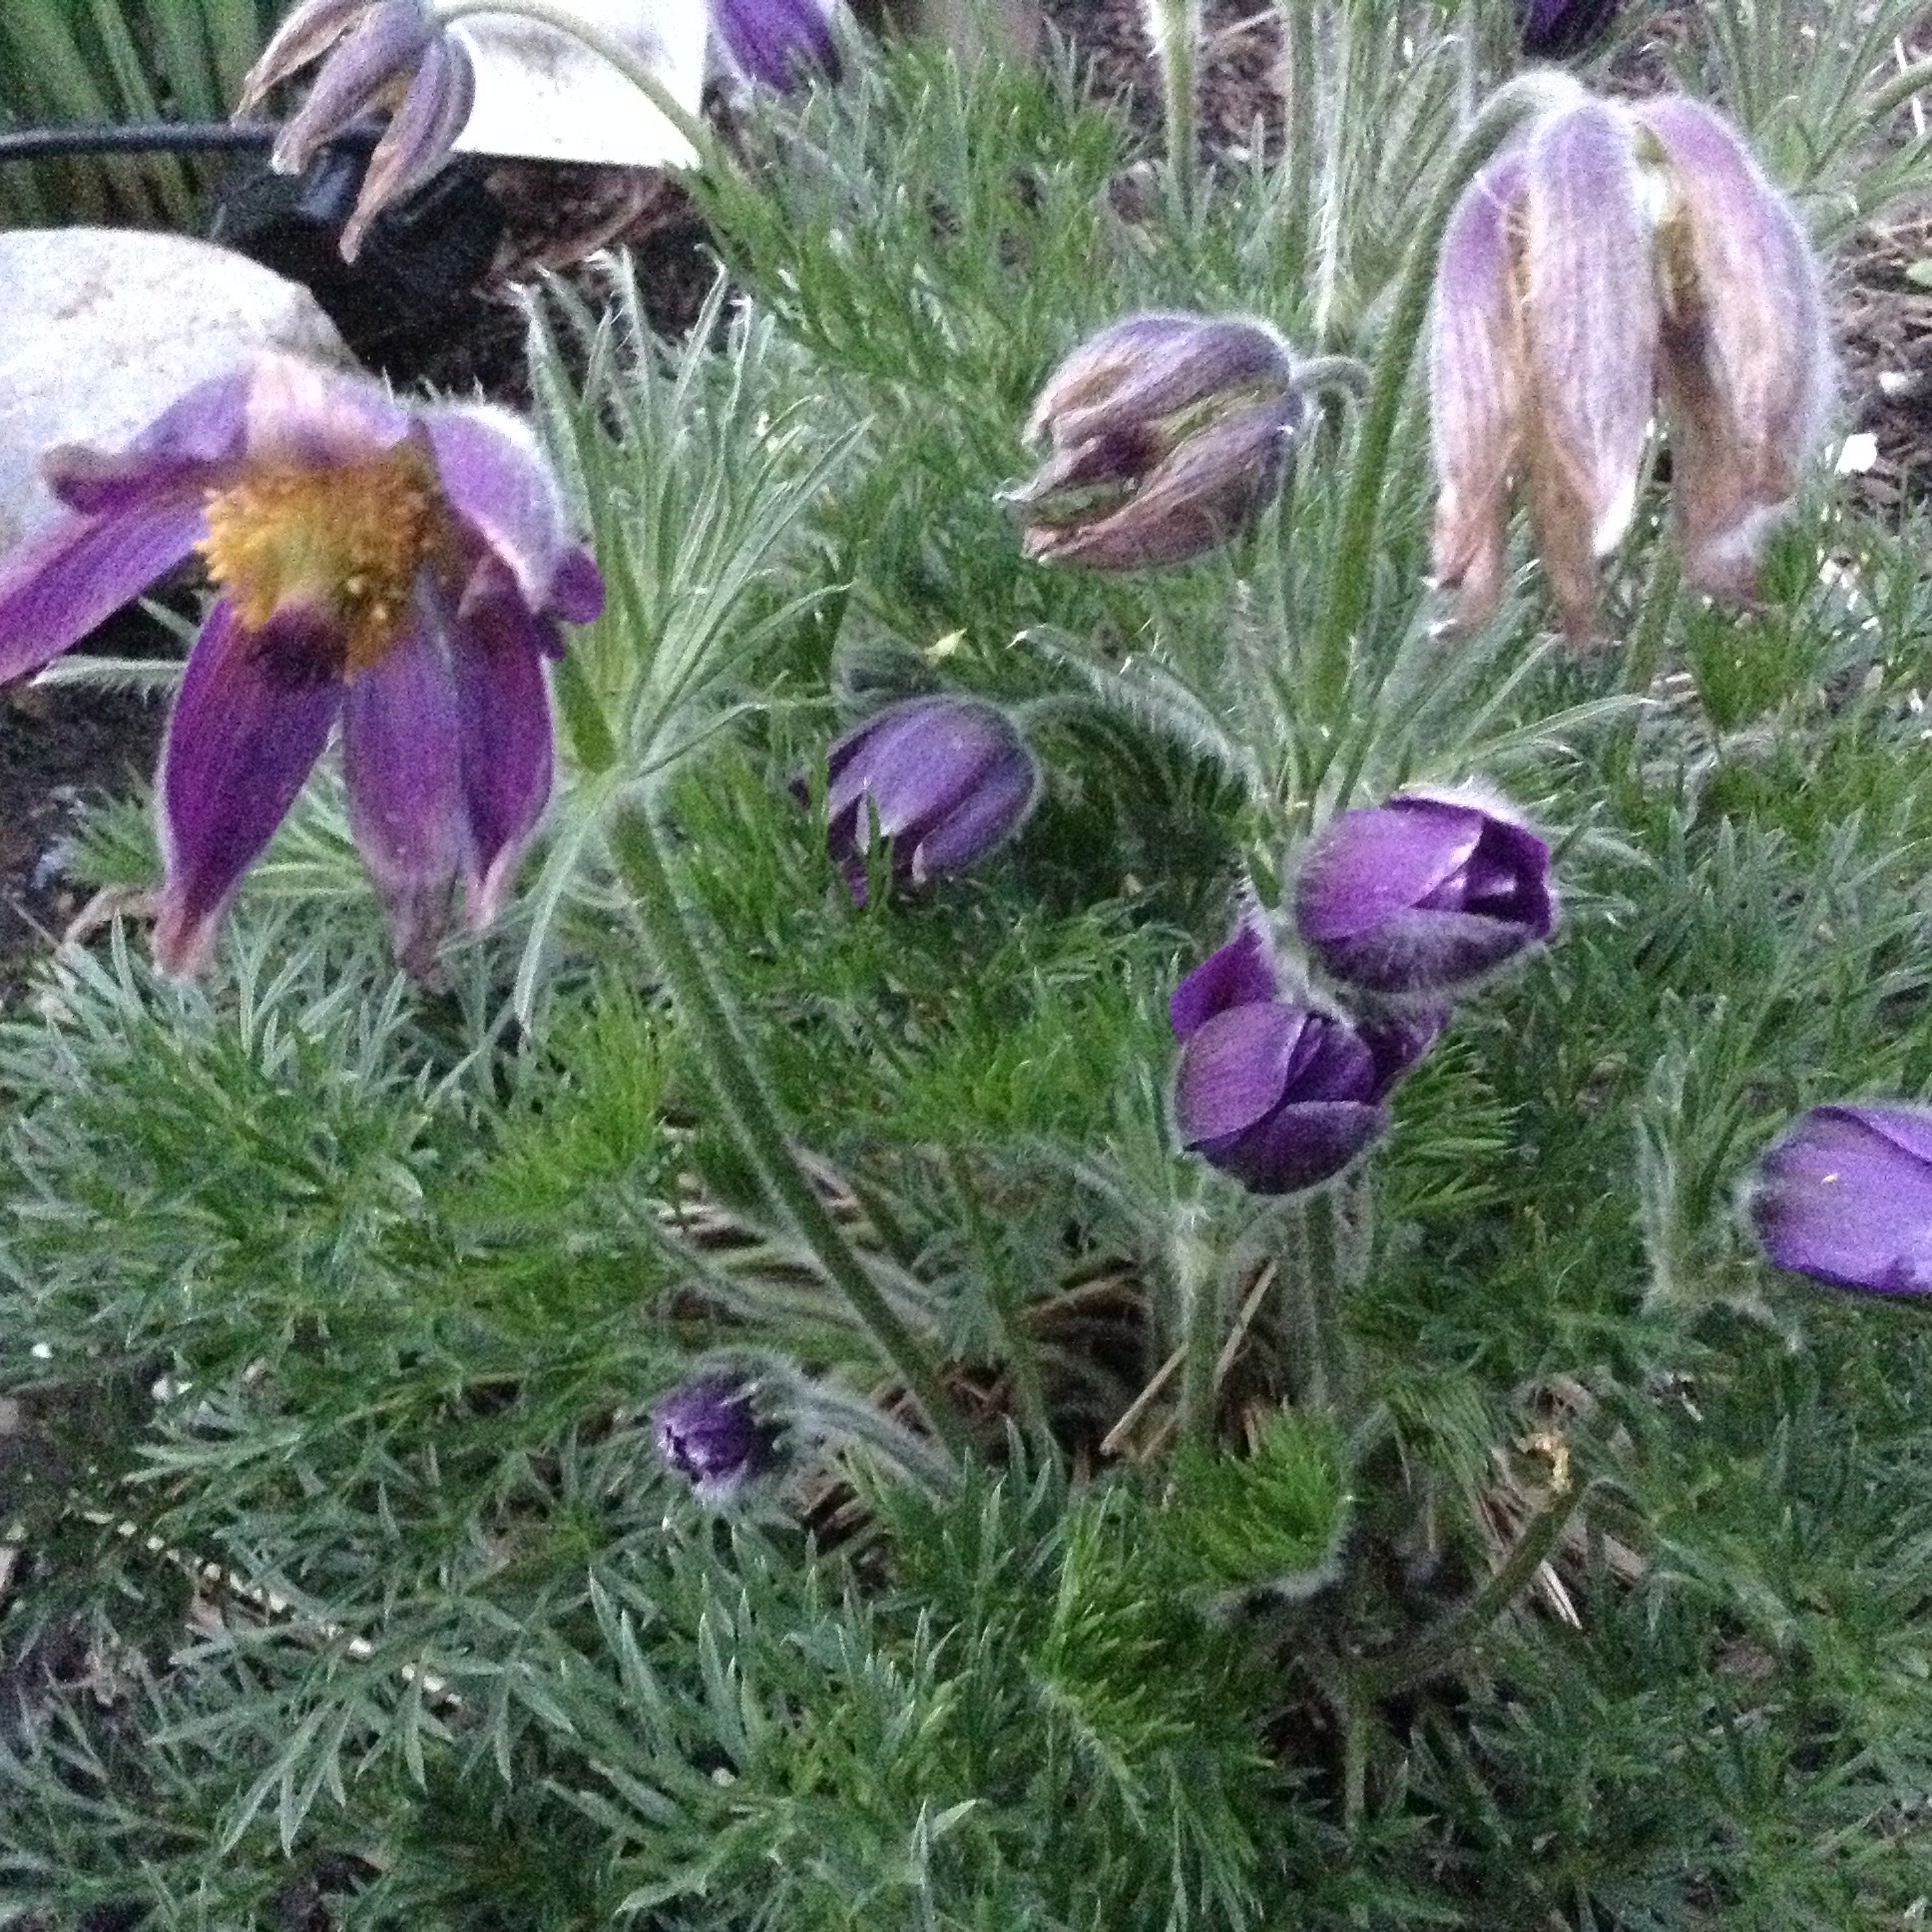
Pasque (1)Lorraine has also included Quick-Reference Charts at the back of the book that separate the plants by region as well as specific conditions, such as acidic soil, water requirements, etc. She has lists of plants suitable to prairie habitat, drought-tolerant plants, plants for moist areas, and plants that attract butterflies and other pollinators.

I have grown several of her suggested native plants, such as wild ginger, solomon’s seal, pasque flower, foamflower, wood poppy, dutchman’s breeches, cardinal flower, butterfly milkweed, bottle gentian, bloodroot, and big bluestem .. I love them all!

Check out this book over the winter months. I guarantee you will not be disappointed.