By Silvia Strobl, Master Gardener
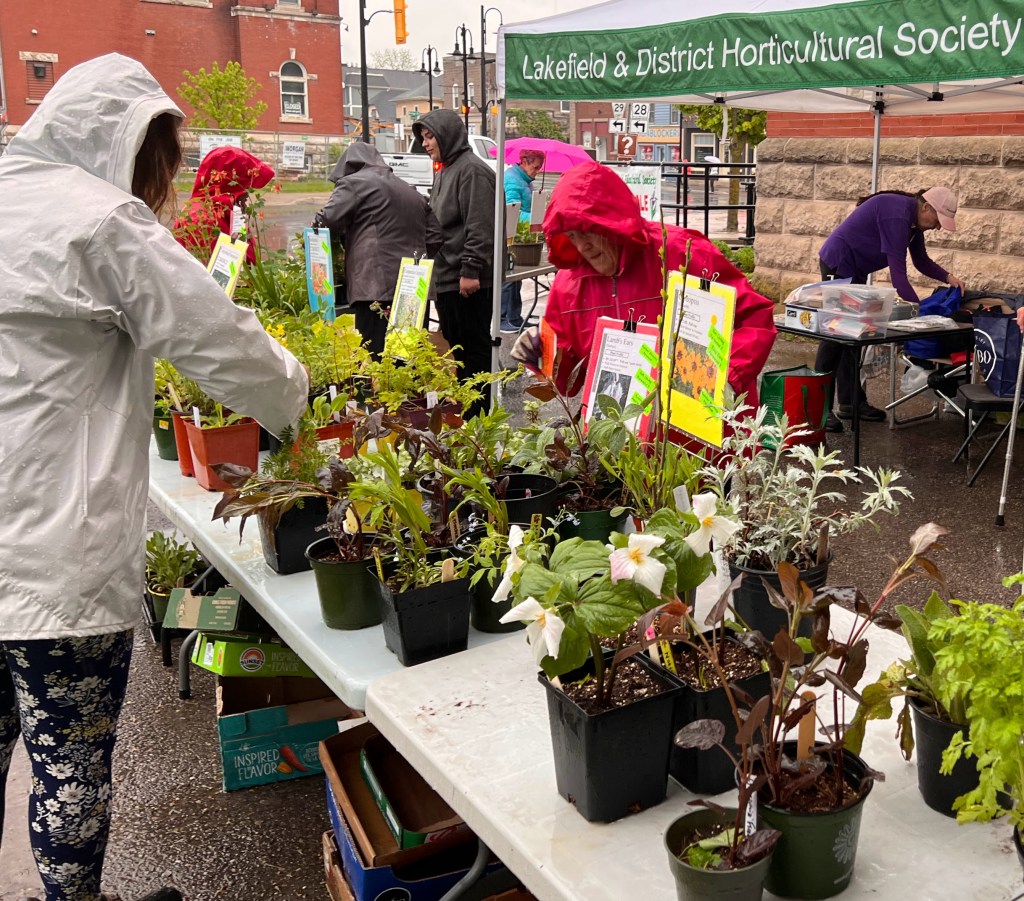
This May, gardeners will once again flock to community plant sales in search of bargain perennials and unusual finds. These sales support worthwhile causes and help plants find new homes—but they can also unintentionally introduce invasive species into your garden. Before planting that exciting new addition, consider one simple precaution: root washing.
Why Root Wash New Plants?
Many gardeners have unknowingly introduced invasive plants through seeds hidden in the soil of donated or purchased plants. An even greater concern today is the spread of invasive jumping worms that I wrote about in a previous blog. Their tiny (1 – 3 mm), soil-coloured cocoons—about the size of a sesame seed—can easily hitchhike in the soil around plant roots.
Since 2016, jumping worms have been confirmed at 63 locations across southern and eastern Ontario (EDDMaps 2026). Although the adult worms die during winter, their cocoons survive and hatch over the next one or more years (Dobson et al. 2022). Dr. Michael McTavish, who has confirmed many infestations in Ontario, notes that by the time gardeners notice the tell-tale “coffee ground” soil texture or spot an actual worm, the infestation has usually been present for years (McTavish, 2025 pers. comm.).
In gardens, jumping worms quickly consume organic matter in the upper soil layer resulting in soil drying, erosion, loss of nutrients, and ultimately decreased plant growth. Root washing greatly reduces the risk of introducing jumping worms, invasive seeds, and other unwanted organisms in your garden.
Root Washing at the Lakefield Horticultural Society Potting Day
The Lakefield Horticultural Society holds a Potting Day several weeks before its annual plant sale so divisions can become established before sale day. This year, we added root washing to the process.
Our revised assembly line included:
- Plant division
- Soil removal
- Root washing
- Potting into clean containers with sterile soil
- Labelling
- Moving plants outdoors onto tarmac
Fortunately, we worked in a cool, shaded area, since root washing is not recommended in strong sun or hot weather.
How to Root Wash Plants
Step 1: Remove Excess Soil
Gently tap plant roots against the inside of a garbage bin lined with a heavy-duty plastic bag to dislodge as much soil as possible.
Step 2: Rinse the Roots
Swish the roots in a pail of cold water, then transfer them to a second pail of clean water and repeat.
An old toothbrush proved surprisingly useful for gently removing stubborn soil particles from roots and iris rhizomes.
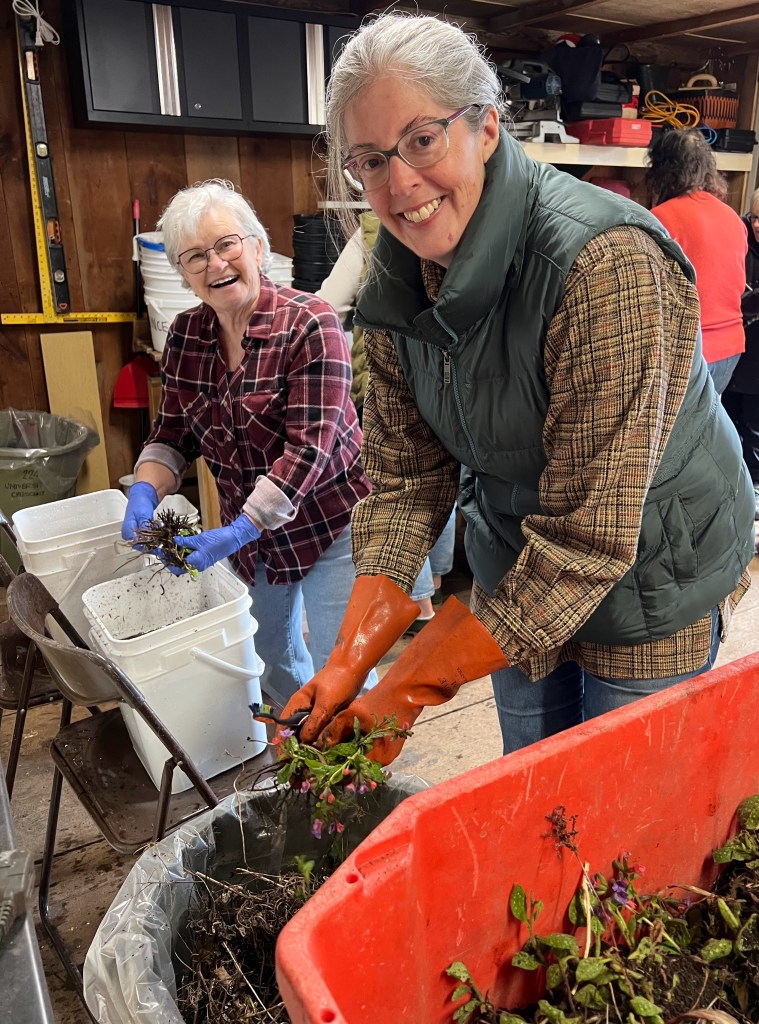
Photo: Silvia Strobl CC-BY NC SA Root divisions in the red bin are gently tapped against the inside of a garbage bin to remove as much soil as possible. Then the division is successively swished in two pails of cold water, removing more soil particles.
Step 3: Final Rinse
Use a gentle spray of water over a sink with a drain catcher—or over another pail—to remove the remaining soil particles. The plant can then be potted in sterile soil or planted directly into the garden.
Hostas washed particularly well, while larger rhubarb divisions and some columbine cultivars struggled after treatment.
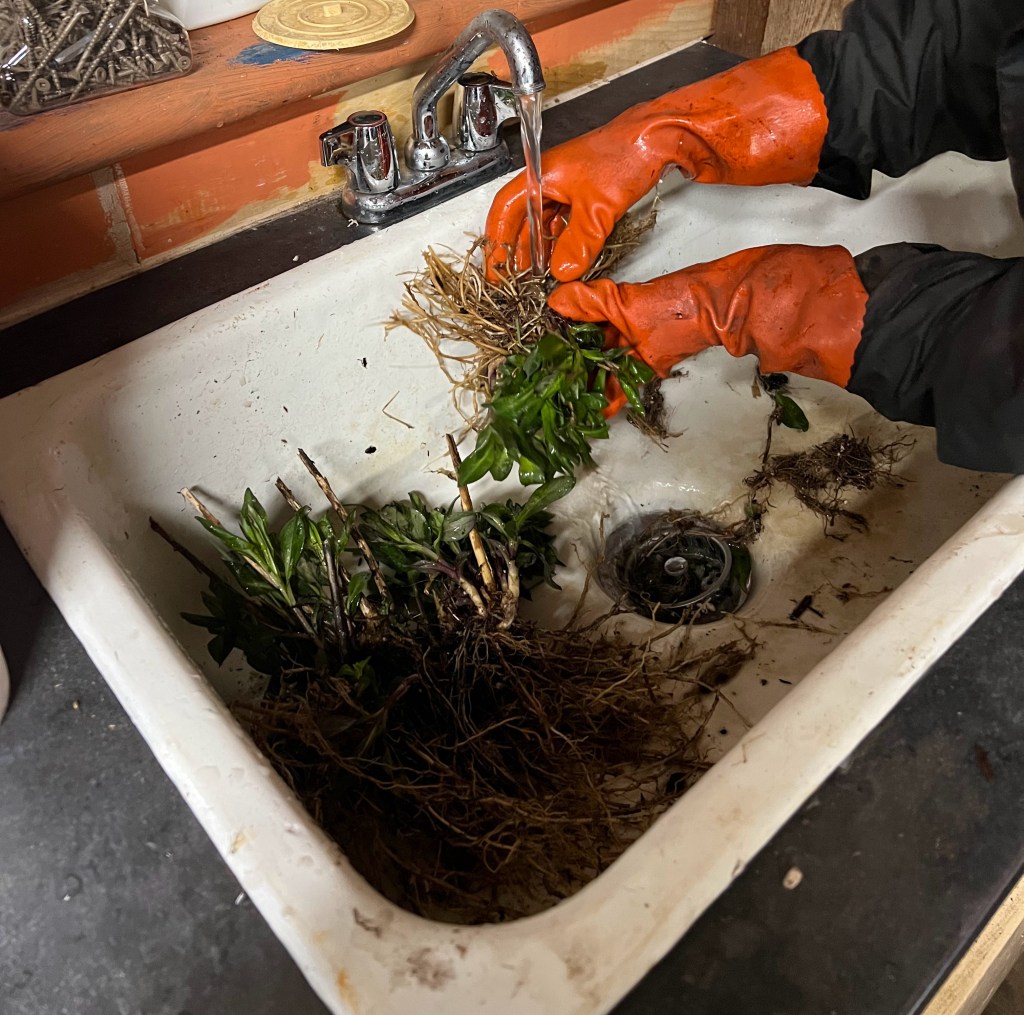
Photo: Silvia Strobl CC-BY NC SA Final rinsing of roots to remove remaining soil particles.
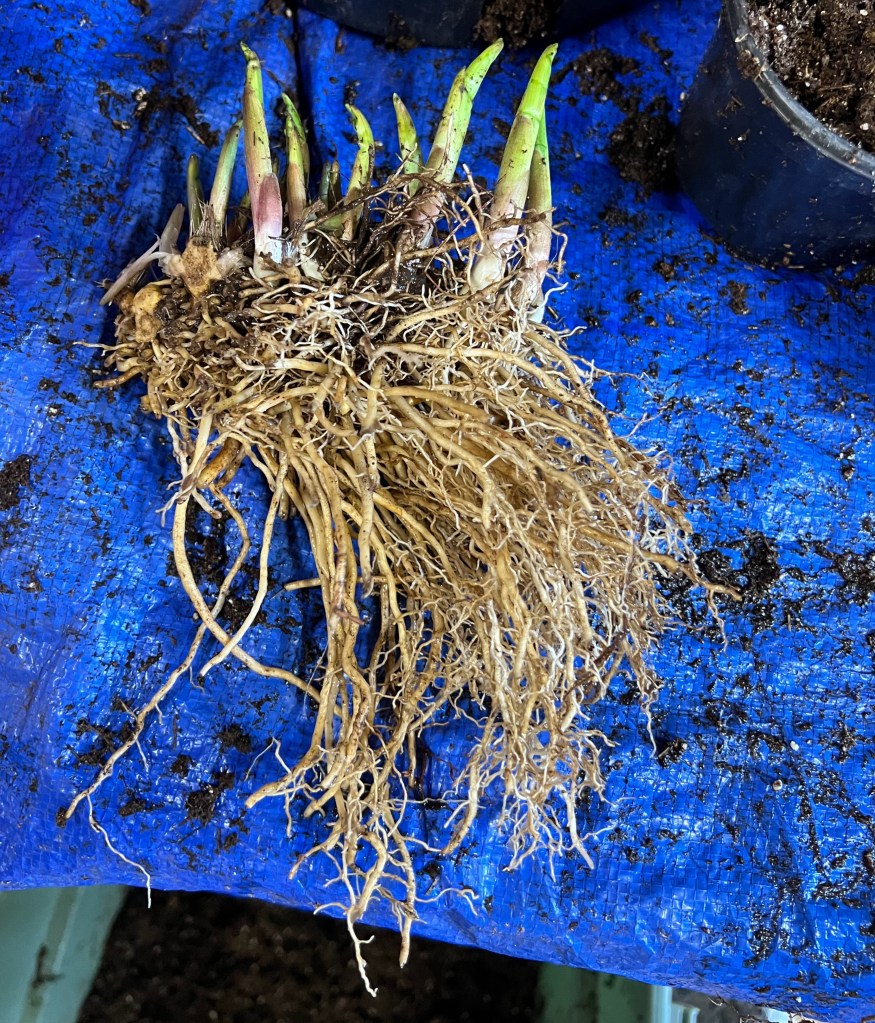
Photo: Silvia Strobl CC-BY NC SA A freshly root-washed hosta division ready for potting (that is sterile potting soil on the tarp and in the bin below the table).
What We Learned
A few practical lessons emerged from the day:
- Root washing did not appreciably slow the potting process. Nine volunteers root washed more than 200 plants in 2.5 hours. It was not nearly as time consuming as we expected.
- Root washing is easier for some plants than others.
- Hostas tolerated the process very well; rhubarb and columbine cultivars did not.
- Used toothbrushes are excellent tools for removing stubborn soil.
- One volunteer root washed plants at home before arriving, leaving the soil behind in her own garden—an approach we may encourage in future years.
Safe Disposal of Soil and Wash Water
The removed soil was collected in heavy-duty plastic bags and disposed of through municipal waste collection. Surprisingly little soil accumulated after processing approximately 250 plants.
As rinse water became muddy, fresh pails replaced dirty ones. The used water was allowed to sit for several days so soil particles could settle to the bottom. Clear water was then poured into the municipal sewer system for treatment, while the remaining sediment could either be solarized (Master Gardeners of Ontario 2022) or disposed of through municipal waste collection.
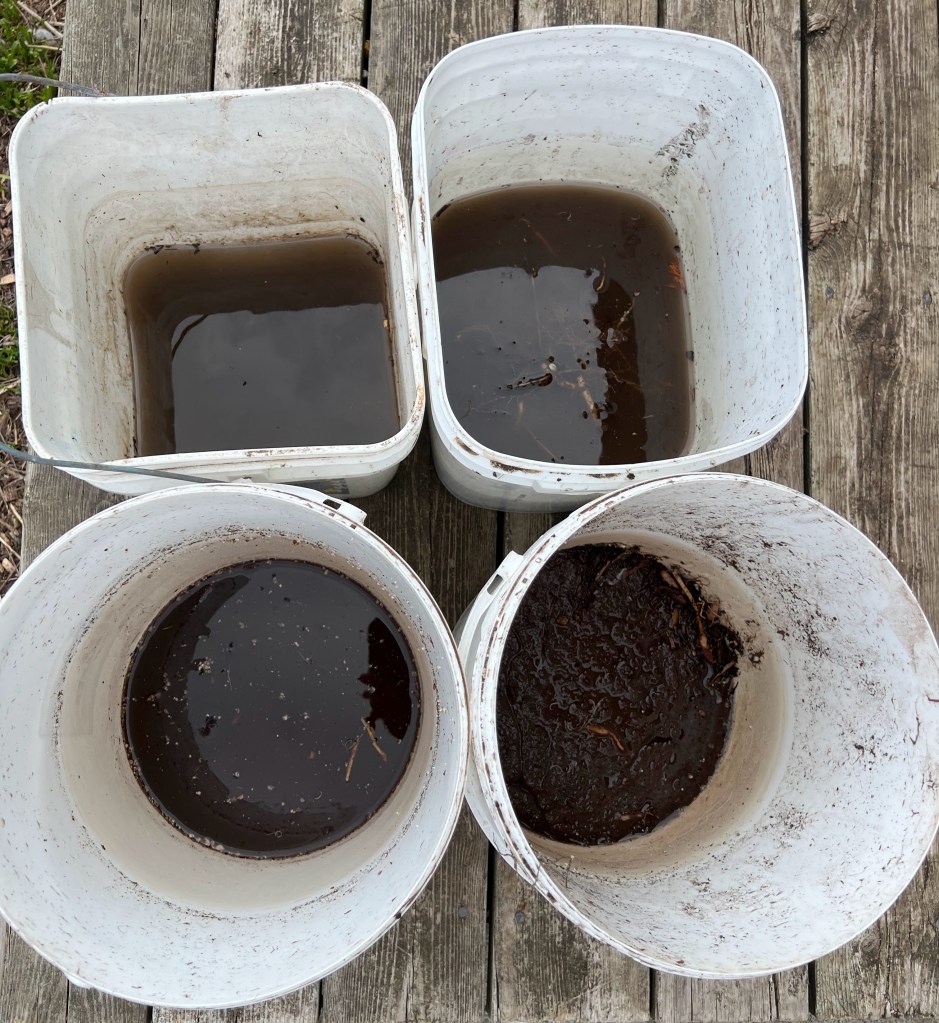
Photo: Silvia Strobl CC-BY NC SA Pails with remaining sediment. We used about a dozen pails, switching ones with dirty water and others with clean water regularly.
Caution is advised when root washing in rural areas as I couldn’t find any information on whether jumping worm cocoons can survive in untreated waste systems.
Root Washing Benefits More Than Perennials
For trees and shrubs, root washing has benefits beyond decreasing the risk of invasive organisms. Removing potting soil encourages roots to grow outward into the surrounding native soil rather than remaining confined to the original potting mix. The result is better long-term establishment and survival (Chalker-Scott 2020).
Root washing also allows gardeners to identify and correct root problems such as girdling or spiralling, before planting. Woody roots can be pruned so they spread outward like spokes on a wheel, while fibrous roots can simply be straightened by hand (Hopton-Villalobos 2021).
Even nursery-grown perennials benefit. Potting mixes containing perlite and vermiculite drain quickly and are ideal for greenhouse production, but roots sometimes fail to expand into heavier garden soils after transplanting. By removing the potting mix and “mudding in” the roots directly into garden soil, plants often establish more successfully—and gardeners avoid introducing invasive pests at the same time (Wagar 2025).
A Small Step that Protects Your Garden
Root washing may add a little extra time to planting, but it is one of the simplest and most effective ways to protect your garden and local ecosystems from invasive species. As there is currently no proven treatment for jumping worm infestations, prevention is the gardener’s best defence.
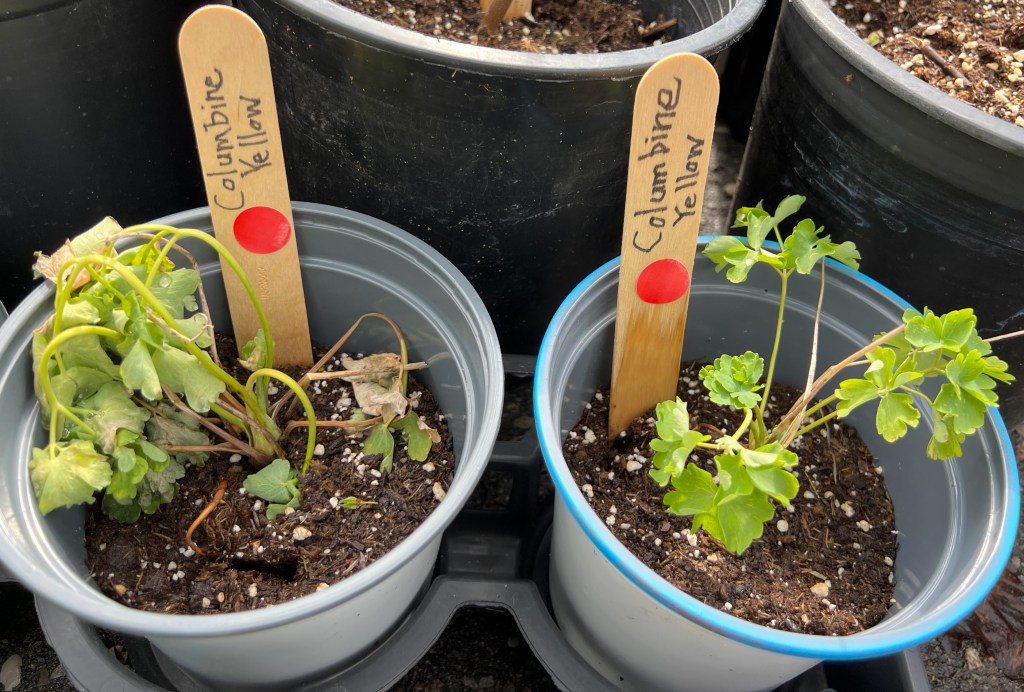
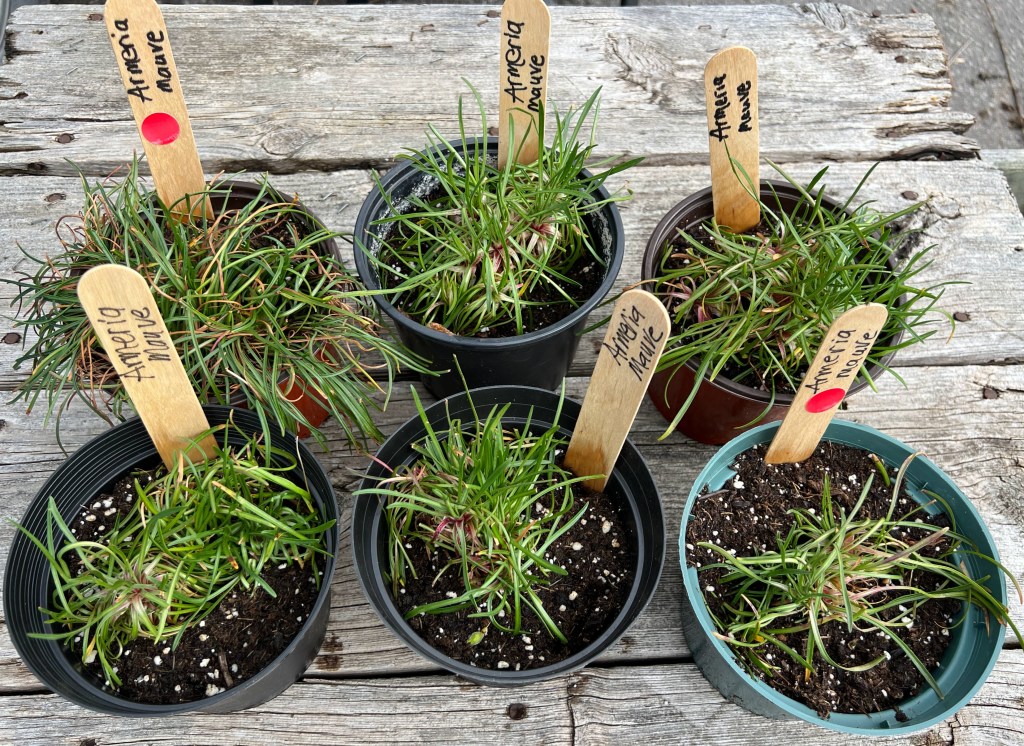
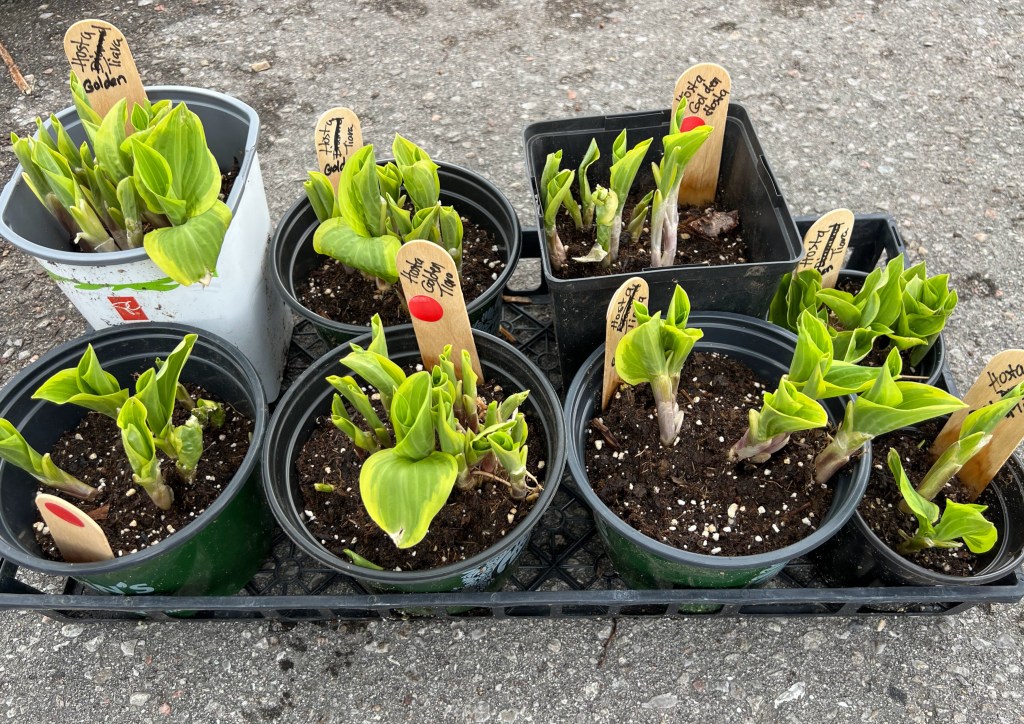
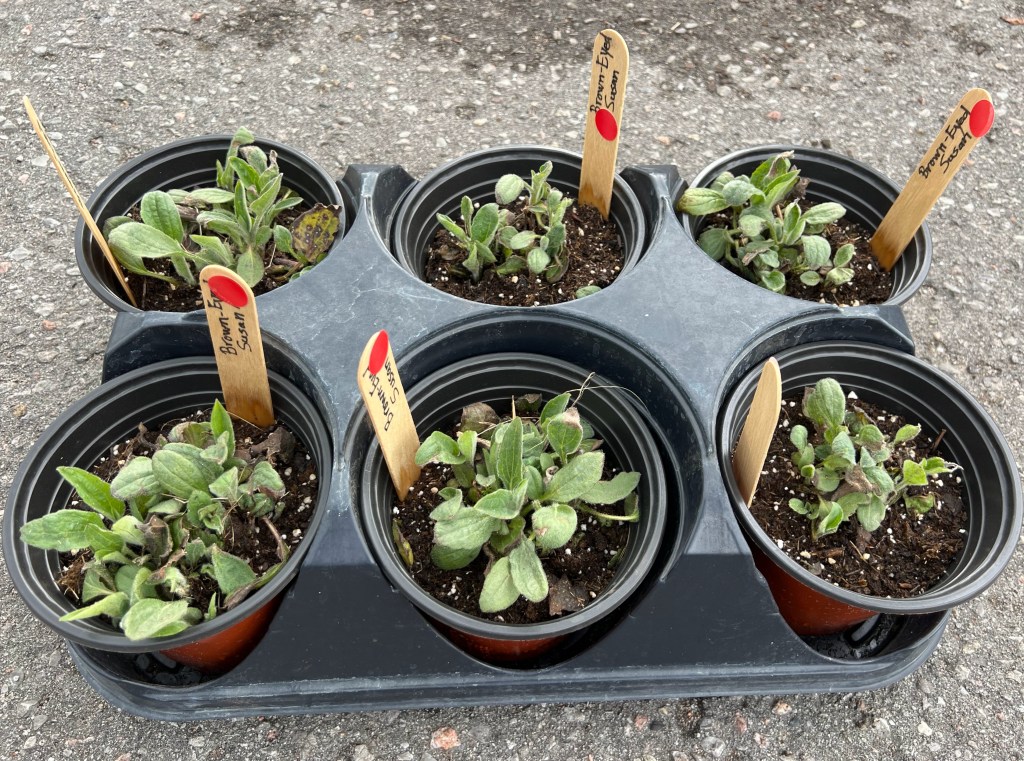
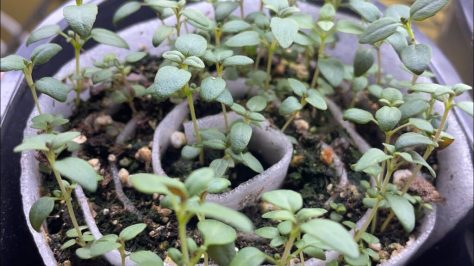
Photo: Silvia Strobl CC-BY NC SA Some of the potted plants two weeks after root washing. Clockwise from top left: Black-eyed Susan cultivar, Golden Tiarella Hosta, Armeria, and Columbine cultivar (these did not root wash well as can be seen in the pot on the left and several others not shown).
REFERENCES:
Chalker-Scott, L. 2020. Root Washing: Why and How to Wash Roots. Fine Gardening.https://www.finegardening.com/article/root-washing-why-and-how-to-wash-roots
Dobson, A., J. Görres, J. Richardson, A. Kostromytska. and T. Simisky. 2022. Invasive Jumping Worm Frequently Asked Questions. University of Massachusetts Amherst. https://www.umass.edu/agriculture-food-environment/landscape/fact-sheets/invasive-jumping-worm-frequently-asked-questions
EDDMaps. 2026. Distribution of Jumping Worms (Family Megascolecidae) in southern Ontario. https://www.eddmaps.org/distribution/viewmap.cfm?sub=91199
Hopton-Villalobos, J. 2021. Wash First: Successful Strategies for Replanting Natives. Florida Native Plant Society. https://www.cupletfern.org/articles/wash-first-successful-strategies-for-replanting-natives
Master Gardeners of Ontario. 2022. Invasive Jumping Worms – Information for Home Gardeners. https://gardenontario.org/wp-content/uploads/JWS-Information-for-Gardeners.pdf
McTavish, M. Pers. Comm. 2025. Formerly Postdoctoral Fellow with the Daniels Faculty of Forestry, now Conservation Scientist with rare Charitable Research Reserve.
Wagar, Beverley. 2025. “Mudding In” and other planting tips. 1000 Islands Master Gardeners. https://1000islandsmastergardeners.ca/2025/11/13/mudding-in-and-other-planting-tips/
RELATED:
Act Now to Keep Jumping Worms Out!
The Myth of Fragile Roots Planting Trees and Shrubs
Ayad, N. 2026. Why Earthworms aren’t always good for the soil. CBC Ideas episode. https://www.cbc.ca/listen/live-radio/1-23-ideas/clip/16206081-why-earthworms-always-good-soil-planet