By Emma Murphy, Master Gardener
The Oxford Dictionary defines “wildflower” as “a flower of an uncultivated variety or a flower growing freely without human intervention.” It has nothing to do with the species’ native range, its benefits for pollinators, or its impacts on ecosystems. A “wildflower” could be native, non-native or at worst invasive.
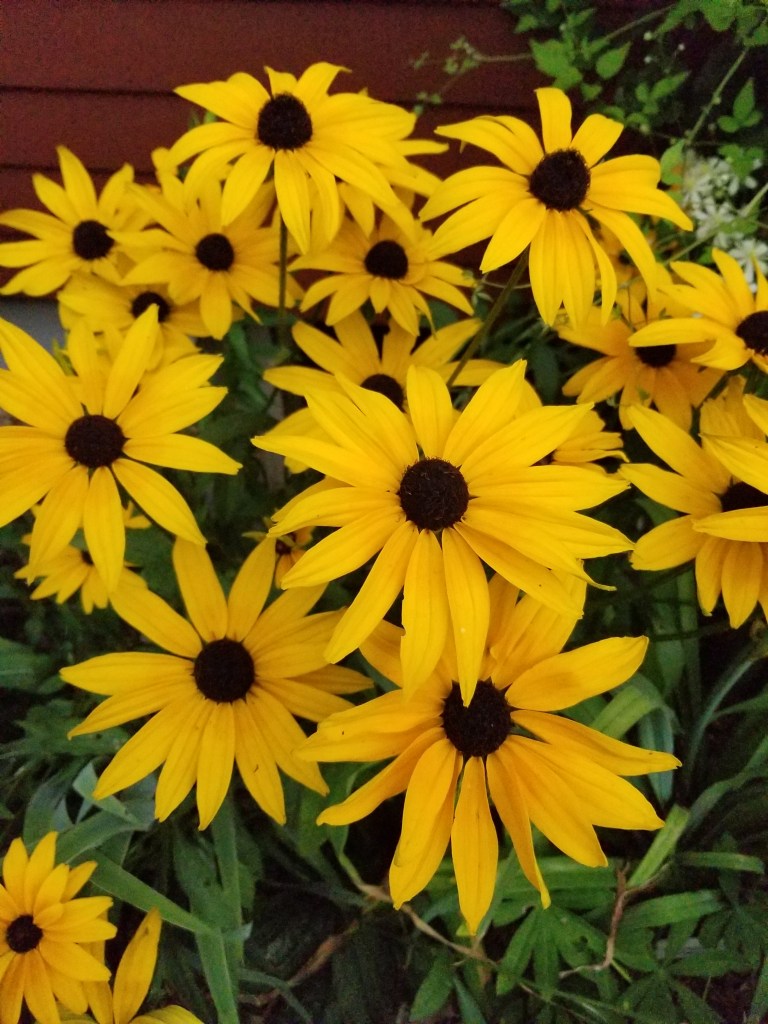
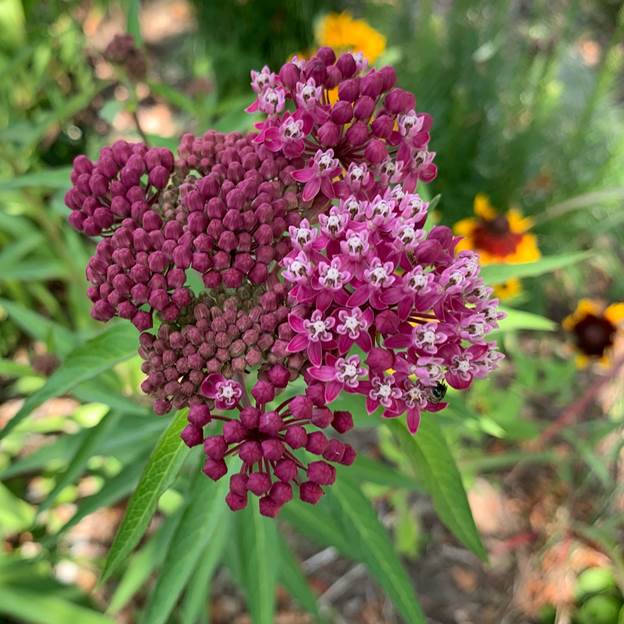
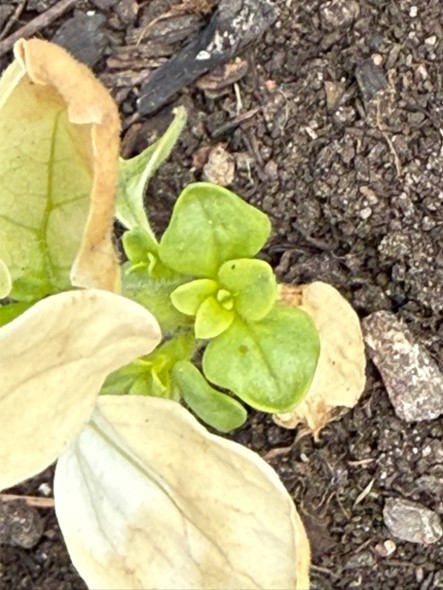
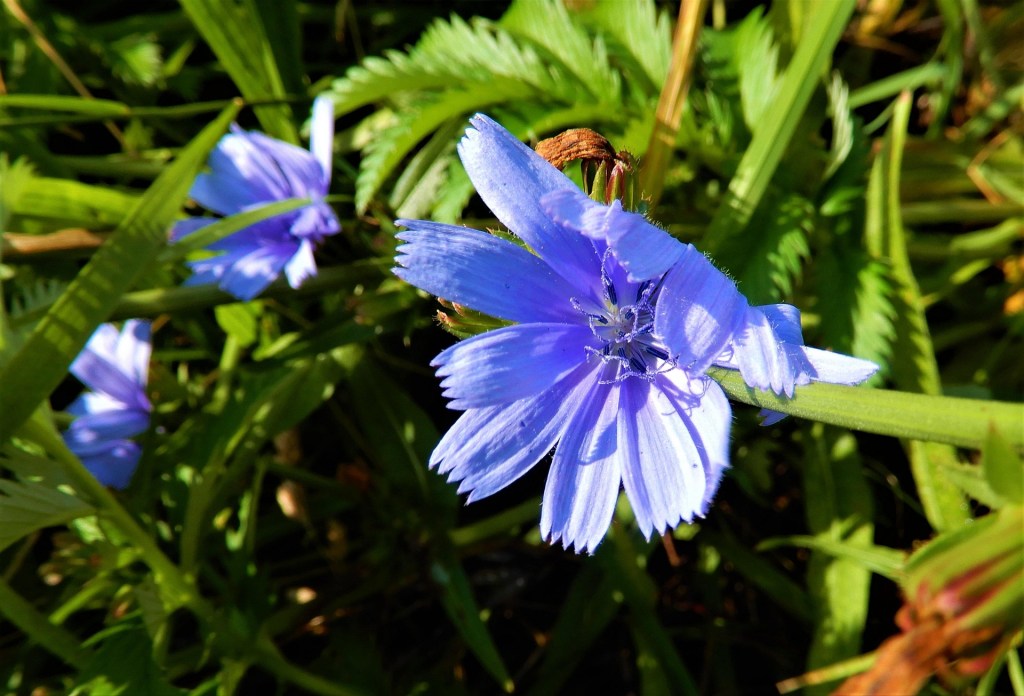
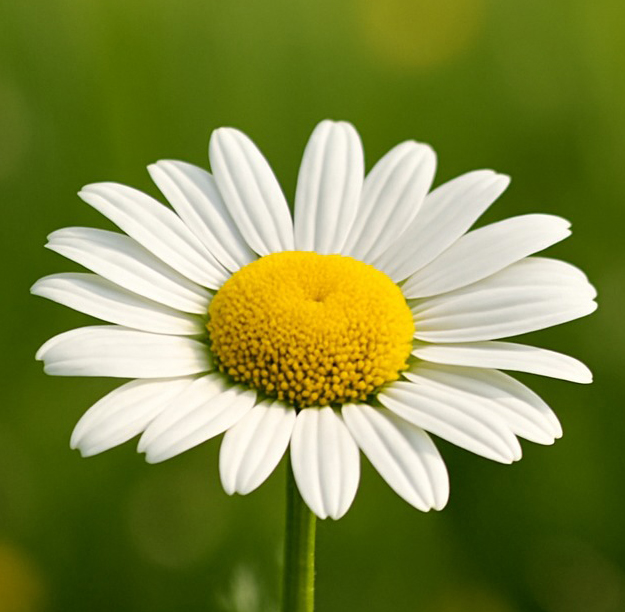
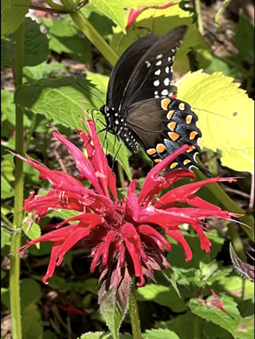
Last year at this time, I wrote a blog post about roadside wildflowers. Most of these flowers (like chicory [Cichorium intybus] on the left or Oxeye Daisy [Leucanthemum vulgare]) are non-native opportunists from Europe or Asia that colonize quickly on disturbed sites or ditches and wetlands and outcompete native species, but lots of people assume they are native because they’re everywhere along roadsides (I did for years!).
The bottom line? Wildflower does not equal native.
So, if you want to buy a wildflower mix to create a long-term habitat for native pollinators, beneficial insects, and bees in your gardens, the mixes found at big box stores and large nurseries are probably not the mixes you want.
Why the Label can Mislead
A lot of retail “wildflower” mixes are designed for fast colour. They focus on non-native annual flowers, which bloom quickly and beautifully in the first season but fail to support local pollinators (and isn’t that the point?), or can even become invasive.
While mixes don’t need to be exclusively comprised of species native to Ontario to provide good habitat for pollinators and beneficial insects (although that’s the best case scenario), they shouldn’t be invasive and should be perennials so that your garden continues to look good year after year.
Why is this Important?
Pollinators need more than flowers that simply look pretty. They need plants that fit local conditions and provide food, shelter, and nesting support over time – that are beneficial to the local ecosystem.
What’s the biggest red flag? Seed mixes that only provide the common names of species instead of the scientific (Latin) names. While common names can be easier to remember and pronounce, they also vary by region, and one plant can have several different common names. This can cause confusion about what the actual species is.
A Case in Point
Last year at the PMG A Day for Gardeners a lady approached me with a large bag of pollinator seed mix as I was working on the advice table. She wanted to know if it was good. There were no Latin names (first red flag) so I asked her to leave it with me to investigate.
After checking as best I could we determined that almost 80 percent of the seeds were not native and were annuals. She planned on returning the bag to the store.
The Problem with Mixed Seed Packets
- Big companies that sell across Canada create one seed mix to sell across the entire country but what might be native in Alberta probably won’t be in Ontario
- Seeds have different germination requirements so you may find some seeds don’t germinate at all
- Different seeds may not grow well together
- Some seeds may not like your site conditions and others may become dominant
The worst problem is if they contain non-native, invasive seeds.
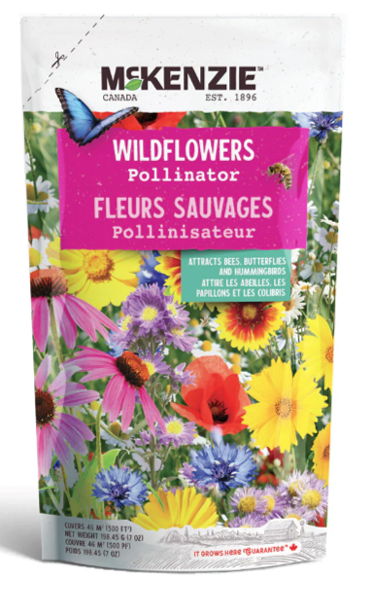
Let’s look at an example. McKenzie Wildflowers Pollinator Mix.
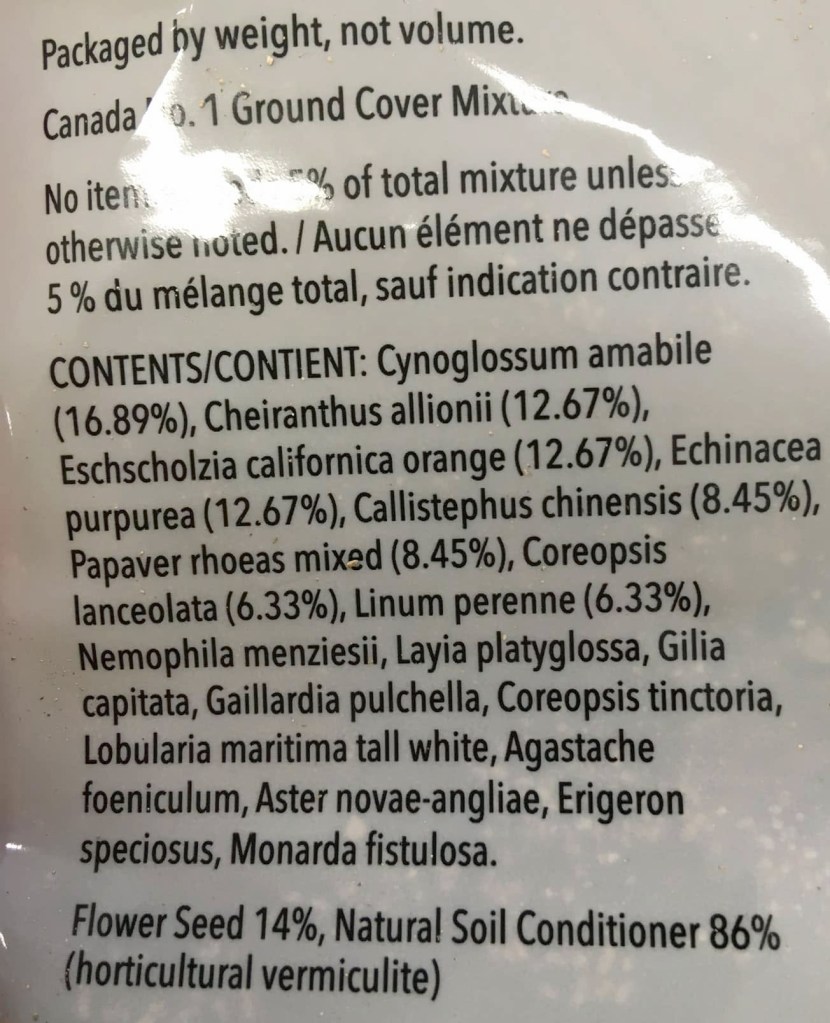
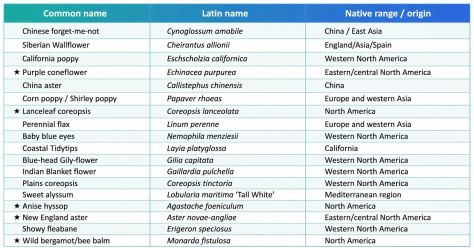
- Only five flowers native to Ontario (*) and all less than 5% of the mix except for the Purple Coneflower, which is 12.67% and Lanceleaf coreopsis, which is 6.33%
- The first three flowers, which comprise over 42% of the mix, are all non-native
- Your seeds are only 14% of the mix – the rest is vermiculite (filler)
Here’s a full breakdown.
Better Ways to Choose
The best seed mixes are transparent. They tell you exactly which species are included, how much of each is in the packet, and whether the plants are native to your region. Regional native mixes can be useful, especially when they include a balance of annuals and perennials and are clearly suited to your regional climate.
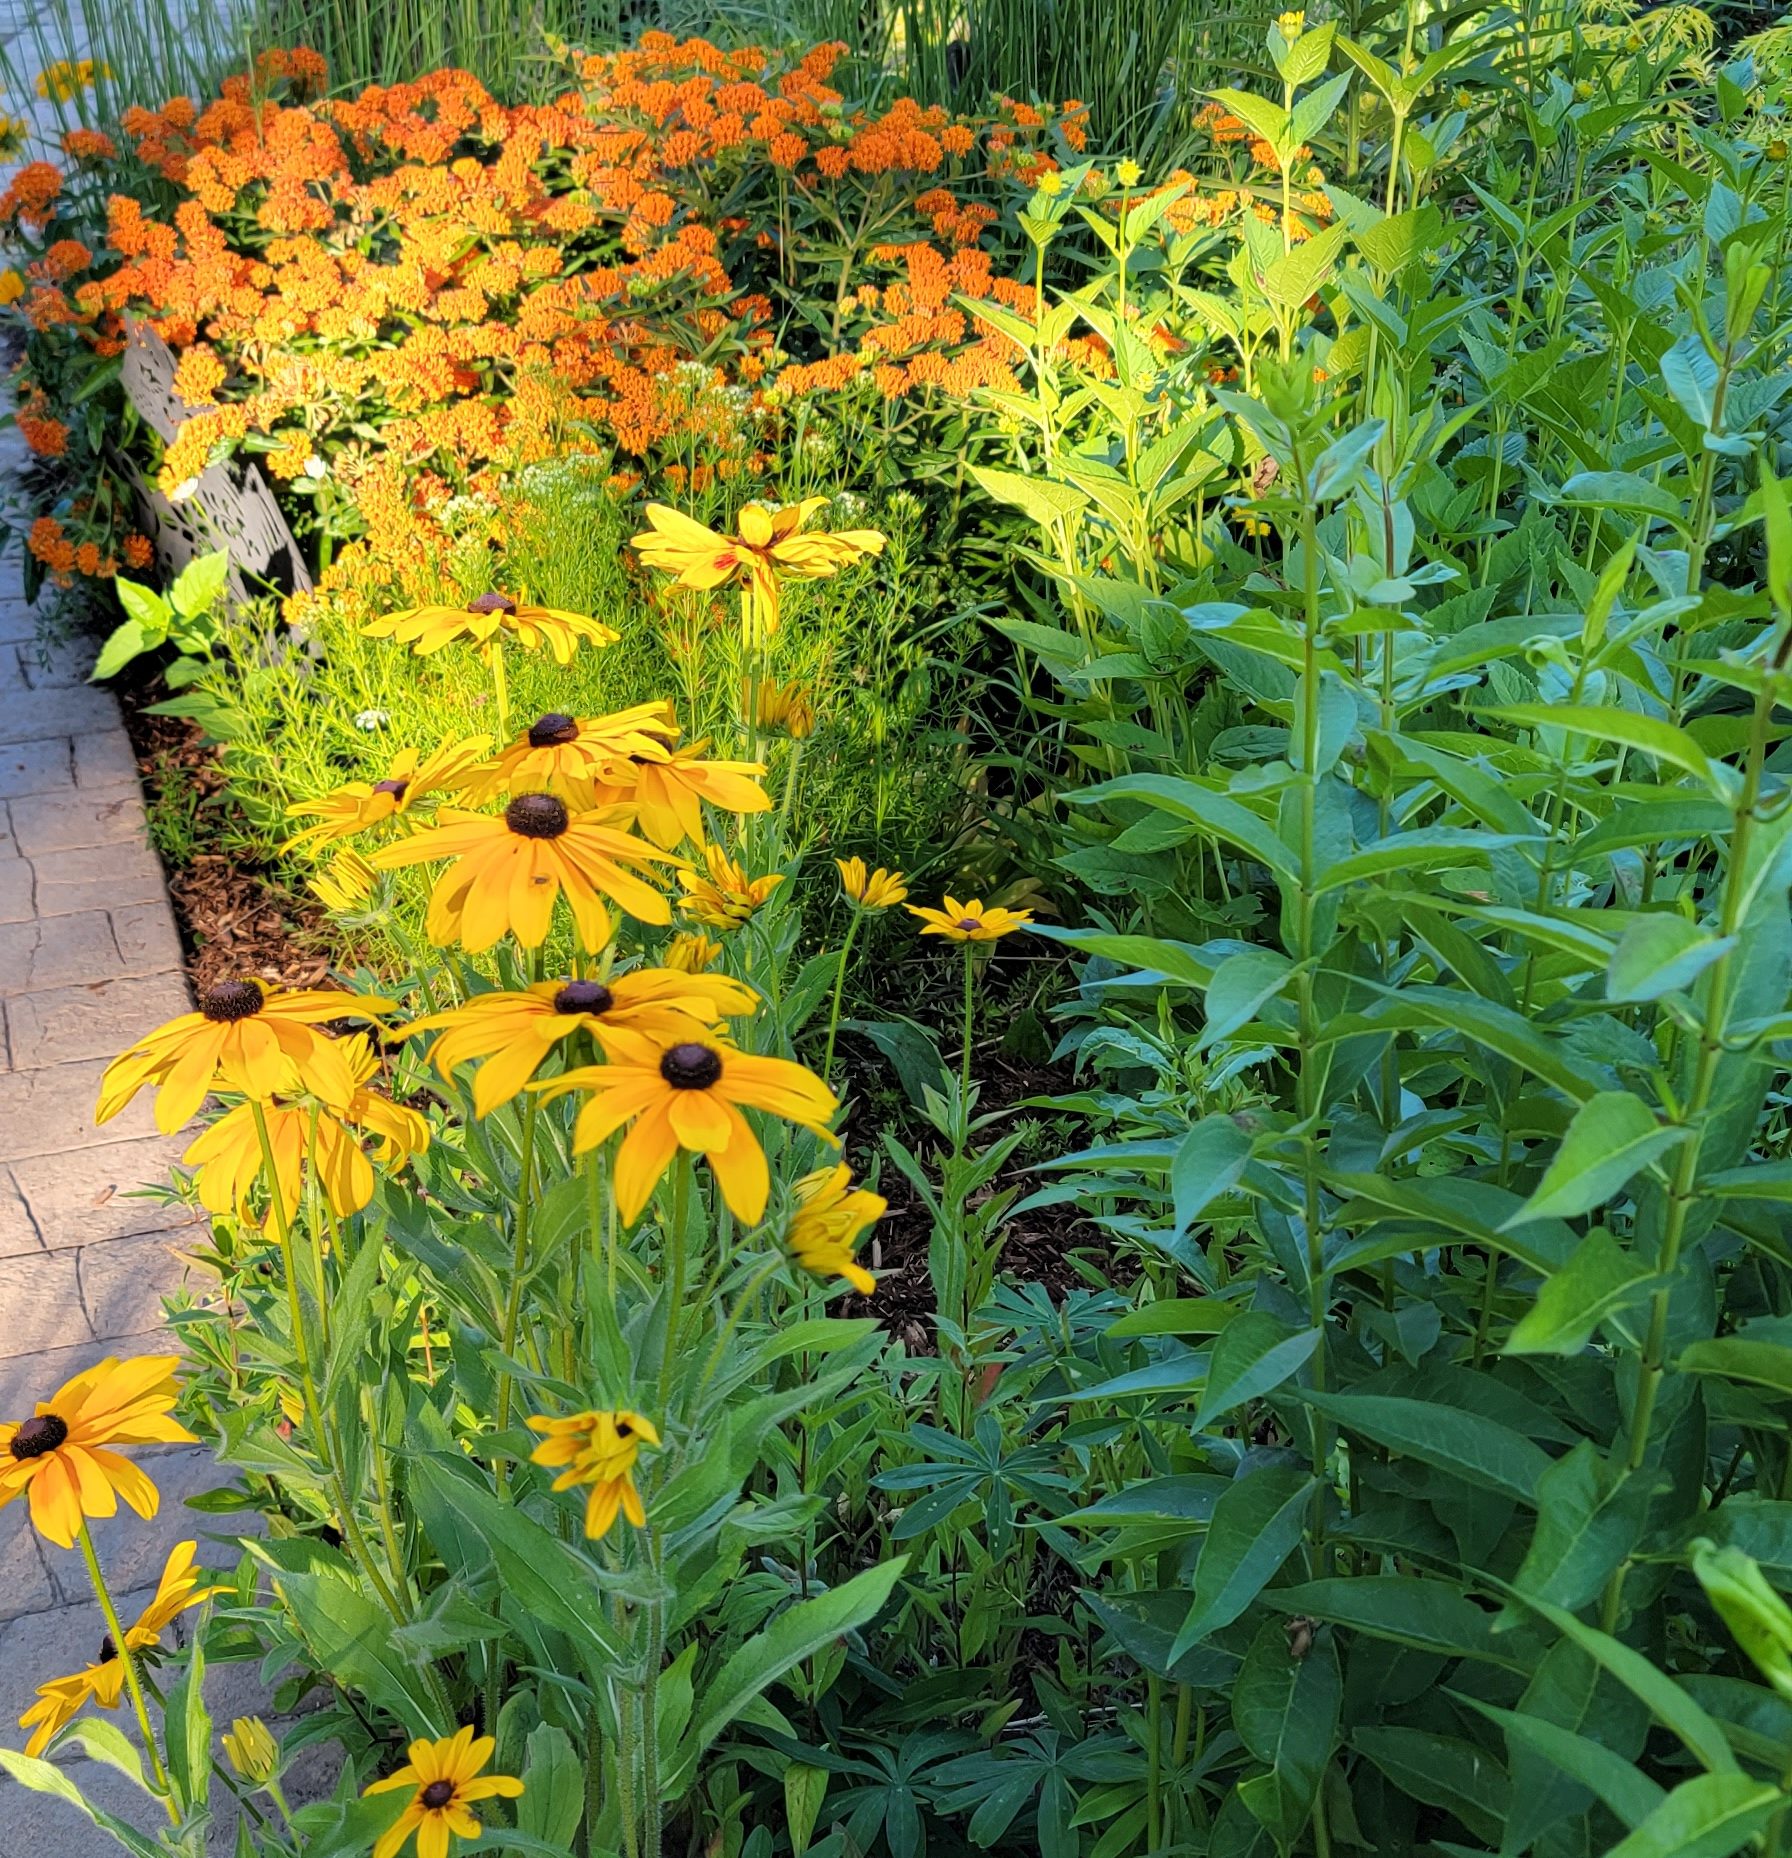
If you’re serious about supporting biodiversity, the most important thing you can do is choose seeds that are native to your specific region.


I’ve seen several companies create better wildflower mixes in the past few years, including Northern Wildflowers, Native Plants in Claremont, OSC and, for large projects, St Williams Ecology Centre. I’m sure there are others I have missed so be sure to comment if you know any!
One key thing to remember with native plant seeds is that most need winter stratification (a cool, wet natural dormancy period over winter) to germinate well. That means that direct garden sowing should take place in the late fall after the first frost (mid-September to November, depending on your region), not in the spring. If seeds can’t be stratified, many will not germinate until the following spring and germination rates may be slightly lower.
A Simple Rule for Gardeners
If your goal is to truly help pollinators, choose local native plants first and sow your seeds in the fall for best germination. Avoid mystery mixes (especially those with only common names), check the label closely, and be cautious of bags that promise an instant meadow without giving details. Colourful flowers are nice, but real pollinator support comes from the right plants in the right place, and that doesn’t happen overnight.
Choose the Right Seeds – Go Native, Not Just “Wild”
Additional Reading
- What native plants attract pollinators in Ontario? — David Suzuki Foundation
- Good Intentions, Harmful Impact: Wildflower Seed — PEI Invasive Species Council
- Wildflower seed mix – For friends on Canada’s Prairies
- Ecoregional Planting Guidelines – Pollinator Partnership