Category Archives: Uncategorized

An Easier Way to Garden – Raised Vegetable Garden Beds

By Christine Freeburn, Master Gardener

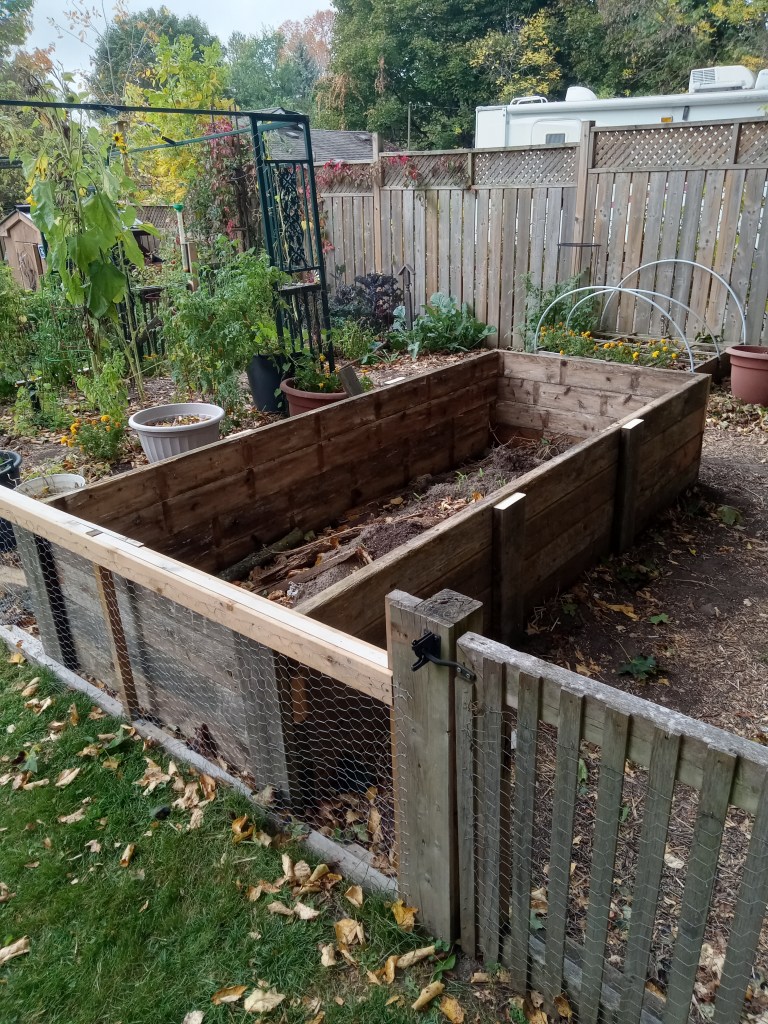
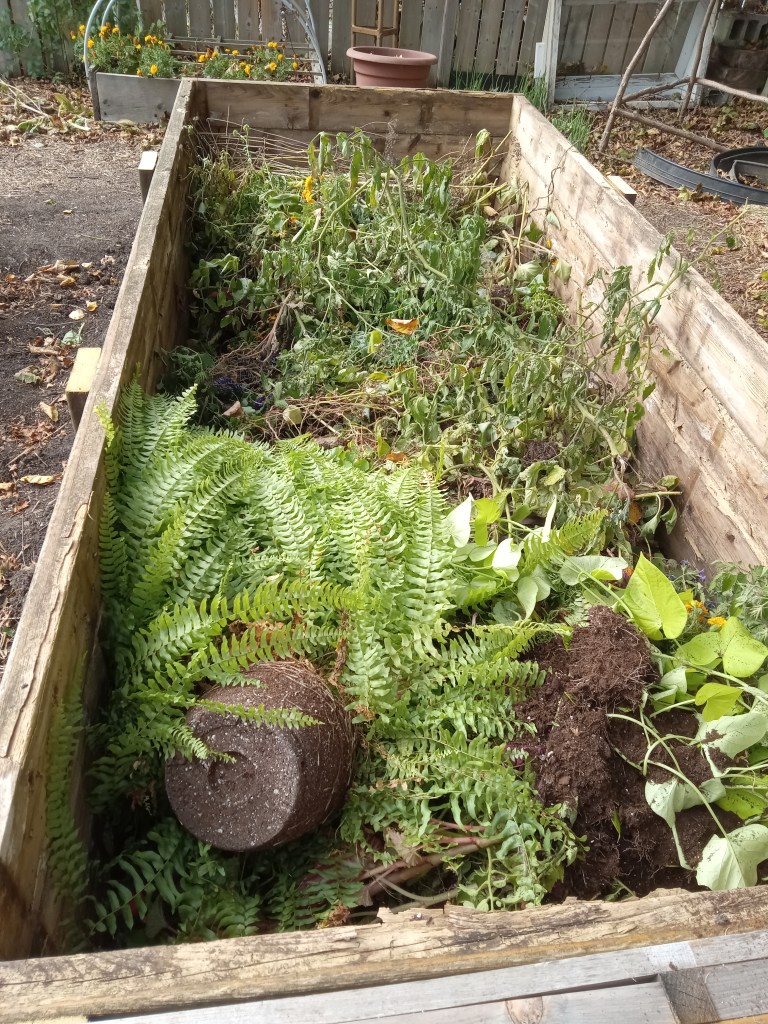
Last fall, we replaced our wooden deck and had those old untreated cedar boards to dispose of. I had my handy husband build a 4’ W X 9’ L X 3’ H box in my existing vegetable garden.  We placed it in an area that gets at least 6 hours of sun.

Doing this in the fall allowed me to fill the bottom with the woody stems, disease free plant material, and maple leaves from my yard as I did my fall clean up. We waited until the spring to add a yard of top soil and compost which topped it off.

There are many benefits to raised garden beds

Agility and mobility issues

  • As we age, getting up and down in the garden becomes more difficult.

Soil issues

  • Because we no longer till our garden beds, compaction is a real problem, but if we are not walking on these beds, soil compaction is not a big issue.
  • Soil in raised bed tends to warm up earlier in the spring.
  • You need only improve soil in growing beds and not on pathways or unused areas.

Easier to weed

  • Planting rows close together because you don’t need to walk between, makes less bare soil for weeds to grow in.
  • Weeding on your knees is not necessary.
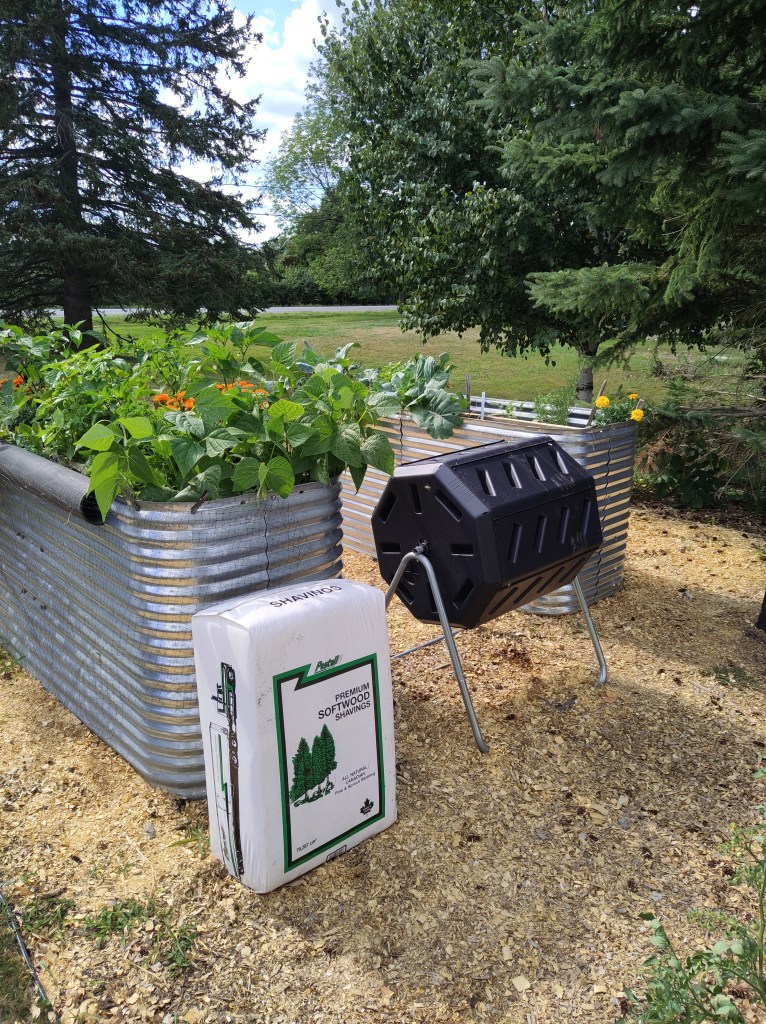
  • Use straw, woodchips or mulch on your pathways.
  • There are many options and considerations.

Materials they are made from

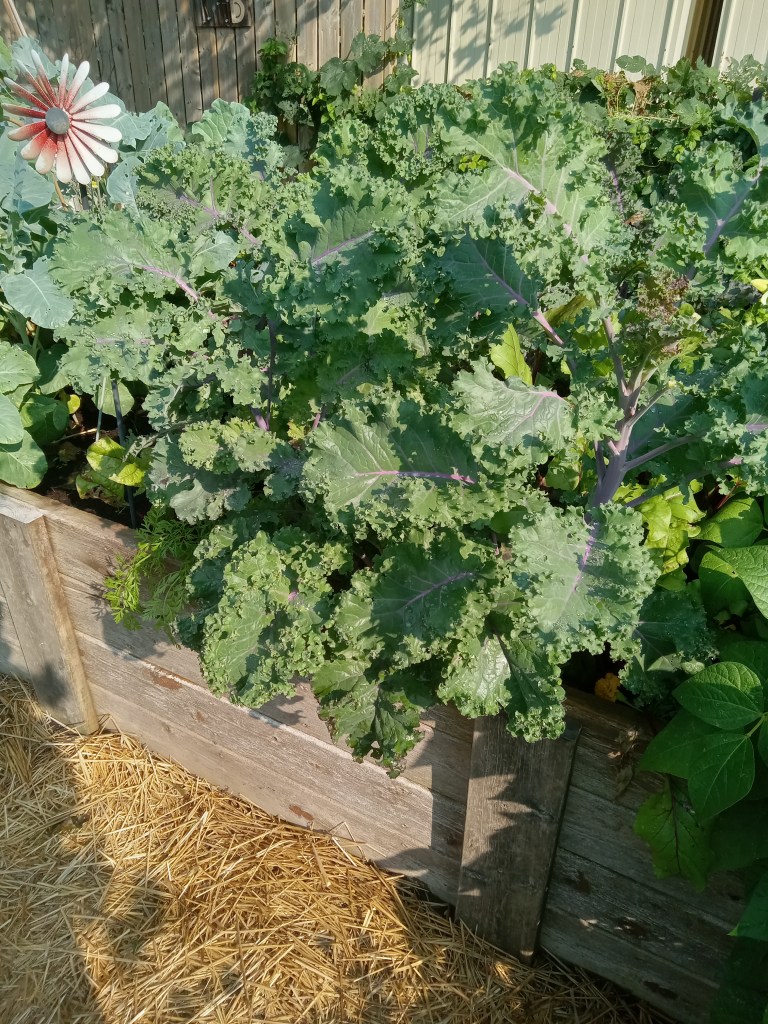
  • Wood is a common material and there are many prebuilt varieties.
  • Use only untreated wood if you are building your own.
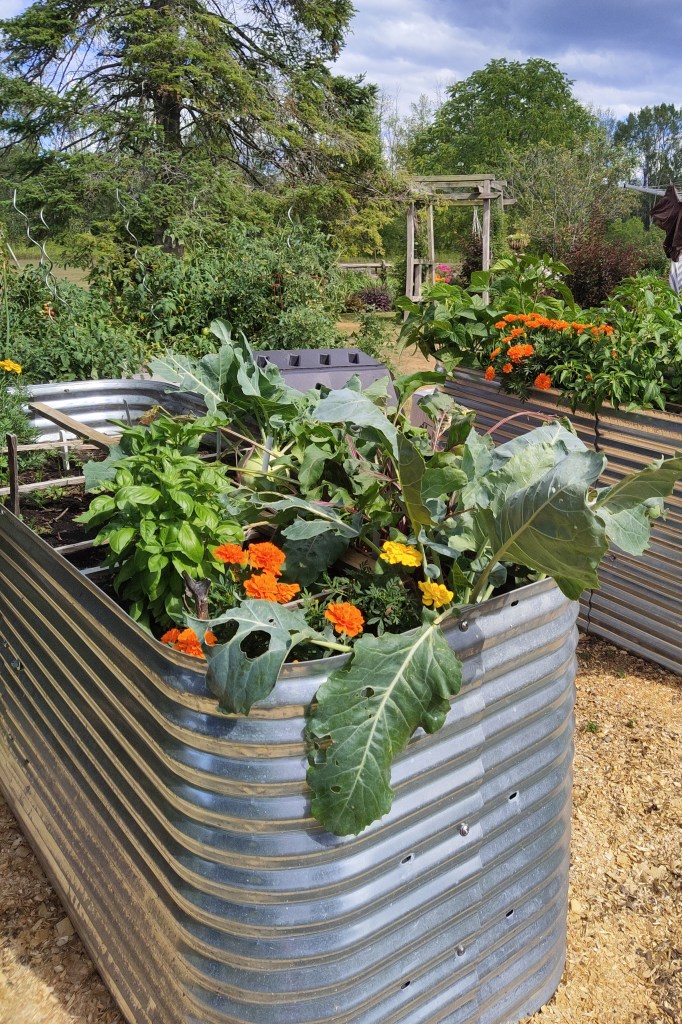
  • Galvanized metal premade are very popular.

Size

  • Ensure your box is only 4’ wide, so you can reach into the bed without climbing in.
  • You can make the bed as long as you like…what fits the site and your needs.
  • There should be no bottom in your raised bed – for drainage as well as for root growth. Most beds are at least 8” high, giving good space for good garden soil.
  • Height can be anywhere from 6” to 4’, depending on how far down you want to bend when gardening and how far up you plan to grow your vegetables
  • Check out shapes and sizes in this article from Niki Jabbour.

Placement

  • Once installed and filled with soil, these are permanent structures, so be sure they are in enough sun (at least 6 hours).
  • For safety, be sure your box is level.

What you grow in raised beds

  • Vegetables like carrots, radish, beets, lettuce, chard, kale, cabbage, broccoli, and other brassicas are all good candidates
  • Peas and beans do well, but remember you may need to stake or have trellis for these taller vegetables.
  • Squash, cucumbers and zucchini may take over your raised bed, so you will have to train the plants to climb or have them trail outside your container.
  • Potatoes or leeks that need soil topping, may not work unless they are in a separate bed or area of the raised bed, where you will dig a trench and top up as they grow.
  • Tomatoes are often indeterminate, so may grow too tall for a raised bed of 4”. You probably only need a bed that is a foot or two deep.

Over the summer, the material in the bottom of my newly constructed bed composted and compressed and the soil dropped about 8”. If you are setting up your raised bed in the fall, I would recommend adding the top soil/compost in the fall and then topping up again in the spring.

And you will probably have to top up with fresh soil and compost every year as the soil settles and the “filler” you put in the bottom decomposes and shrinks. Also remember that crop rotation will still be important.

I am very happy I don’t have to bend over to pick beans and weeding has become so much easier.

There are many ideas on social media for raised beds. Check out these sites.

Peterborough Master Gardeners website search on raised beds

Raised Bed Gardens

Best vegetables to grow in raised beds

The Lazy, Hazy, Crazy Days of Summer

by Marilyn Homewood, Master Gardener

We have now just slipped into the first days of August, a time that most of us can stop and catch our breaths.  Spring cleanup, plant division and new plantings seem to be a distant memory (it wasn’t that much work, was it??). 

Upcoming fall tasks like seed saving, bulb planting and dahlia dividing are still far enough away not to seem real. Settling on a topic for a blog post just seems like too hard a task.  Garden musings might be more in tune with the time of year.

Of course, I am still busy in the garden as there are the omnipresent weeds that need to be dealt with and the harvesting that goes along with a cut flower patch. At least there is something to harvest.  What a change from the drought of last year.  Rainfall was so scarce at my place that most of my cut flowers performed poorly and went uncut.  Being on a dug well means managing water resources. 

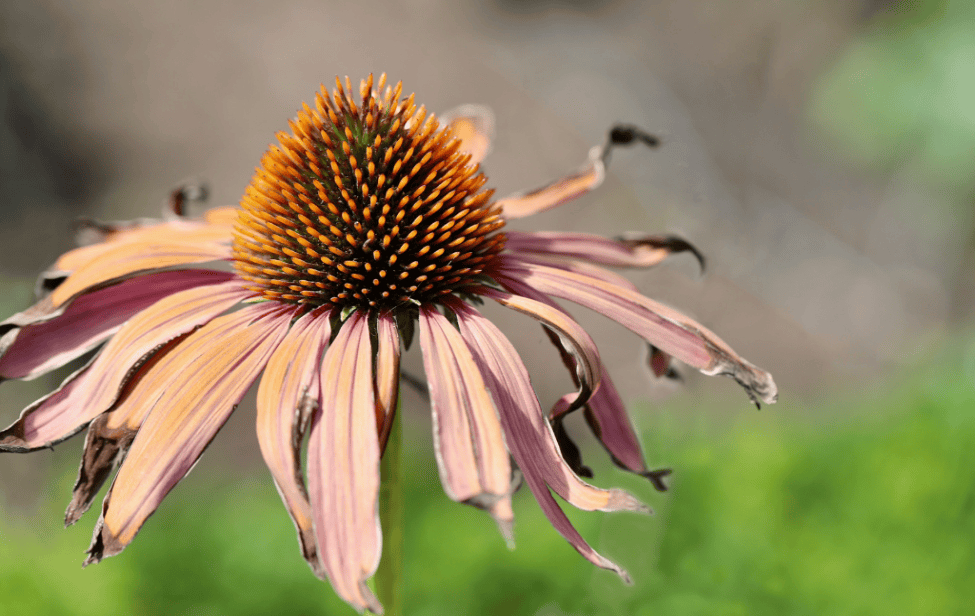
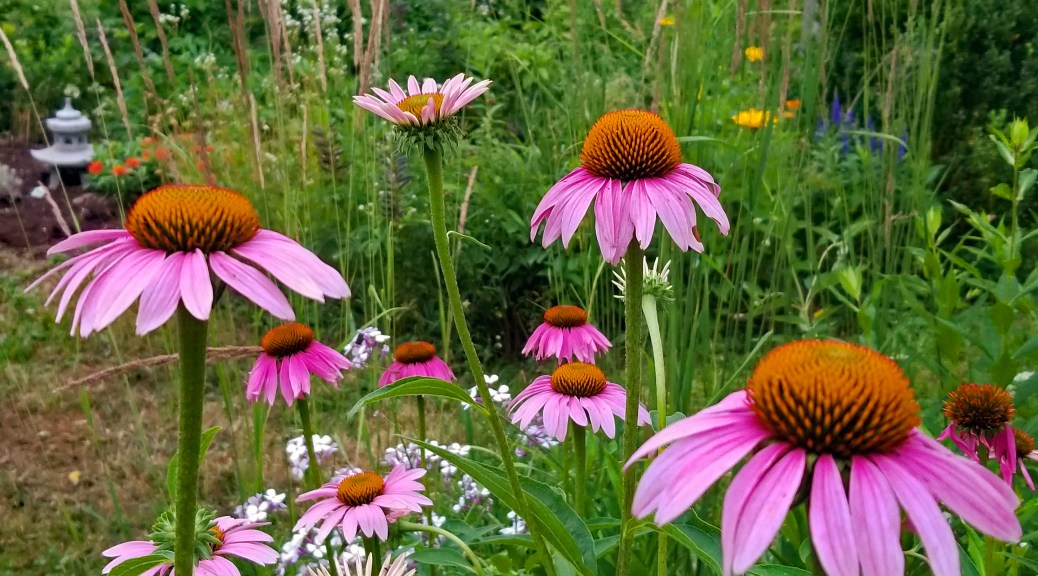
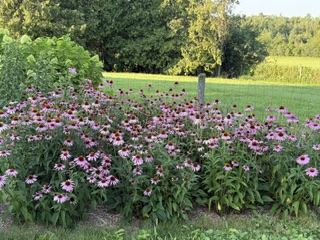
As I now look around the garden, the daylilies which came on fast at the beginning of July and were quite bountiful are now fading away.  The purple coneflowers have been blooming for a couple of weeks and with rainfall look to go on for a bit longer. Even the lupines that were planted last fall are still showing some bloom.

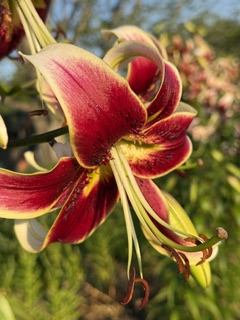
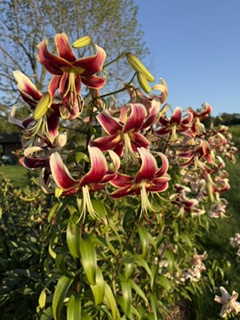
The return of the lilies this year was a welcome sight.  Last year, not a single lily bud (Asiatic or Oriental-Trumpet [OT] hybrid) survived the ravages of the chipmunks who were most likely looking for moisture due to the lack of rainfall.  While I am used to the buds being swiped from the shorter Asiatics, my OT hybrids which are 5 to 6 feet tall, usually go untouched.  Not last year!

In my nursery bed at the back, I have a large stand of Liatris ligulistylis. It is starting to be filled with monarch butterflies stopping for some nectar. It truly is a monarch magnet.

field of echinacea plants

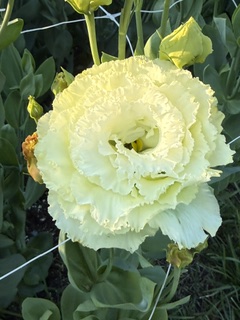
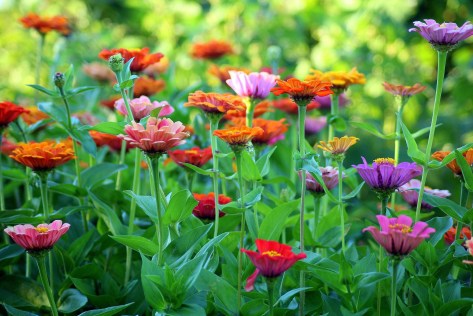
In the cutting garden, the Sweet William, Marigold and Zinnia are blooming like crazy and the Lisianthus is just starting to bloom.

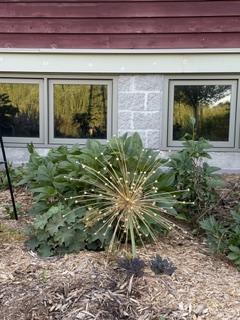
Heading back towards the house, I pass by the form of Alium schubertii, planted last fall less for the bloom and more for its architecture. They look rather like a something better suited to outer space than an Ontario garden.  I like the effect and will be adding more.

As I reach the side porch, my gaze falls upon a bulb crate full of drying Bells of Ireland that I am attempting to save seed from and on a seed tray of biennial Sweet William that I have started for planting this fall. 

Better enjoy this break, the fall is coming!

Monocarpic Succulents: The Plant That Blooms Once and Says Goodbye

By Mary-Jane Pilgrim, Master Gardener

If you’ve ever had a succulent like “Hens & Chicks” Sempervivum that suddenly produces a tall flower stalk and then begins to die, don’t panic—you probably didn’t do anything wrong. You may have discovered a monocarpic plant.

The word monocarpic simply means “flowers once.” These plants spend years growing into beautiful rosettes, storing energy in their thick, fleshy leaves. When conditions are right, they put all that energy into one spectacular flowering display. After the flowers fade, the main plant dies.

It may sound sad, but it’s actually a perfectly normal part of the plant’s life cycle.

Many popular succulents are monocarpic, including the already mentioned hens-and-chicks (Sempervivum), but also some Aeonium species (non-hardy succulents), and many Agave varieties (tequila, anyone?). The good news is that these plants often produce offsets, or “pups,” around their base before or during flowering. These baby plants continue growing long after the parent plant has finished its life.

If your monocarpic succulent starts to flower, enjoy the show if you appreciate them! Once the main rosette has completely died, simply remove it and allow the pups to fill in the space. Before long, you’ll have a healthy new generation of plants.

BUT if you’re like me and find the flowers messy, feel free to cut all of the flower stalks out — you aren’t removing anything that isn’t already on the way out. While you’re pruning, keep an eye out for the new offsets that will take their place and push them back into the soil if they pop out with the parent.

Nature has many surprising strategies, and monocarpic succulents remind us that sometimes the grandest finale is also a last hurrah!

Growing the best cucumbers!

By Christine Freeburn, Peterborough Master Gardener

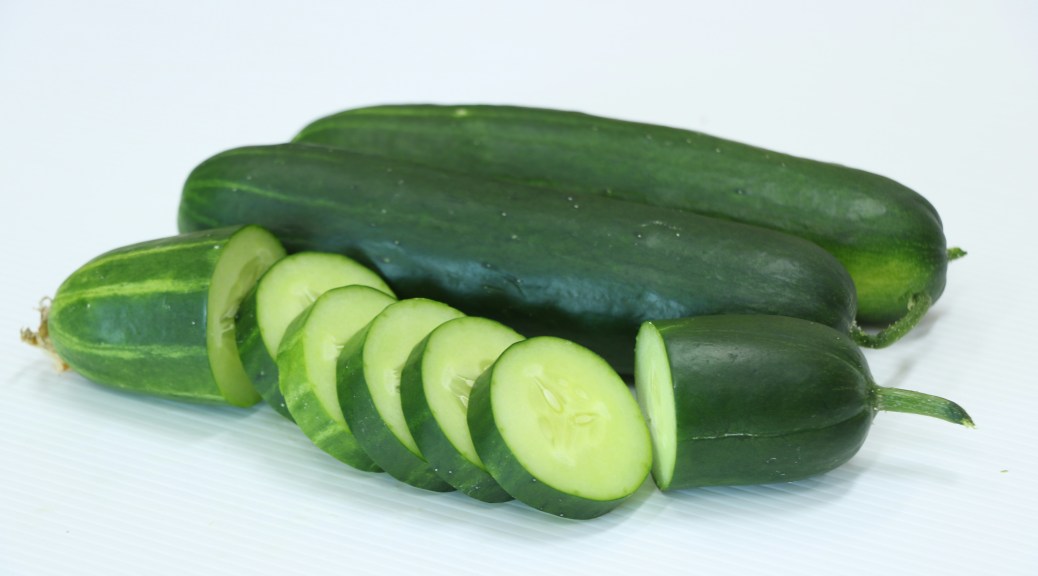
Cucumbers (Cucumis sativus) are a warm weather vegetable which means they don’t like cooler spring temperatures. If you are starting from seed, plant indoors and grow under lights 3 to 4 weeks before the last frost date.

Growing in peat or coir pellets will help with transplanting shock, but do not let pellets dry out. Germination takes 6 to 10 days. Remember to harden off, before putting into ground that is warm (18C to 22C), usually the end of May.

If you are purchasing seedlings, be mindful of outdoor temperatures when planting. Anything below 10C and plants could shock, setting them back or even killing them. If June nights are cool (we could still have a frosty night in June), cover your plants with a bed sheet or heavier row cover.

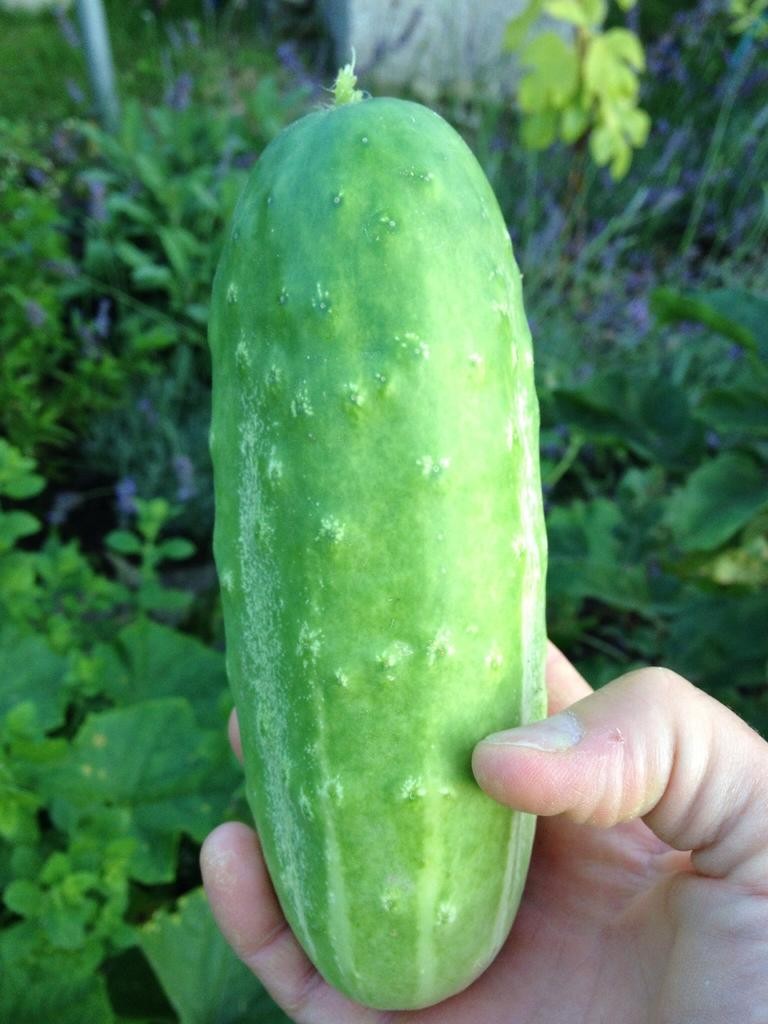
There are many different varieties of cucumber from the ‘Straight Eight’ or ‘Marketmore76’ which are a slicing type, pickling varieties like ‘Avenger’, minis like ‘Manny’ and the popular seedless English type like ‘Summer Dance’.

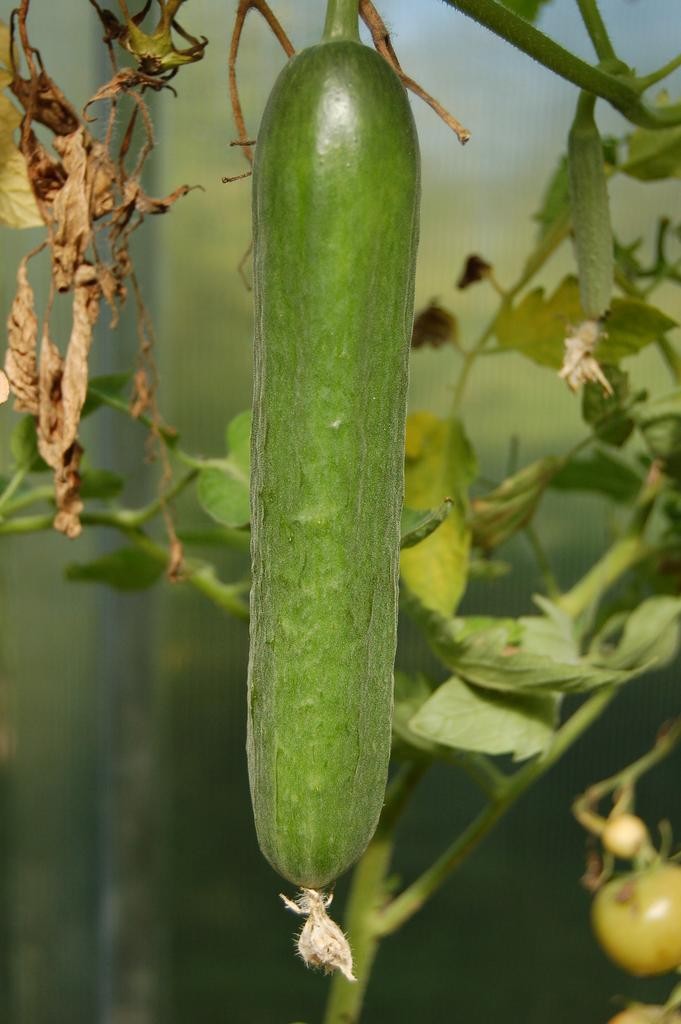
You may also notice, they are listed as Garden or Greenhouse varieties. Greenhouse types are often thin skinned, want it warm and don’t require pollination, and so are good for growing under cover or in a greenhouse. If you are growing your cucumbers in hills, the garden variety is fine.

When you are reading catalogues or seed packets, check the pollination key for your chosen variety. This tells you what each variety needs to pollinate and bear fruit. Cucumbers that have stubby ends or no growth have not been pollinated fully.

Pollination Key
Monoecious - male and female flowers on the same plant, so one plant will do, however pollination does need to happen, so invite pollinators to your garden. You can also pollinate yourself. The female flower is identified by having a tiny fruit just behind it. You can remove a fresh male blossom and gently rub it against the pollen of the female to help with fertilization.
Gynoecious - plants have only female flowers and need another plant to pollinate
Parthenocarpic - these plants do not require pollination and are usually Greenhouse varieties.

Cucumbers need lots of compost/fertilizer as they are heavy feeders. They also need to be evenly moist. Water the soil, not the plant to prevent powdery mildew and other viral diseases.

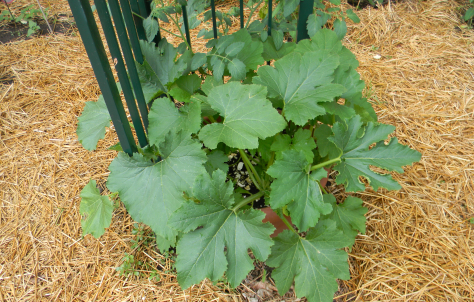
You can grow cucumbers up a trellis. In fact, I recommend it as this helps to keep fruit clean, encourages good air flow to reduce disease and can keep pests away. You will need to train the vines. Use clips to gently hold in place. Install your trellis or whatever you are using, when you plant your cucumbers and before they begin to grow.

Cucumbers can also be grown in containers where it is easier to keep them evenly moist and mulched. And you can still trellis them, if you are buying the vining type. I use 3 bamboo stakes which I put in a teepee shape by tying the tops together. You can purchase bush type cucumbers, which are more compact than vining types, but production is not as high with bush types.

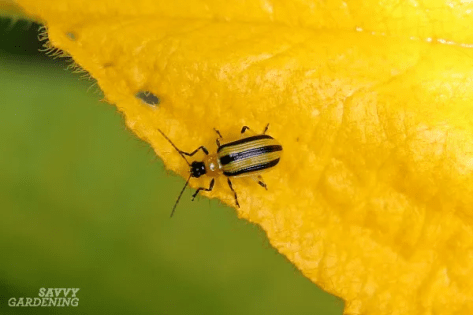
The cucumber beetle is the main pest for this crop. Crop rotation is important as beetles overwinter in soil, coming out of soil in mid summer to munch on your plants and transmit bacterial wilt.  Planting nasturtiums, dill or marigolds may help to keep the pests away. The best remedy is row covers. Put row covers on new plants as soon as they go into the ground. Covers will need to be removed for pollination, once flowers appear.

Cucumber beetle

Pick cucumbers in the morning when they hold the most moisture. Pick fruit often to encourage more to grow. Cucumbers contain vitamin K, potassium, antioxidants and fibre. Enjoy them!

References

Cucumber

William Dam Seeds

Book – Growing Under Cover – Niki Jabbour – Storey Publications

Using Cold Hardy Annuals to Extend the Flowering Season

By Marilyn Homewood, Master Gardener

Here in Ontario we have a long enough growing season to accommodate both the cold hardy annuals such as sweet peas and the tender annuals like zinnia and celosia.  So why do so many gardeners wait until the third week of May to plant their cold hardy annuals?  Fear of frost.  How many times have you heard the mantra “Don’t plant until Victoria Day weekend”. While that is good advice for many plants, it actually works against this class of plants that like to put down roots in cold soil.

There are actually 2 ways to deal this class of plants:

Direct sow in the spring.  As soon as winter has left and the ground can be worked in April, seed varieties such as Nigella, Ammi, Bupleurum and Calendula.  Seed thickly and thin the seedlings.  This method takes advantage of the abundant moisture that is in the ground, allows plants to develop good root systems prior to facing the heat of summer.  Some types such as Larkspur actually do better this way for many folks as Larkspur is quite heat intolerant and germinates poorly in the average Canadian home.  I actually germinate mine indoors in my sunroom which is kept at 50 F in the winter.

Transplant seedlings in spring.  This is my preferred method for the cutting garden.  This method is more precise than sowing seed into the ground and allows for sequencing of seeding to produce the best sized transplant.  The first seed that I start is Lisianthus (January 1) followed by snapdragons and sweet peas in February.  My seedlings are grown slowly at 50 F which produces less top growth and more root.

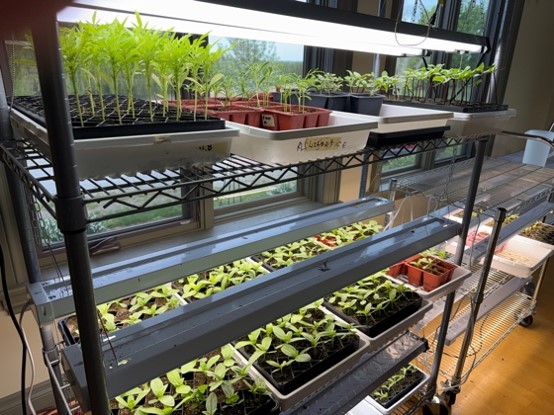
Tender annuals waiting to be hardened off before planting out

On average, I plant these varieties out around the third week of April.  The key to planting successfully is proper “hardening off”.  This is a process of gradually acclimating your seedling to the harsher outdoor conditions (sunlight, wind and temperature fluctuations) over 7 days.  This helps to prevent transplant shock, sunburned leaves and weak stems. A rough guideline for hardening plants is as follows:

Day 1-3: Place plants outside in out of direct sunlight and wind for 1-2 hours

Day 4-7: Gradually increase time spent outside by a couple hours each day and move into sunlight for part of that time

By day 7, if temperatures are staying above 7 C, plants can stay out all night.

Avoid the midday sun early on.  Water carefully. Your plants will dry out faster when outside.  Watch the wind initially as it can snap stems.

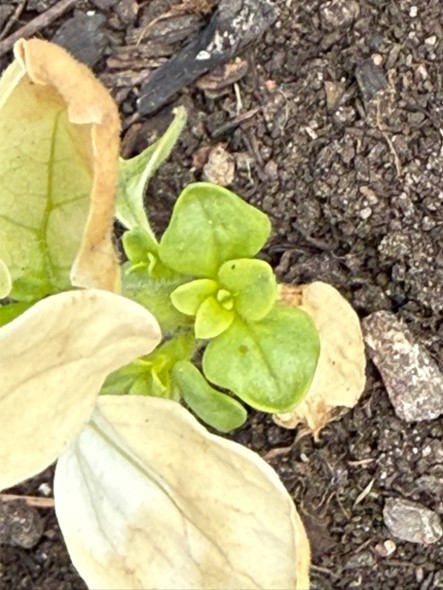
Snapdragon showing extensive leaf damage with new growth coming from buds at base of stem

Once seedlings are in the ground, the work is still not over.  Watch the weather forecast carefully. Some young seedlings may need protection if temperatures drop below freezing.  If temperatures are going to drop, I cover seedlings with frost cloth.  Frost cloth is a lightweight, breathable garden fabric designed to protect plants by trapping warmth radiating from the soil to create a microclimate.  This cloth can also be used in fall to protect tender plants like dahlias from early frosts.  I also use this cloth as a shade cloth to protect delicate flowering plants from the harsh July sun.

This year has been a real challenge.  We have had a very cold and windy spring.  It was hard to even find consistent conditions in which to harden the plants off.  I held off from my usual third week of April planting and ended up hardening plants for about 11 days.  Most of the seedlings were planted in the first week of May.  A couple days after planting, temperatures were forecasted to be less than 0 C.  Of more concern was the wind.  My cutting garden receives the full force of the wind as it blows across my farm fields.  On went the frost cloth. But the wind must have found its’ way under cloth as the next day some of the snapdragons showed damage to leaves.  However, the seedlings were planted deeply with some stem in the ground and in the next week or so, new growth started to appear from the base of the plant.  I still can’t access the full extent of damage but am willing to wait to see how many plants recover.

In the meantime, there were tulips to harvest, sunflower seeds to sow, weeding to be done.  Soon it will be time to start hardening off the tender annuals like the zinnias!

Understanding Garden Dormancy

By Mary-Jane Pilgrim, Master Gardener

Do you ever wonder what’s going on in the garden when temperatures drop below freezing? How do perennials, shrubs and trees withstand the cold and dehydration of winter?  As we prepare for the colder season above ground, a process of adapting to this change is also going on below ground.

What is Garden Dormancy?

Dormancy is a period of reduced growth in plants, allowing them to survive intense conditions such as cold temperatures or drought. During dormancy:

  • Trees and shrubs shed their leaves, reducing water loss and protecting against freezing temperatures.
  • Perennials retreat underground, focusing their energy on the roots rather than above-ground growth.

Dormancy is essentially a plant’s version of hibernation. Even though the plant may appear lifeless, it’s very much alive, just in a resting state.

Why Do Plants Go Dormant?

  • Survival Mechanism: Dormancy helps plants endure harsh conditions, preventing them from growing in unseasonal warm spells only to be killed by a subsequent freeze. 
  • Rest and Rejuvenation: It allows plants to rest, develop stronger root systems and trunks, and accumulate the energy needed for vigorous growth in the spring. 
  • Timing and Environmental Cues: Plants respond to environmental cues like shorter day lengths, decreasing temperatures, and reduced light to signal the onset of autumn and the need to prepare for dormancy. 

The Gardener’s Role During Dormancy

  • Understanding the Cycle: Gardeners learn to recognize the signs of dormancy and understand its importance for plant health and the overall garden ecosystem. 
  • Winter Protection: Proper care during dormancy, such as using mulch or wrapping to protect against frost, helps safeguard plants from potential damage. 
  • Be patient: In spring, don’t panic if some perennials take longer to re-emerge. Late risers like perennial hibiscus, Rose of Sharon and some ornamental grasses may take several weeks longer than others to show signs of growth.
  • Rest and Relaxation: Just like the plants in their gardens need rest, so too does the gardener. The slower seasons of fall and winter allow us to take stock of our gardens — what worked, what didn’t work, what needs to change — so that we approach next spring and summer rejuvenated!

Resources

Dormancy: A Key to Winter Survival

When Plants Go Dormant: How Hibernating Helps Them Survive

Understanding Plant Dormancy

Pollinator Week

By Cheryl Harrison, Master Gardener

Pollinator Week 2025 is scheduled from June 16-22 this year.  It is an annual celebration initiated by Pollinator Partnership to raise awareness of the vital role pollinators play in our ecosystems and food systems. This year’s theme, “Pollinator Cultural Connections,” emphasizes the deep ties between pollinators and human culture.

What Is Pollinator Week?

Pollinator Week is a global event dedicated to celebrating, protecting and promoting pollinators—bees, butterflies, birds, bats, and other insects—that are essential for the reproduction of over 75% of flowering plants and about one-third of the world’s food crops.

The 2025 Theme: “Pollinator Cultural Connections”

The 2025 theme invites reflection on how pollinators are interwoven with human culture, including agriculture, art, and spirituality. Many Indigenous communities have long recognized the importance of pollinators not only for their ecological contributions but also as a foundation for cultural symbolism.

What Can We Do?

You can contribute to pollinator conservation by:

  • Planting native pollinator-friendly gardens: Use a variety of flowering native plants to support pollinators .
  • Supporting local initiatives: Engage with community events and support programs like Bee City Canada, which recognizes and supports municipalities, Indigenous communities, campuses, and schools taking action to protect pollinators .
  • Educating others: Share information about the importance of pollinators and ways to protect them through social media and community outreach.

One of the fun Pollinator Week activities is a Bioblitz.  From the Pollinator Partnership web site:  “A Bioblitz brings together trained scientists and citizen scientists in a fun, friendly competition to record species observations. Community science efforts like this help advance scientific knowledge and foster public engagement, enable widespread participation in the scientific process, and break down traditional barriers between scientists and the public.”

I signed up for the Bioblitz.  For more information see link.

I love taking photos of the pollinators that visit my gardens.

Tips for Creating a Pollinator-Friendly Garden

  • Diverse Planting: Incorporate a variety of native plants with different bloom times to provide continuous food sources for pollinators throughout the growing season.  Native plants are more readily available now.  I only began adding them to my gardens a few years ago.  My gardens consist of lots of the usual perennials eg. day lilies, peonies, iris, daisies.  The natives fit right in!
  • Provide Shelter: Include features like bee hotels, leaf piles and tall grasses to offer shelter for pollinators.
  • Eliminate Pesticide Use: Pesticides can harm pollinators.
  • Water Source: Provide a shallow water source, such as a birdbath with stones for landing.  Pollinators will visit for a drink.

Celebrating Pollinator Week 2025 highlights the interconnectedness between pollinators and human culture.  Participate in local events, support conservation efforts and make informed choices to contribute to the protection and celebration of these essential creatures.

Other Resources

Invite These Super Pollinators and Pest Managers to your Garden by Silvia Strobl, Master Gardener.  See link.

How to Make the Perfect Pollinator Garden.  See link.

Pollinator Partnerships – Threats to Pollinators.  See link.

Ontario Native Plants list.  See link.

PS:  I consider reading the book “Bringing Nature Home” by Doug Tallamy, as my pollinator epiphany.   See link for more information about this book.

The Secret Life of a Rotting Log: Why Your Garden Needs One!

By Thom Luloff, Master Gardener in Training

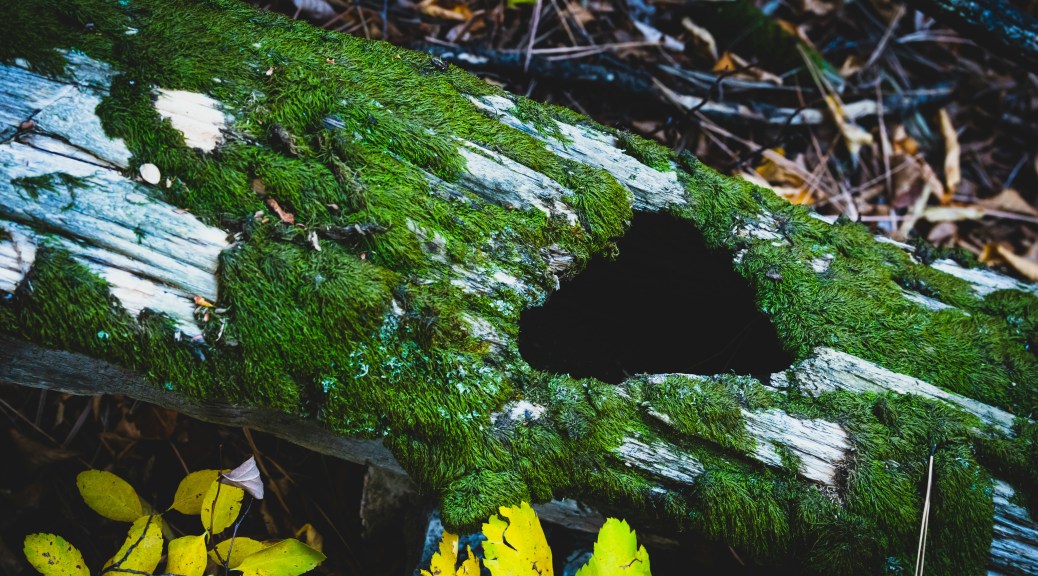
In the quiet corner of your garden, a story unfolds—one of decay, renewal, and survival. A fallen log, at least 15 cm in diameter, lies undisturbed, its bark peeling away with time. To most, it might seem like nothing more than a lump of rotting wood, but to the creatures of Ontario’s forests and backyards, it is a shelter, a buffet, and a nursery all in one.

The Architects of Decay

The transformation begins with Turkey Tail (Trametes versicolor), a vibrant bracket fungus spreading across the log in waves of blue, green, and brown. Working quietly, it releases enzymes that break down lignin, the tough compound that gives wood its strength (Boddy et al., 2021). Alongside it, Hairy Curtain Crust (Stereum hirsutum) and Split Gill Fungus (Schizophyllum commune) creep across the wood, softening its once-solid structure and preparing it for the next wave of life.

The Engineers of the Wood

As the fungi work their magic, the log becomes an inviting home for insects. Snails and slugs slither across its damp surface, feeding on the growing fungi. Beneath the bark, Carpenter Ants (Camponotus pennsylvanicus) carve out intricate tunnels, not to eat the wood but to create hidden chambers for their colony (Foelix, 2019). Their tunneling allows moisture and air to penetrate deeper into the log, making it an even richer habitat for the next arrivals—Ontario’s native beetles.

Black ground beetles of various species arrive on the log en masse, searching for a place to lay eggs. Their larvae burrow deep into the softened wood, slowly turning it into nutrient-rich humus (Harvey et al., 2011). These beetles, in turn, attract predators like the Six-Spotted Tiger Beetle (Cicindela sexguttata), a metallic green hunter patrolling the log for an easy meal.

A Shelter for Ontario’s Wildlife

As the log softens and cracks, it becomes a refuge. The Eastern Red-backed Salamander (Plethodon cinereus) slithers beneath it, hiding from the drying heat of the day. This moisture-loving amphibian thrives in the humid microclimate the log provides, emerging at night to hunt for small insects. Nearby, the Northern Short-tailed Shrew (Blarina brevicauda) scurries through the leaf litter, using the decaying log as a hiding spot between hunting trips.

Above, the White-throated Sparrow (Zonotrichia albicollis) scratches at the log’s surface, searching for insect larvae hiding within. Not far away, the American Toad (Anaxyrus americanus) tucks itself into a crevice, waiting for dusk to begin its nightly hunt. Even the Little Brown Bat (Myotis lucifugus), a species at risk in Ontario, may roost in the log’s hollowed-out cavities, using it as a safe shelter from predators.

A Final Gift to the Soil

As the years pass, the log continues to break down, its nutrients seeping into the soil. Studies have shown that decomposing wood increases soil fertility and microbial diversity, providing essential nourishment for plants and fungi alike (Harmon et al., 2020). What was once a towering tree now gives back to the very land it grew from, ensuring the cycle of life continues.

Leaving a log to decompose in your garden isn’t just an act of neglect— it’s an act of conservation. It creates a thriving ecosystem, supporting species often overlooked in urban spaces. So the next time you see a fallen branch or an aging log, resist the urge to clean it up. Instead, leave it where it lies and witness the hidden world of life it supports.

References

Boddy, L., Hiscox, J., & Gilmartin, E. (2021). Fungal decomposition of wood: Fundamentals and impact on ecosystems. Annual Review of Ecology, Evolution, and Systematics, 52(1), 121-142.

Foelix, R. (2019). Biology of Spiders. Oxford University Press. Harvey, D. J., Hawes, C. J., & Gange, A. C. (2011). The role of dead wood in maintaining beetle diversity. Biodiversity and Conservation, 20(10), 2307-2323.

Harmon, M. E., Fasth, B., Woodall, C. W., & Sexton, J. (2020). Carbon storage and nutrient cycling in decomposing logs: A long-term perspective. Forest Ecology and Management, 466, 118127.

Herbs in Containers

By Christine Freeburn, Master Gardener

Many of us would like to use more fresh herbs in our cooking, especially when they are in season. But we often plant them out in the garden instead of having them close to the kitchen door within easy reach. Why not plant a container this season and place it where you will have it accessible.

For best results, plant herbs with similar water requirements in the same container. Be sure your container has drainage. Put holes in the bottom or use a container with drainage and put inside a pretty pot. Make sure the pot is deep enough… at least 8”. Use good organic potting mix that is light, rather than heavy garden soil and mix in some good compost. You can plant herbs closely, about 6”- 9” apart and they will grow up and out. Herbs in containers will do better with some fertilizer.  Use an organic solution which is higher in nitrogen, but weaken the strength and apply every 4 weeks. Fish emulsion is a good choice.

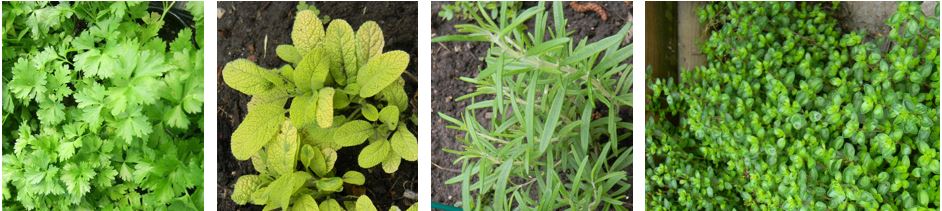
Parsley, Sage, Rosemary and Thyme

Choose a spot that gets at least 5 hours of sun. Early morning sun is best. If you have west exposure, you may need to water more often.

Many annual herbs like evenly moist soil, like parsley, basil, lemon verbena & dill. You will want a relatively deep pot for parsley as it does develop a tap root. Lemon balm is a perennial that likes it evenly moist. Chives are a perennial that are sweeter when kept evenly moist, but can take it dry.

There are many flavours of mint available including spearmint, strawberry, chocolate & mojito but beware as mint is a perennial that can be invasive. Better to contain it in a pot.

Thyme, winter savoury, oregano are all perennials that like dryer soil. Add rosemary & sage to the list of herbs preferring it dry. Treat rosemary as an annual. You can try to overwinter indoors if you have a spot that is cool and sunny and let the plant dry between waterings. The perennials can go into the ground in a permanent home in the fall. Sage may overwinter, so plant in the garden and watch for growth in spring. Prune down to active growth.

You can also plant herbs in separate pots and have a collection of pretty pots. Smaller pots will dry out quicker, so be aware of soil moisture.

Here are a few suggestions of combinations:

  • Lavender, citronella & marigold for aromatics
  • Lemon balm, lemon verbena & mint for teas
  • Thyme, sage, savoury & oregano for dry rubs or in a marinade for meats
  • Summer savoury is the annual version of winter savoury. It prefers evenly moist soil and has a lighter, sweeter flavour. Cilantro is another annual favourite that needs evenly moist soil. It often bolts with hot weather, going to seed and becoming coriander.
  • Perennial herbs like french tarragon and lovage are not suited to container gardening as they get too tall and develop deep roots.

Imagine a lovely tomato salad with fresh basil, or barbeque chicken with a savoury/ thyme rub, or fresh mint in your mojito. All organically grown by you!

For more on herbs, check out other articles on own website, by using the search window on the top right of this page.

Resources

https://www.torontomastergardeners.ca/guidecategories/herbs/

https://www.thespruce.com/best-fertilizers-for-awesome-herbs-1761848

The Year of the Log – Turning Storm Debris into Wildlife Wonder

by Thom Luloff, Master Gardener in Training

In the wake of this year’s icy spring storm, many of us in Peterborough and the Kawarthas are surveying broken branches, toppled limbs, and fallen logs. But before hauling all that brush to the curb, I invite you to consider this: what if this is not just storm debris—but an opportunity?

Let’s make 2025 The Year of the Log.

Leaving a log or brush pile in a quiet, sheltered corner of your yard might seem like neglect. In fact, it’s one of the simplest and most impactful things you can do to support local biodiversity—and save yourself some backbreaking yard work while you’re at it.

A single fallen log is a five-star wildlife hotel. It provides shelter for overwintering insects like native bees, beetles, and butterflies. These pollinators—often struggling with habitat loss—use dead wood to lay eggs, take refuge from predators, and hunker down for winter. Many of them emerge in spring just in time to pollinate our fruit trees and vegetable gardens.

Logs and brush piles also serve as nurseries for amphibians and reptiles. Toads, salamanders, and garter snakes all benefit from the cool, damp conditions under a decomposing log. They, in turn, keep garden pests like slugs and aphids in check—natural pest control at its finest. And then there are the birds. Wrens and chickadees will happily forage for insects in your brush pile, while robins use twigs for nest-building. Larger logs host fungi, mosses, and even young plants, enriching your soil and supporting the micro-ecosystems your garden depends on.

Trametes fungi thriving on a trembling aspen tree stump

By leaving a log or brush pile in a quiet corner of your yard, you’re not just reducing your workload—you’re creating a vital sanctuary. Here are five incredible species that will thank you for it:


🌟 1. Bumblebee Queens (Bombus spp.)
Before flowers bloom in spring, bumblebee queens emerge from hibernation. These big, fuzzy powerhouses need sheltered, undisturbed places—like brush piles or hollow logs—to overwinter and start a new colony. Support them, and you’re supporting the pollination of tomatoes, berries, and native wildflowers.


🌟 2. Red-backed Salamander (Plethodon cinereus)
Small, secretive, and surprisingly fierce for its size, this amphibian lives its whole life under logs and stones, eating garden pests like slugs and ants. No pond required—they breathe through their skin and thrive in moist log-rich corners. Think of them as silent garden guardians.


🌟 3. Mason Bees (Osmia spp.)
Unlike honeybees, these super-efficient, solitary bees don’t sting and nest in tiny holes in rotting wood or hollow twigs. One mason bee can pollinate as many flowers as 100 honeybees. Leaving dead wood means giving them a nesting site—and ensuring bountiful fruit in your garden.


🌟 4. Eastern Chipmunk (Tamias striatus)
More than just adorable, chipmunks are busy ecosystem engineers. They cache seeds (helping plants spread), aerate soil through their tunnels, and feed owls, hawks, and foxes. Brush piles give them safe cover from predators and harsh weather.


🌟 5. Downy Woodpecker (Dryobates pubescens)
These energetic little birds forage in fallen logs and tree stumps, chiseling out insects and larvae that might otherwise damage your plants. Plus, their drumming calls add delightful percussion to your yard. Dead wood = good birding.

Downy woodpeckers love the logs…

We understand the urge to “clean up,” but what looks messy to us may be lifesaving habitat for countless species. And in a world where pollinators and wildlife face increasing pressures, your backyard could be part of the solution.

Want to keep things tidy? Try this:

  • Stack broken branches neatly into a low brush pile along a fence or under a shrub.
  • Lay a large log partially buried in a flowerbed as a rustic “nurse log”—watch it slowly become a home to mosses, mushrooms, and tiny critters.
  • Create a “wild corner” with storm debris, leaf litter, and stones—nature will take care of the rest.

This spring, instead of dragging logs to the street, drag them into your garden’s shady corner. Give nature a place to thrive, reduce your workload, and watch your yard come alive in ways you never expected.

Here’s to The Year of the Log—less raking, more life.