By Thomas Luloff, Master Gardener
This past fall, I had the opportunity to spend several weeks in southwest England while completing a teaching secondment at Hartpury University. As a conservation biologist from Ontario, I expected to learn about agriculture, veterinary science, and education. What I didn’t expect was to become completely fascinated by hedgerows.

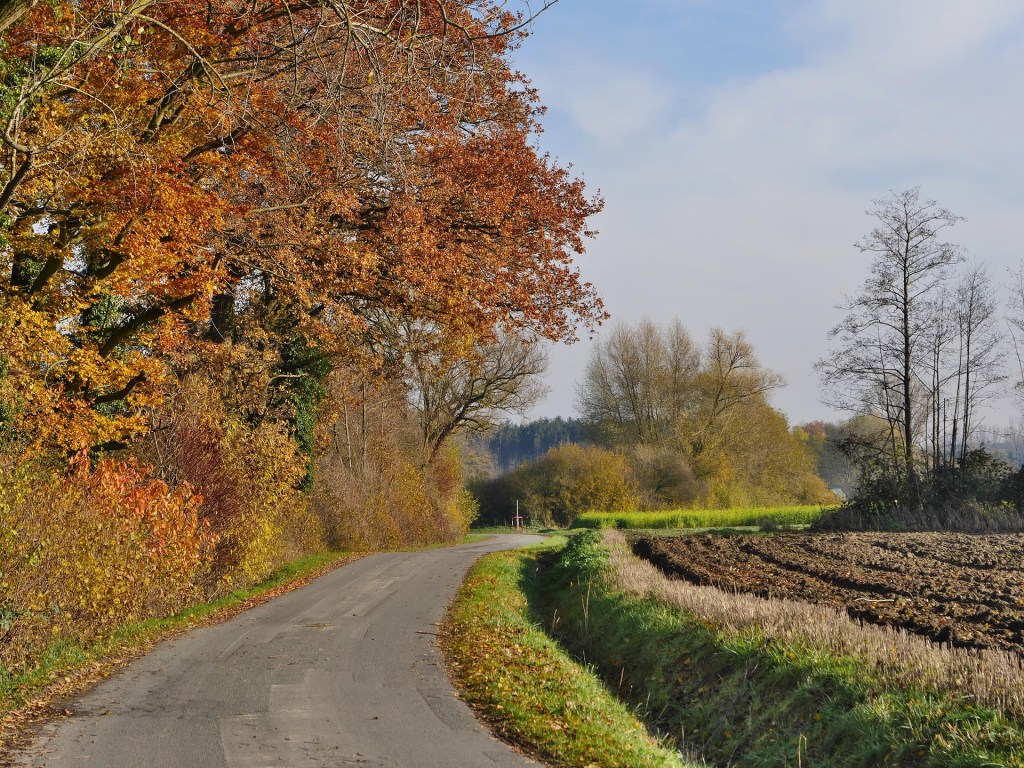
Everywhere I looked, the English countryside seemed stitched together by them. Ancient lines of hawthorn, blackthorn, hazel, dog rose, and mature trees divided fields into a patchwork quilt of green. Even in heavily farmed landscapes, there was always a hedge nearby. For wildlife, these weren’t simply field boundaries; they were highways, restaurants, nurseries, and safe havens all rolled into one.
In the United Kingdom, approximately 70% of the land is farmed, leaving relatively little truly wild space for nature. Yet despite this, England still contains roughly 400,000 kilometres of managed hedgerows; enough to circle the Earth almost ten times. These hedgerows are considered the most widespread semi-natural habitat in the British countryside and support hundreds of species of plants, birds, mammals, reptiles, insects, and fungi.
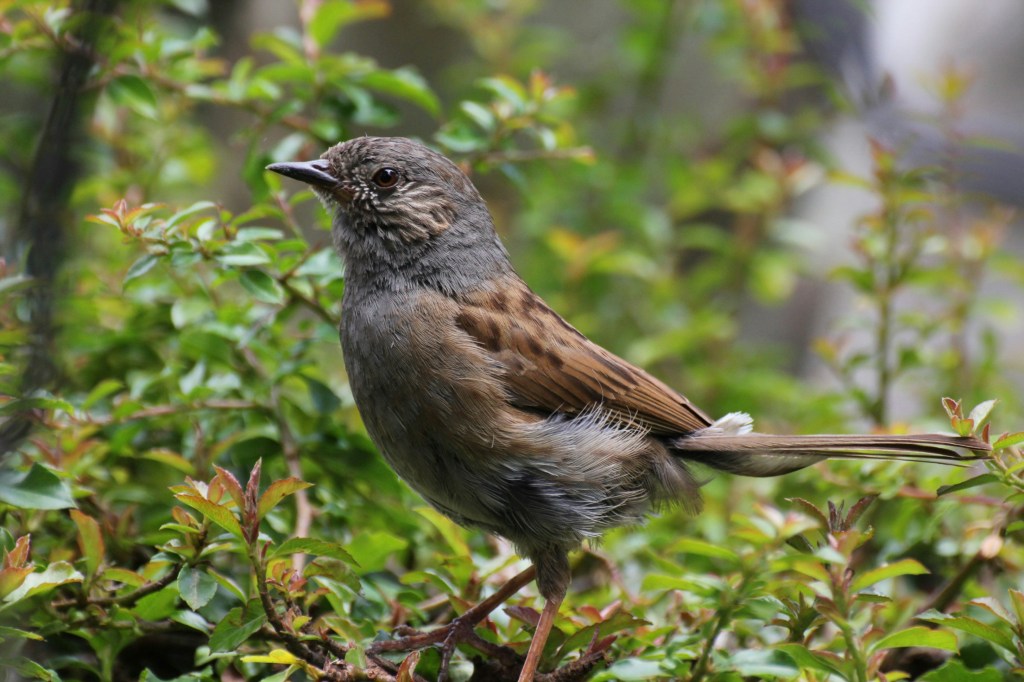
Walking through the countryside, it became obvious why they are so important. Hedgerows are alive. Their spring blossoms feed pollinators. Their berries sustain birds through winter. Their tangled branches provide nesting sites for songbirds. Badgers use them as travel corridors. Bats follow them like aerial highways. And of course, perhaps their most famous resident, the hedgehog, relies heavily on hedgerows for shelter, nesting sites, and protection from predators. Hedgerows are often described as “wildlife corridors,” but that phrase barely captures their value. They are entire ecosystems stretched across the landscape.
What struck me most was how different this is from much of rural Ontario.
Across Canada, agricultural fields have grown steadily larger as machinery has become larger and more efficient. Fence rows have disappeared. Small woodlots have been removed. Wetlands have been drained. In many areas, hedgerows have been sacrificed in the pursuit of uninterrupted fields that can accommodate modern equipment.
For us, crossing a large corn or soybean field might seem insignificant. We can simply walk across it in a few minutes. But imagine being a sparrow, salamander, garter snake, or tree frog. Suddenly, that open field becomes a vast and dangerous desert. There is no shade. No shelter. No water. No protection from predators overhead.
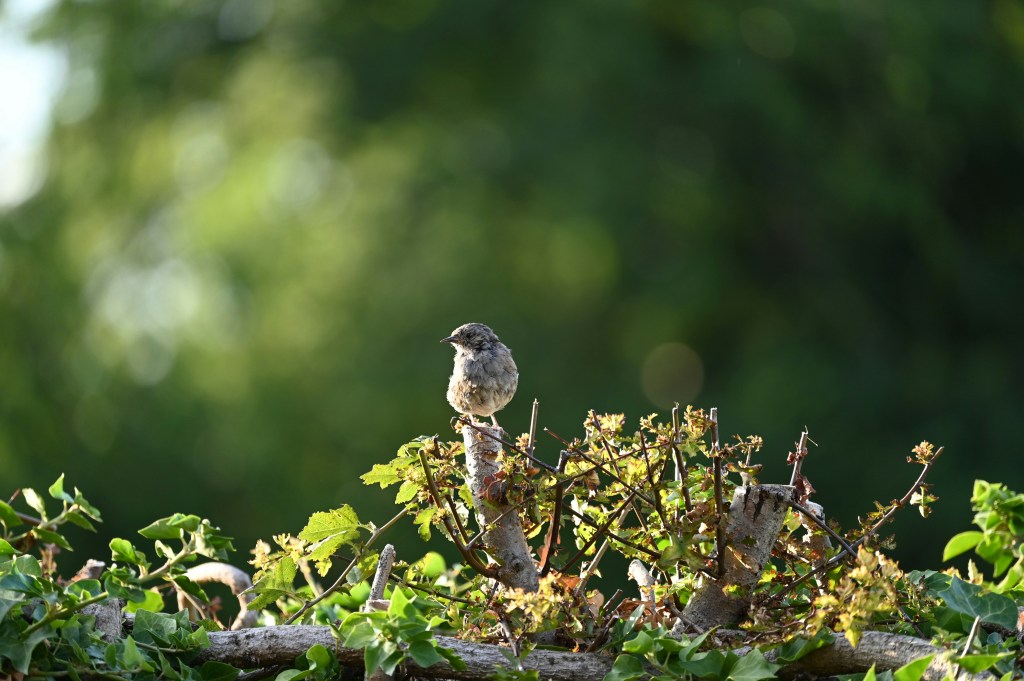
Many songbirds move through landscapes one patch of cover at a time, flitting from branch to branch and shrub to shrub. A large exposed field can become an effective barrier, isolating populations and making it difficult for wildlife to access food, nesting sites, and mates. Research consistently shows that hedgerows improve habitat connectivity and allow wildlife to move safely through agricultural landscapes.
The benefits extend beyond wildlife.
Hedgerows are remarkably effective environmental infrastructure. They reduce wind speeds, helping protect crops and soils. They capture snow during winter, slowing runoff and helping recharge groundwater. They reduce soil erosion, intercept nutrients before they reach waterways, and store significant amounts of carbon in both their woody biomass and surrounding soils. Research has shown that hedgerows can substantially increase soil carbon storage while also supporting biodiversity.
These benefits feel especially relevant in Central Ontario, where severe windstorms and extreme weather events seem increasingly common. While we often think about climate resilience in terms of expensive infrastructure projects, sometimes the solution is as simple as planting trees and shrubs in the right places.
The good news is that gardeners and landowners can bring some of the magic of the English hedgerow home. A hedgerow doesn’t need to be kilometres long to make a difference. Even a property boundary planted with native shrubs such as serviceberry, nannyberry, chokecherry, dogwood, elderberry (among so many others!), can provide food and shelter for wildlife throughout the year. Leave the berries standing through winter. Allow the vegetation to grow dense and somewhat untidy. Let it become a place where wildlife can hide.
In a world increasingly dominated by large-scale landscapes and manicured spaces, hedgerows remind us that nature thrives in the margins. They are proof that conservation doesn’t always require vast wilderness areas. Sometimes it simply requires a line of shrubs connecting one patch of habitat to another.
So here’s a hearty huzzah for the hedgerow; the hardworking helper of the countryside. Quietly holding soil in place, sheltering wildlife, storing carbon, slowing winds, feeding birds, and connecting landscapes, one branch at a time.
References
Blair, J., Olave, R., & McAdam, J. (2018). Hedgerows as a Form of Agroforestry to Sequester and Store Carbon in Agricultural Landscapes: A Review. 4th European Agroforestry Conference.
Hedgelink. (2024). Importance of Hedgerows. Retrieved from https://hedgelink.org.uk/guidance/importance-of-hedgerows/
UK Centre for Ecology & Hydrology. (2024). Urgent Need to Enable More Farmers and Contractors to Revive England’s Network of Hedgerows. Retrieved from https://www.ceh.ac.uk/press/urgent-need-enable-more-farmers-and-contractors-revive-englands-network-hedgerows
Woodland Trust. (2025). Hedgerows. Retrieved from https://www.woodlandtrust.org.uk/trees-woods-and-wildlife/habitats/hedgerows/
Royal Geographical Society. (2024). Mapping England’s Hedgerow Landscape. Retrieved from https://www.rgs.org/about-us/what-is-geography/geovisualisation/mapping-englands-hedgerow-landscape