by Emma Murphy, Master Gardener
WeIl I don’t know about you, but I am starting to feel my age. I used to be out in our gardens all day long, moving soil and rocks, planting garden beds, moving perennials, and weeding and watering to my heart’s content.
I did a Master Gardener blog about the importance of stretching before gardening (at any age) back in 2021 and since then I have been modifying my activities by stretching ahead of time and changing my tasks every 25 minutes (with a stretch break of 5 minutes). No more 8 hour marathons of weeding in the garden!

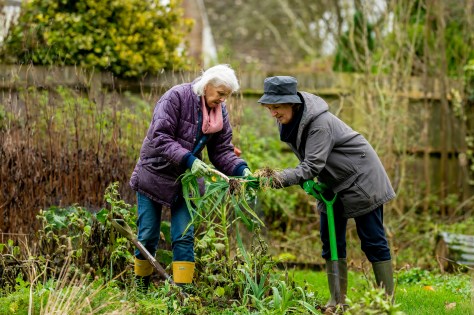
So I thought I would follow up with another blog for senior gardeners (or anyone with mobility issues) to look at gardening techniques that focus on minimizing bending and kneeling by using raised beds (2-4 ft high), taking advantage of vertical planters and structures, and employing container gardening.
We should also examine the environment —using lightweight, ergonomic tools with long handles, focusing on creating wide/smooth paths for walkers or wheelchairs, and advising people on low-maintenance but hardy plants.
Some Key Strategies for Mobility-Friendly Gardening
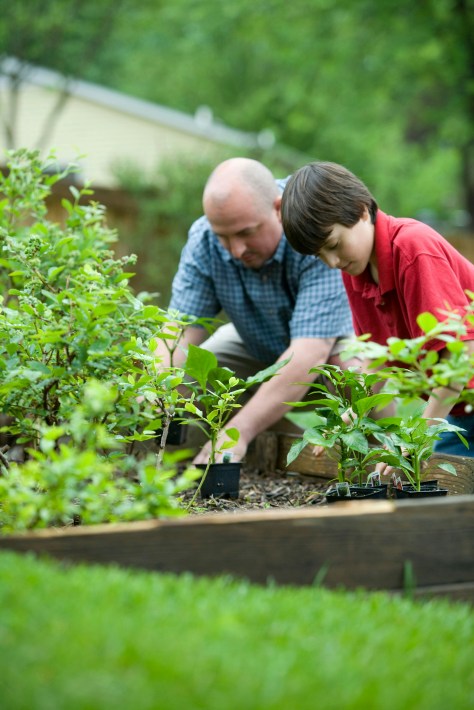
Raised Beds and Containers
Build or purchase raised beds, ideally 24–36 inches high, to eliminate the need to bend or kneel. These should be no more than 4 feet wide so that the centre can be reached from either side.
Use pots for container gardening but place them on casters so they can be moved around easily or create a raised area (like a table) that the containers can sit on. For wheelchair access make sure to design beds with clearance underneath for wheelchair access, typically 22 inches wide and 30 inches high.
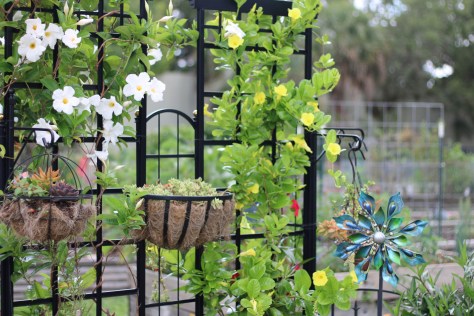
Vertical Gardening
Use trellises, wall planters, and hanging baskets to allow plants to be available at eye level. Examples of climbing plants to consider are sweet peas or vegetables like cucumbers or beans.
Accessible Layouts
Ensure paths are wide, flat, and made of stable materials like smooth pavers or packed gravel for wheelchairs or walkers.

Ergonomic Tools
Ergonomic garden tools help people with mobility issues by reducing strain on joints, backs, and wrists through angled grips, extended handles, and lightweight designs. Use tools with long, padded, or curved handles to reduce strain on wrists and backs. There are so many on the market nowadays.
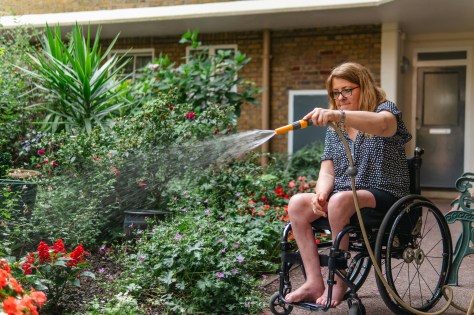
Watering Plants
Install drip irrigation systems or other watering options to reduce the need to carry heavy hoses.
Low-Maintenance Plants
Choose hardy, perennial plants such as that require minimal upkeep.
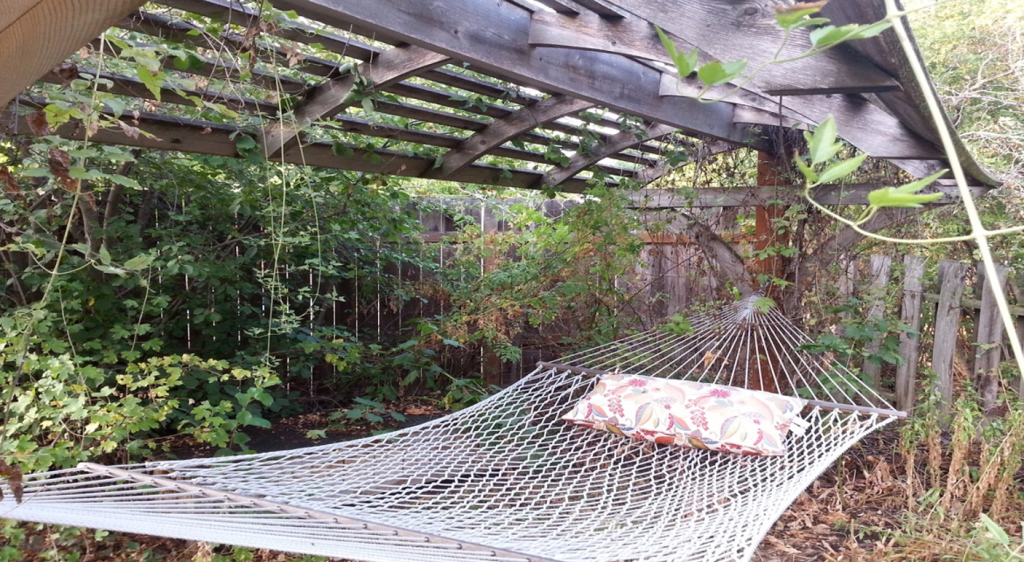
Sitting and Resting Areas
Incorporate sturdy benches or chairs in shaded areas in your gardens to allow people to take breaks. Provide water for drinking where possible.

Other Resources
Here are links to other Ontario-based resources you might want to explore for ideas and inspiration.
Accessible Gardening — Just Food – Ottawa
Barrier-Free Community Gardening in Waterloo Region (PDF)
Cultivating accessibility in your garden – Blooming Boulevards
A Guide for Making Community Gardens Accessible – Root in Nature
These Ergonomic Gardening Tools Will Get You Back Into the Garden! – Garden Therapy
Gardens are for Everyone – Oregon State University Extension
Accessible gardening and tool lists – University of California/Master Gardeners of Fresno
Accessible gardening toolkit – University of Saskatchewan
Getting Started with Accessible Gardening – National Center on Health, Physical Activity & Disability