By Christine Freeburn, Peterborough Master Gardener
Cucumbers (Cucumis sativus) are a warm weather vegetable which means they don’t like cooler spring temperatures. If you are starting from seed, plant indoors and grow under lights 3 to 4 weeks before the last frost date.
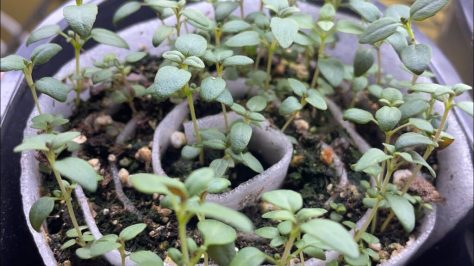
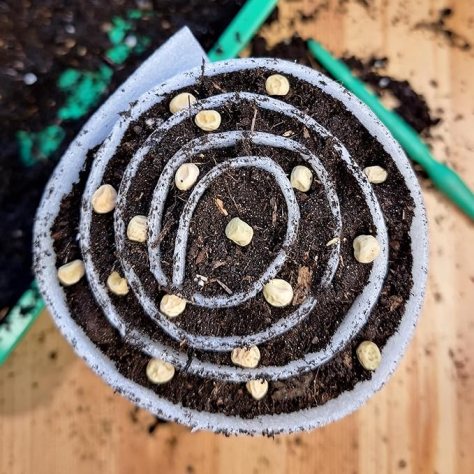
Growing in peat or coir pellets will help with transplanting shock, but do not let pellets dry out. Germination takes 6 to 10 days. Remember to harden off, before putting into ground that is warm (18C to 22C), usually the end of May.
If you are purchasing seedlings, be mindful of outdoor temperatures when planting. Anything below 10C and plants could shock, setting them back or even killing them. If June nights are cool (we could still have a frosty night in June), cover your plants with a bed sheet or heavier row cover.
There are many different varieties of cucumber from the ‘Straight Eight’ or ‘Marketmore76’ which are a slicing type, pickling varieties like ‘Avenger’, minis like ‘Manny’ and the popular seedless English type like ‘Summer Dance’.
You may also notice, they are listed as Garden or Greenhouse varieties. Greenhouse types are often thin skinned, want it warm and don’t require pollination, and so are good for growing under cover or in a greenhouse. If you are growing your cucumbers in hills, the garden variety is fine.
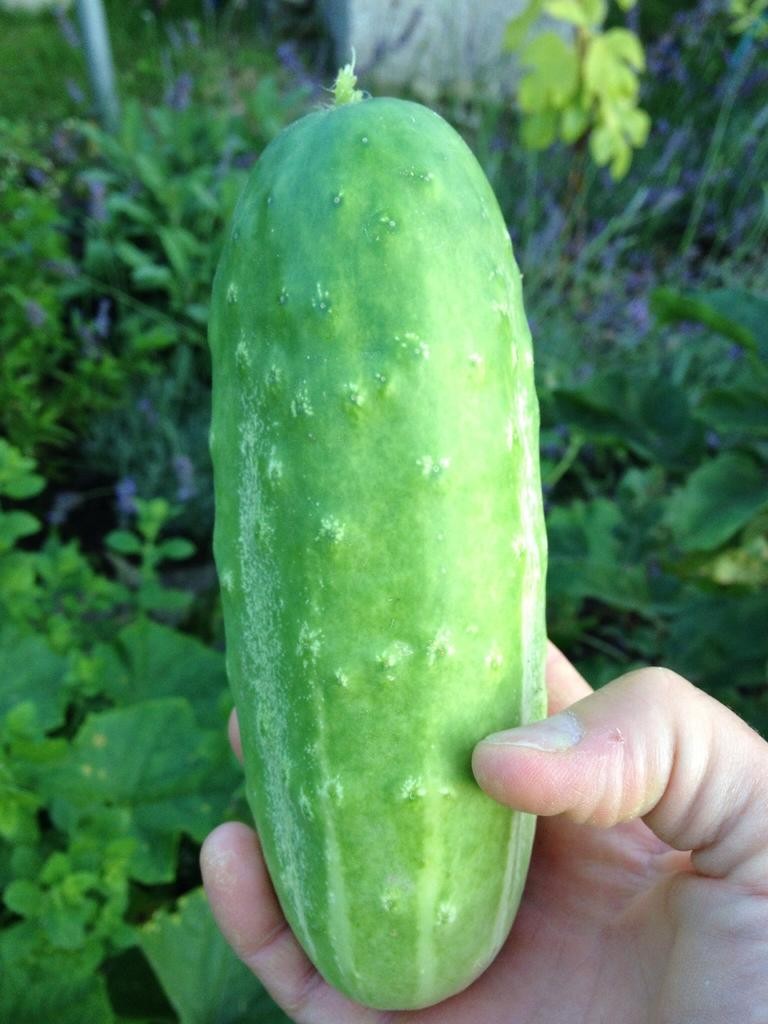
When you are reading catalogues or seed packets, check the pollination key for your chosen variety. This tells you what each variety needs to pollinate and bear fruit. Cucumbers that have stubby ends or no growth have not been pollinated fully.
Pollination Key
Monoecious - male and female flowers on the same plant, so one plant will do, however pollination does need to happen, so invite pollinators to your garden. You can also pollinate yourself. The female flower is identified by having a tiny fruit just behind it. You can remove a fresh male blossom and gently rub it against the pollen of the female to help with fertilization.
Gynoecious - plants have only female flowers and need another plant to pollinate
Parthenocarpic - these plants do not require pollination and are usually Greenhouse varieties.
Cucumbers need lots of compost/fertilizer as they are heavy feeders. They also need to be evenly moist. Water the soil, not the plant to prevent powdery mildew and other viral diseases.
You can grow cucumbers up a trellis. In fact, I recommend it as this helps to keep fruit clean, encourages good air flow to reduce disease and can keep pests away. You will need to train the vines. Use clips to gently hold in place. Install your trellis or whatever you are using, when you plant your cucumbers and before they begin to grow.
Cucumbers can also be grown in containers where it is easier to keep them evenly moist and mulched. And you can still trellis them, if you are buying the vining type. I use 3 bamboo stakes which I put in a teepee shape by tying the tops together. You can purchase bush type cucumbers, which are more compact than vining types, but production is not as high with bush types.
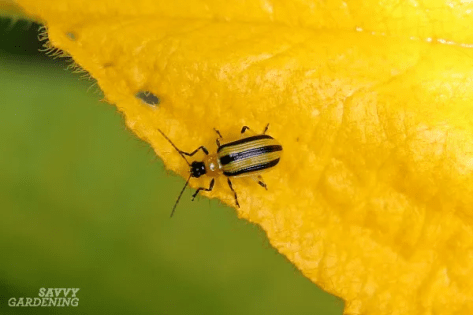
The cucumber beetle is the main pest for this crop. Crop rotation is important as beetles overwinter in soil, coming out of soil in mid summer to munch on your plants and transmit bacterial wilt. Planting nasturtiums, dill or marigolds may help to keep the pests away. The best remedy is row covers. Put row covers on new plants as soon as they go into the ground. Covers will need to be removed for pollination, once flowers appear.
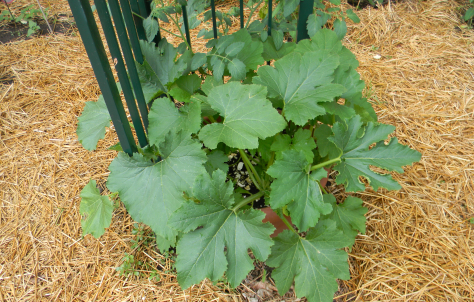
Pick cucumbers in the morning when they hold the most moisture. Pick fruit often to encourage more to grow. Cucumbers contain vitamin K, potassium, antioxidants and fibre. Enjoy them!
References
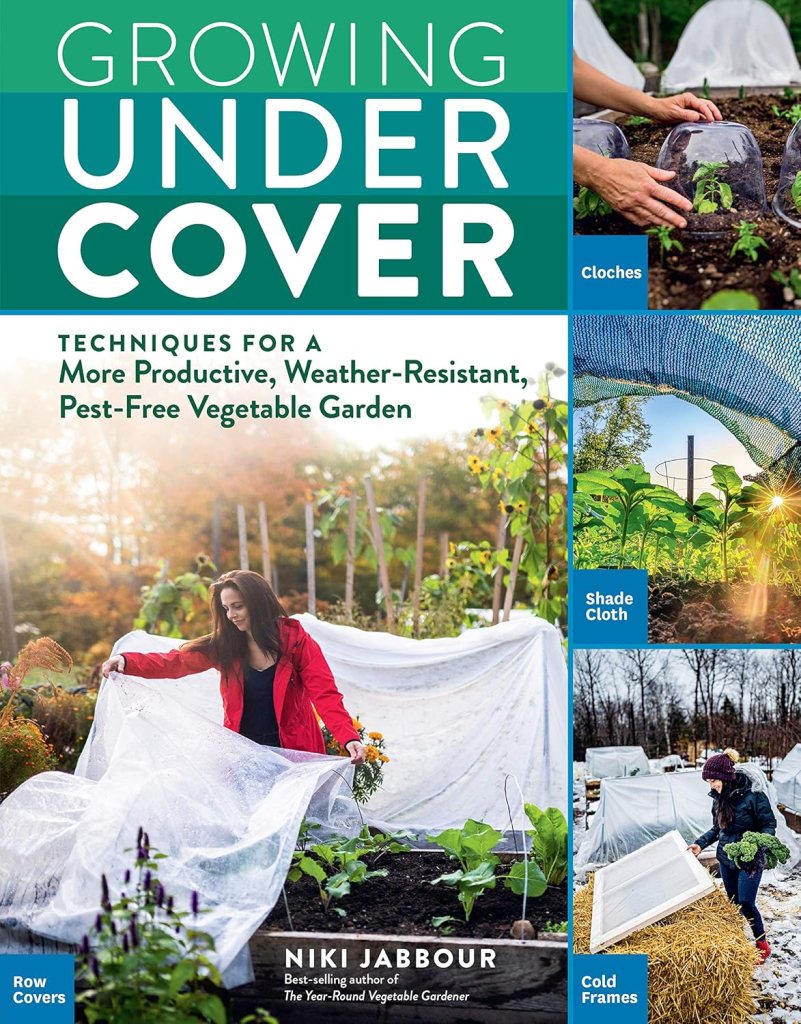
Book – Growing Under Cover – Niki Jabbour – Storey Publications