By Brandi McNeely, Master Gardener in Training
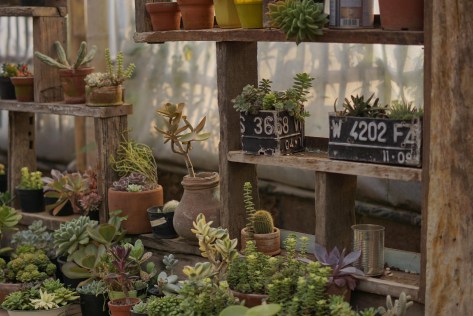
Information about houseplant care is everywhere — online articles, social media, blogs, friends, and self-proclaimed plant experts. It’s easier than ever to find quick tips and tricks, whether it’s a two-minute TikTok or a viral Pinterest post promising the “secret” to healthier plants. But with so many voices out there, a lot of the information being shared is inaccurate or misleading. So what advice actually helps your plants and what might be doing more harm than good? Here are a few examples of care tips to avoid, and why.
Watering On a Schedule

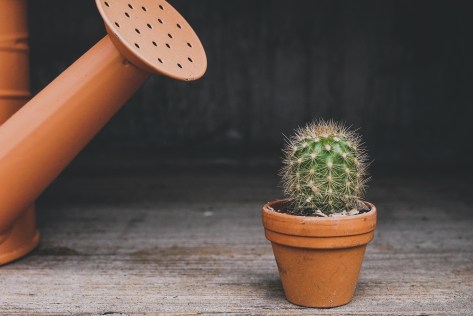
When looking at plant care guides online, you will sometimes see “water once a week” or “water every 7 to 10 days” under watering directions. The problem is, plants don’t adhere to a schedule when it comes to water. Variables like soil, light and humidity can affect the amount of water required for a plant to thrive. In winter months when light is in short supply and photosynthesis slows, plants will naturally use less water than in summer months. It’s better to check the moisture levels in your soil to determine whether it’s time to water.
Read more here:
https://www.missouribotanicalgarden.org/gardens-gardening/your-garden/help-for-the-home-gardener/advice-tips-resources/visual-guides/how-to-water-indoor-plants
Banana in Your Watering Can
Place a banana in your watering can and your plants will love it! Here’s the problem – plants require specific minerals and nutrients to survive. A rotting banana peel in your watering can is not feeding your plants, it’s providing an anaerobic environment that promotes bacterial growth and can attract pests. Any nutrients that a banana has to offer need to be broken down into usable forms that your plant can absorb. That goes for coffee grounds and egg shells too. If you can’t compost those materials before use, you’re better off with a balanced fertilizer designed for houseplants.
Read more here:
https://www.gardeningknowhow.com/garden-how-to/soil-fertilizers/banana-peel-water-for-plants
Bottom Watering is Best
I’ve seen this trend a lot recently on TikTok, and it isn’t a bad method of watering if you include a caveat: you need to periodically flush salts that build up in your soil. The benefits of bottom watering include deterring fungus gnats and reaching the whole root system, but if you never top water and let your soil drain, you’re allowing harmful salts to build up over time. It’s ok to bottom water, but it shouldn’t be your only method.
Read more here:
https://holubgreenhouses.com/bottom-watering-vs-top-watering-which-method-is-best/

Misting Increases Humidity
I hate to break it to you, but misting your plants does not increase ambient humidity. When you mist, humidity surrounding the leaves may increase for a minute or two, but not enough to have an impact on your plant. Moisture sitting directly on your plant’s leaves can also increase the risk of fungal issues. If you want to raise humidity, use a humidifier. If you don’t have a humidifier, group your plants together. Plants release moisture when transpiring, and grouping your plants can create a micro climate with increased humidity.
Read more here:
https://www.gardensillustrated.com/plants/house-plants/misting-house-plants-necessary
With so much plant advice floating around, it’s easy to assume that popular means correct. The truth is, plants don’t care what’s trending, they care about light, water, nutrients, and environment. Learning the science behind plant care helps you filter out myths and make choices that actually support plant health. Keep asking questions, stay curious, and don’t be afraid to unlearn what you’ve heard. Have YOU ever followed a plant tip that turned out to be more myth than magic?