by Rachel Burrows, Master Gardener
In December, 2025, winter came in early with freezing temperatures and lots of snow plus a little freezing rain for good measure. I wasn’t prepared and some garden jobs slipped through the cracks. A few can still be done but alas it is too late for some of them.

Mother Nature has outwitted me again!
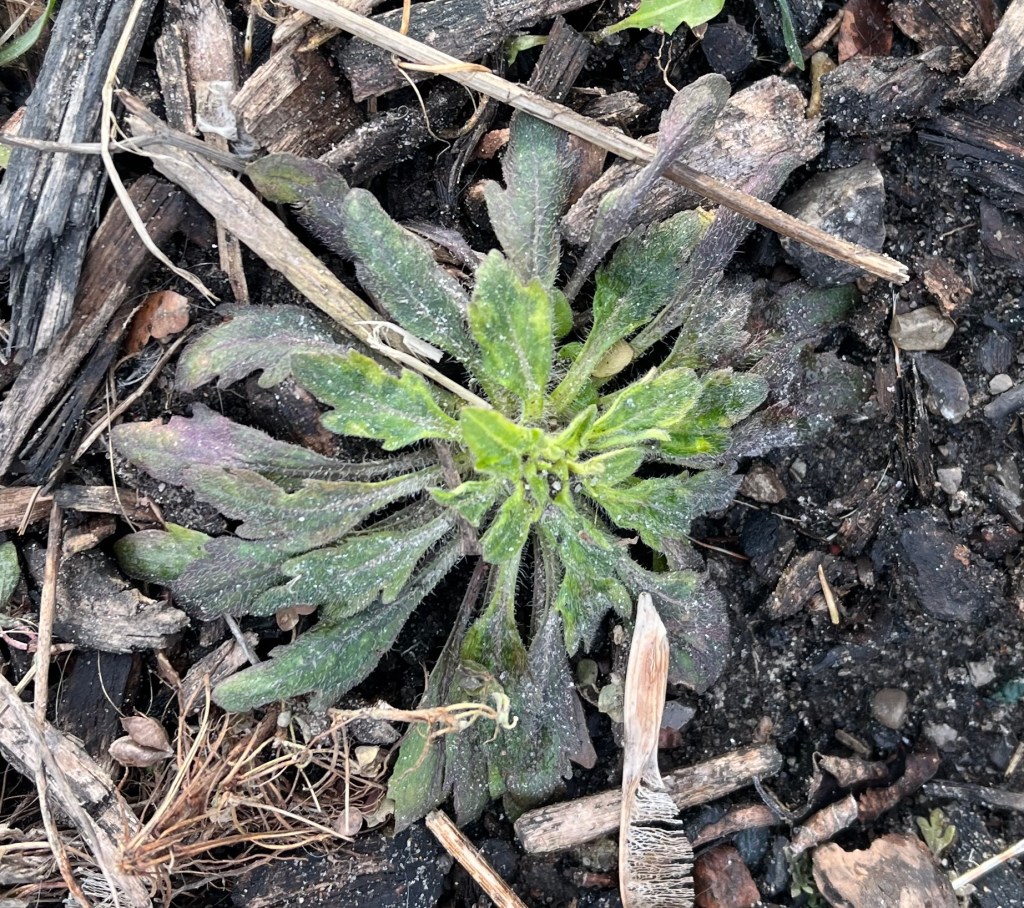
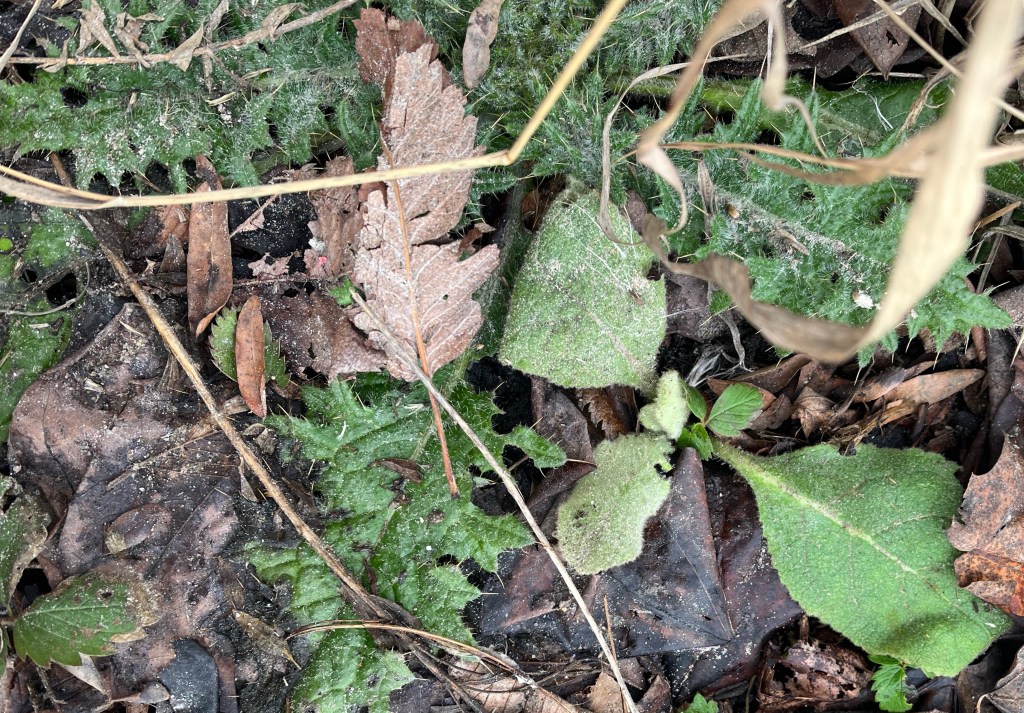
- I like to do a last weed through my perennial bed. Spring is always so busy and I find that a good fall weed keeps the weeds down and it is not such an arduous job in the spring.
- I like to spread compost on my beds in late fall. The worms do a great job of mixing it into the soil and it makes more room in the compost bins.
- Several bulbs didn’t get replanted after they were dug up when I was redoing the perennial beds. I was listening to Paul Zammitt on CBC and he suggested potting up these bulbs in containers with fresh potting soil. Cover these pots and put in a cold, frost free area and bring them into the light in late winter/early spring. When I first moved to the Peterborough area, I had no garden to speak of, so I decided to pot up several containers of bulbs but failed to cover them. The mice and chipmunks thought that had won the lottery and ate every single bulb! Be warned! It is a job that I can still get done.
- My seeds need sorting out – what is still viable and what should be thrown or given to the birds. I still have time to do this.
- I like to dismantle my outdoor evergreen decorations and place them over tender plants. If this snow ever goes down, I could still do this.
- I have 2 large bags of leaves all ready in the garage ready to protect new shrubs and plants. For now, I just have to hope that the deep snow is doing the job.
- If I could get into my shed, I could sort out all the pots and recycle many of the smaller ones. Alas, the shed is snowed in.
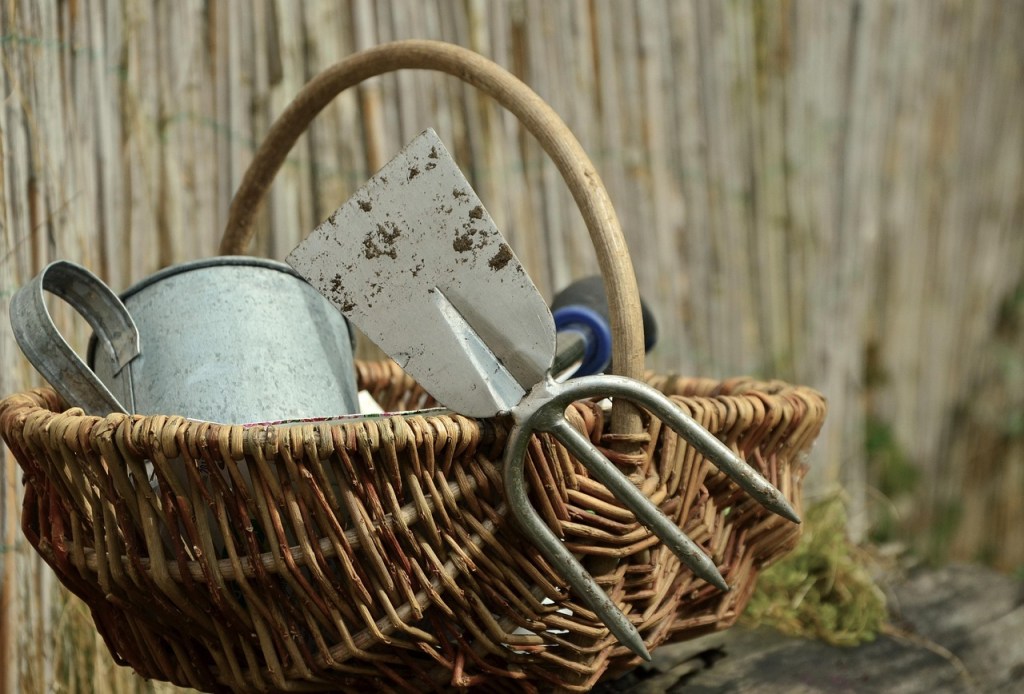
- Every fall I clean all my garden tools, sandpapering any rust before oiling the blades and rubbing linseed oil into the wooden handles. Another job that I can still do. I did take out the battery from my lawn tractor and it is stored in my basement.
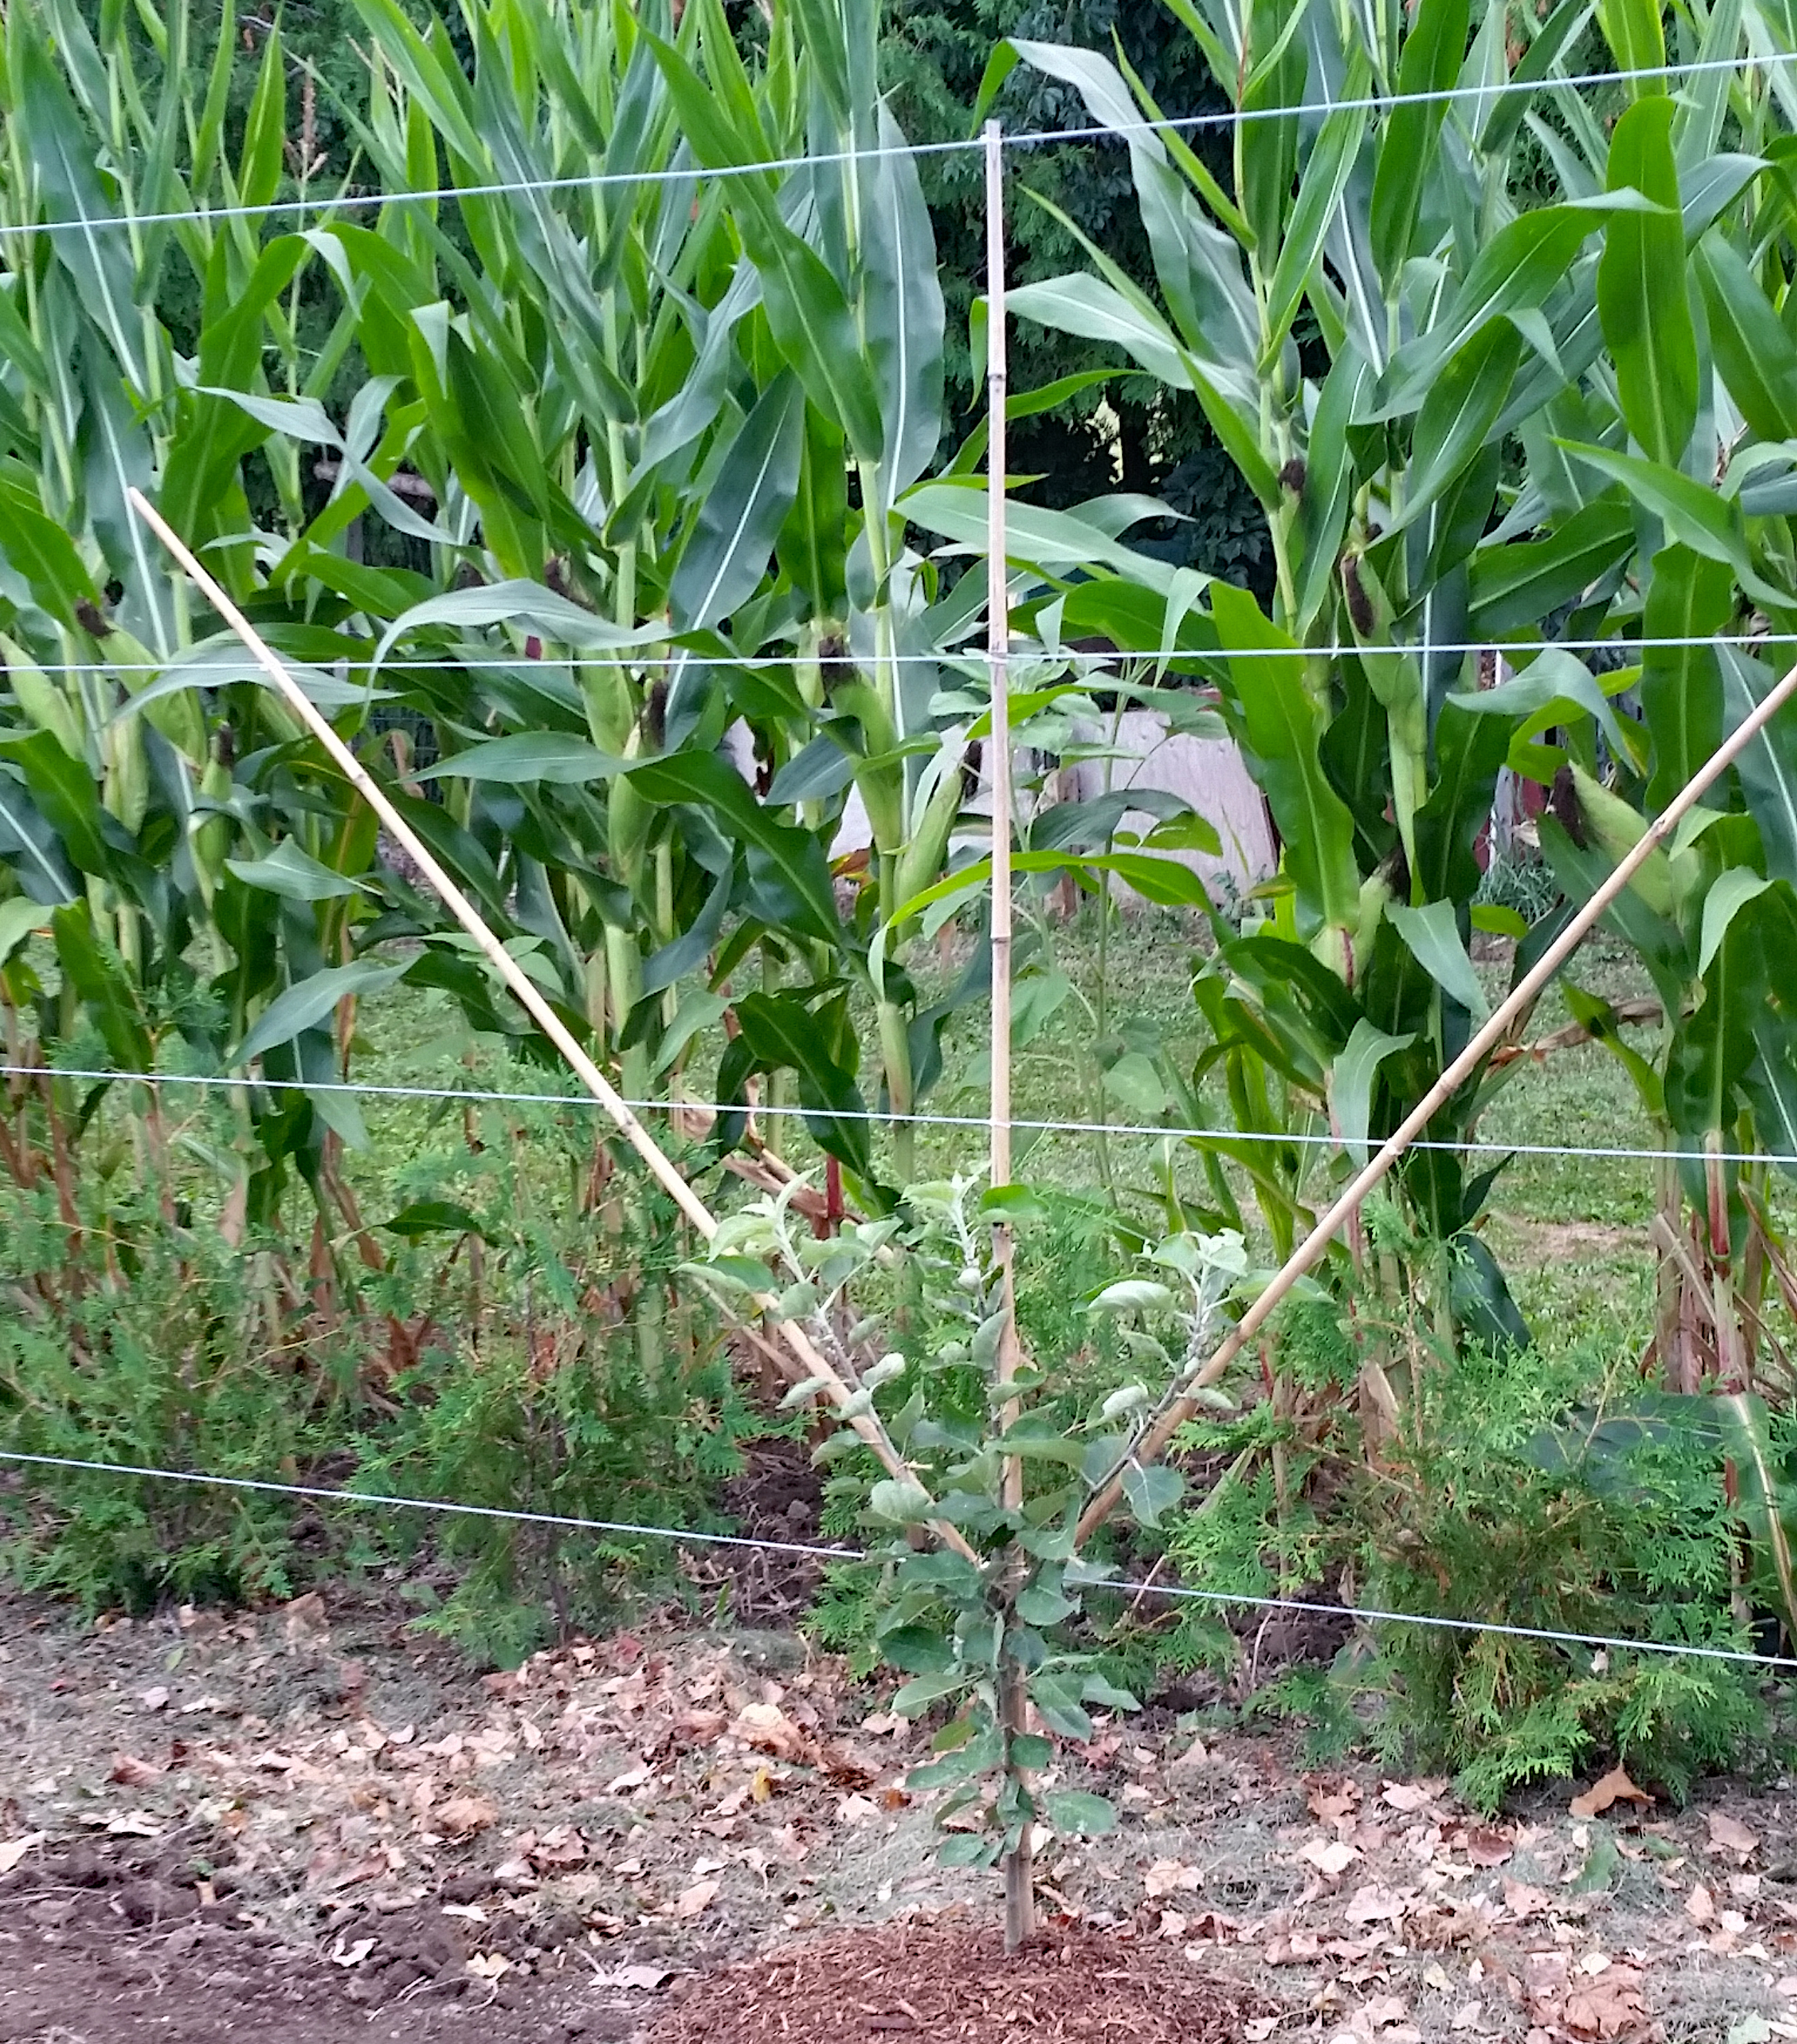
- I should have checked and repaired some of my trellis before growth starts in the spring.
- I have had several amaryllis that I have had for several years. They spend the summer outdoors and come inside to my basement before the last frost. I did do this but forgot to put a couple of them under lights in time to bloom for Christmas. Oh well I will have lots of colour for Easter.
Now that the new year is here, I have no excuse for not doing as many of these jobs as possible.
Meanwhile, I am enjoying all the birds that come to my feeders. I even have a pileated wood pecker that pecks away at my suet feeder. Happy New Year!