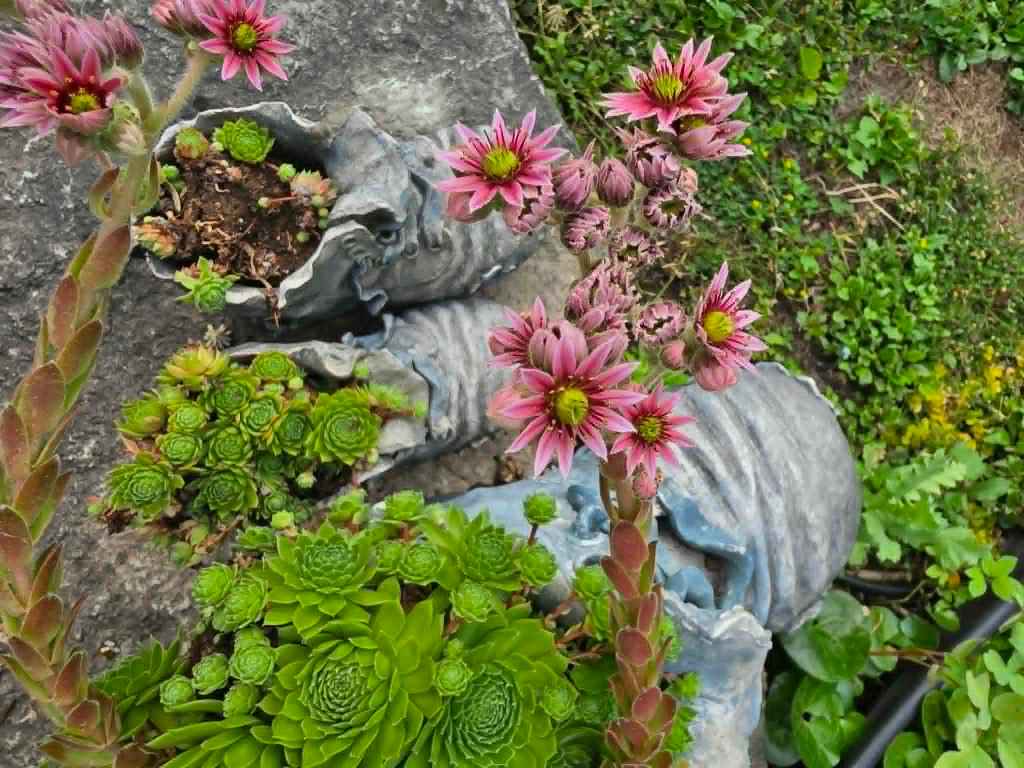
If you’ve ever had a succulent like “Hens & Chicks” Sempervivum that suddenly produces a tall flower stalk and then begins to die, don’t panic—you probably didn’t do anything wrong. You may have discovered a monocarpic plant.
The word monocarpic simply means “flowers once.” These plants spend years growing into beautiful rosettes, storing energy in their thick, fleshy leaves. When conditions are right, they put all that energy into one spectacular flowering display. After the flowers fade, the main plant dies.
It may sound sad, but it’s actually a perfectly normal part of the plant’s life cycle.
Many popular succulents are monocarpic, including the already mentioned hens-and-chicks (Sempervivum), but also some Aeonium species (non-hardy succulents), and many Agave varieties (tequila, anyone?). The good news is that these plants often produce offsets, or “pups,” around their base before or during flowering. These baby plants continue growing long after the parent plant has finished its life.
If your monocarpic succulent starts to flower, enjoy the show if you appreciate them! Once the main rosette has completely died, simply remove it and allow the pups to fill in the space. Before long, you’ll have a healthy new generation of plants.
BUT if you’re like me and find the flowers messy, feel free to cut all of the flower stalks out — you aren’t removing anything that isn’t already on the way out. While you’re pruning, keep an eye out for the new offsets that will take their place and push them back into the soil if they pop out with the parent.
Nature has many surprising strategies, and monocarpic succulents remind us that sometimes the grandest finale is also a last hurrah!
“Gardening adds years to your life and life to your years.” – Unknown
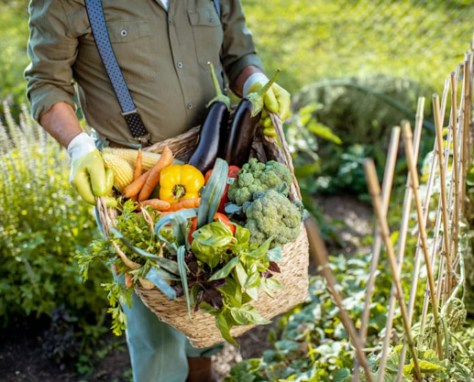
Gardeners and non-gardeners alike can all agree that tending a garden, while incredibly satisfying and rewarding, can also be physically demanding. When we enter our green spaces, we often focus on the plants before us, prioritizing tasks and brainstorming solutions to gardening challenges.
However, what we may not always consider are the significant benefits gardening offers to our physical health.
The physical act of gardening typically involves tasks such as digging, lifting, walking, kneeling, and bending. These activities require us to engage our brains, muscles, hearts, bones, and lungs.
Some may classify gardening simply as a physical activity — which is fair — but I would argue that it can also serve as a form of exercise with far-reaching and long-lasting health benefits.
Gardening Benefits for our Physical Health
Protects against cognitive decline. Gardening requires planning, multitasking, and problem-solving, all of which challenge and stimulate the brain. The physicality involved in gardening also increases blood flow and oxygen to the brain and can significantly decrease the risk of Alzheimers and other forms of dementia.
Engages all major muscle groups. Gardening works the arms, legs, abdominals, shoulders, glutes, neck, and back. Maintaining physical strength as we age is incredibly important for preserving mobility, coordination, and independence. Strong muscles also help prevent life-altering falls and fractures by improving balance and overall stability.
Excellent for heart health. Gardening can increase your heart rate and improve circulation. It can help lower blood pressure and reduce the risk of strokes, diabetes while supporting cardiovascular health overall.
Supports bone health. Gardening can help increase bone mineral density, which may prevent or combat the effects of osteoporosis. Spending time outdoors also provides a healthy dose of Vitamin D, which is essential for strong bones.
Improves lung health. Breathing fresh air in an oxygen-rich environment can help improve lung capacity and efficiency, allowing us to work, play, and live more actively. Lungs also play a role in detoxification as they help us expel toxins and carbon dioxide, a form of metabolic waste.
Gardening can help us live longer, healthier, and more fulfilling lives. However, it is important to always listen to your body when engaging in any type of physical activity.
It is always advisable to consult with your doctor before beginning any new physical activity, especially if it causes pain or discomfort. Avoiding overexertion, staying hydrated, and stretching are essential practices for maximizing the health benefits of gardening.
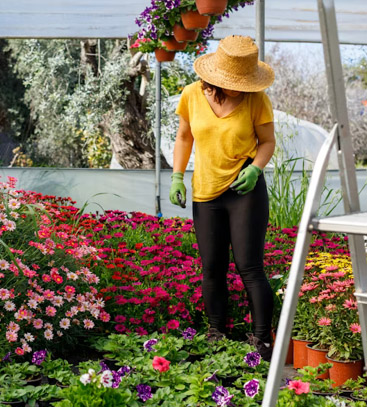
Spending time in our gardens engages both the mind and body, encourages social connection, and provides exposure to Vitamin D — the “sunshine vitamin” — all while offering an incredible sense of satisfaction and accomplishment.
It is no wonder that gardening remains a recommended activity for seniors, not only because of its far-reaching benefits, but also because it can be modified to suit everyone’s individual needs and preferences.
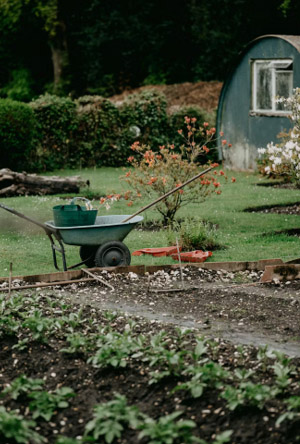
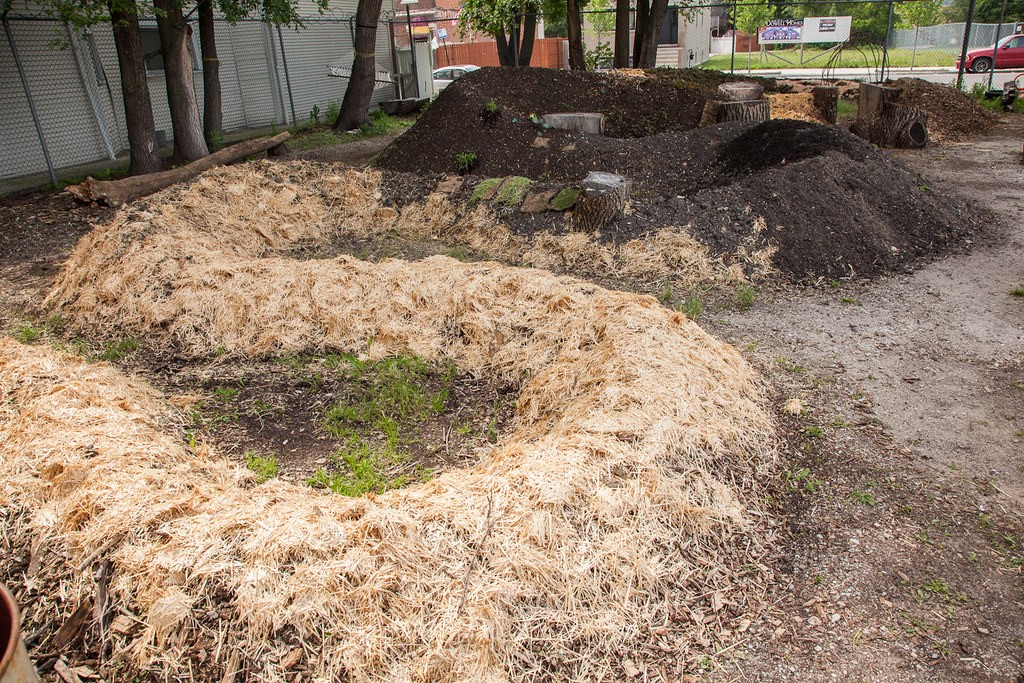
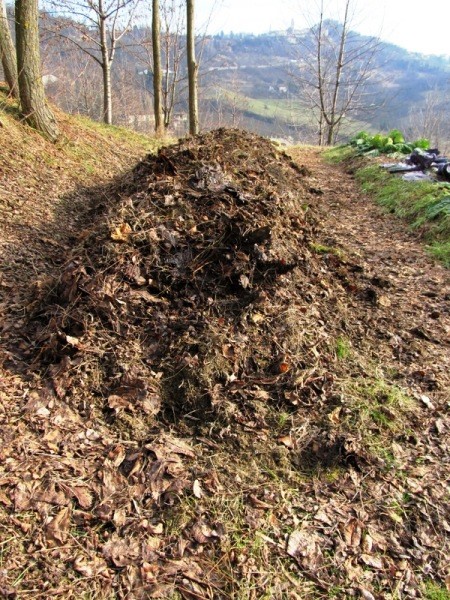
Hugulkultur is a German word meaning ‘hill culture’. It is a form of permaculture, a traditional way of building a raised bed using rotting logs and plant debris. Large logs form the base layer, subsequent layers of organic materials decompose over time creating a rich soil, perfect for many plants, especially vegetables.
There are many advantages to ‘hugelkultur’: it’s easy, affordable, low maintenance, it serves as a self-composting system, and conserves water when constructed in a location where it can capture surface runoff.
The concept is fairly simple. Placed on the lower elevation of a site with its length parallel to water flow, the hugel will catch and absorb moisture. An ‘S’ or serpentine shape positioned to capture runoff is a common shape, but a broken circle or several parallel squiggly strands are other ideas. Design choice is dependent on space available, water run-off, sun and light exposure, and easy access for the gardener. Most hugels are built slightly into the soil though deeper troughs, even completely raised hugels work as well. The width and length of the hugel are also dependent on space available and needs; 3’ wide x 6’ long x 3 – 5’ deep provides good area.
If the hugel is on turf, it’s worth the effort to scrape away the turf and rake some soil away before getting the biggest logs in place. Branches and leaves can be used to fill in the gaps, next comes kitchen and garden waste, manure, grass clippings and finally topsoil and some mulch (or the scraped away soil). Gaps can be filled in by stomping on the mound and moving things around a bit to allow leaves and small matter to slip through. Watering after the addition of each layer kickstarts the decomposition process and also helps things settle. Once things have settled, it’s ready for planting.
A border along the edges of the hugel creates more stability and reduces the risk of the shape collapsing and the top of the mound washing away. Different materials such as brick, wood, or stone can be used to create an edge.
Not all logs and branches are suitable: hardwoods are best; black walnut should be avoided (many plants are sensitive to it), willow as well (branches will sprout), and even cedar is not the best (slow to decompose).
The hugel will likely benefit from additional watering in its first stages; once decomposition starts, less water is required. Over time, as wood and other organic materials decompose, the hugel will sink and additional compost would be beneficial. There is some discussion about whether the decomposing wood takes up nitrogen to the extent plant growth is inhibited so adding compost or growing legumes are considered effective mitigation techniques.
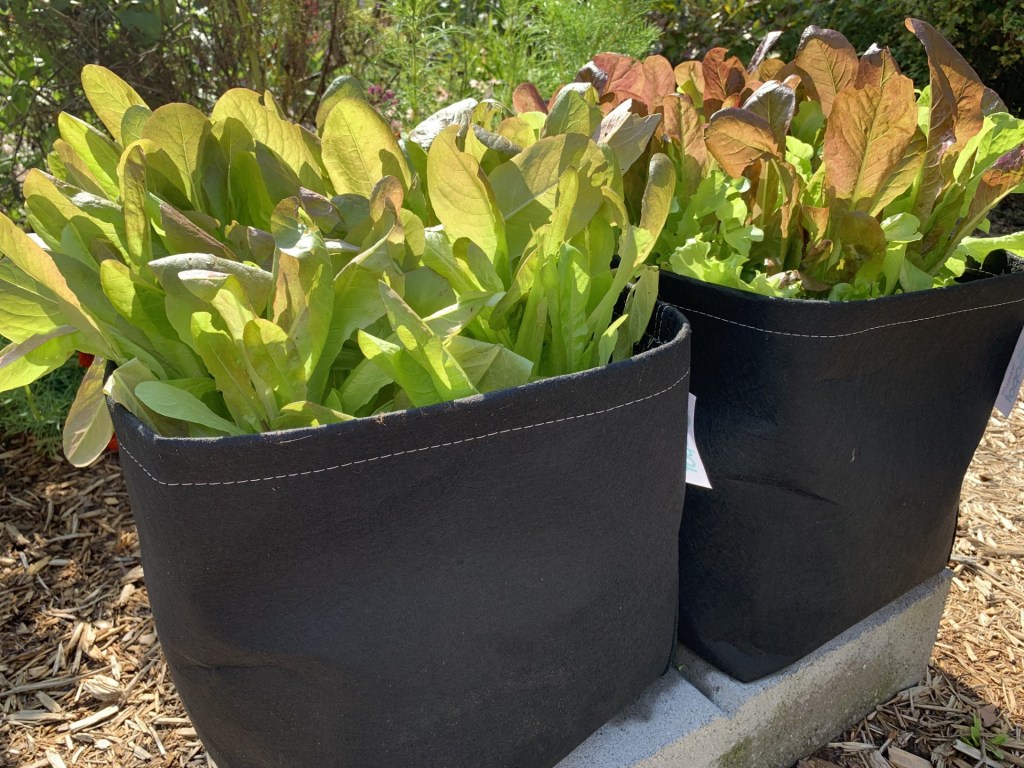
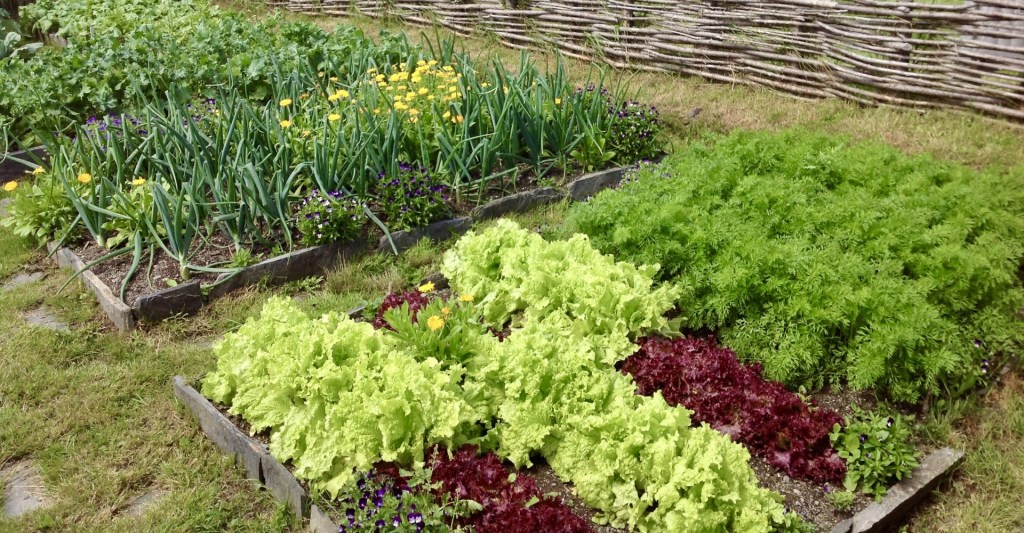
At this time of year some gardeners have started seeds indoors which offers the ability to control temperature, light, moisture and to provide a longer growing season. Many of the plants started indoors will not be planted out until all danger of frost has passed. Tomatoes and peppers are two examples. Some may be plants like Brussels Sprouts that can tolerate cool conditions but benefit from an indoor start due to the length of time it takes them to produce a mature crop. Then there are seeds that can be directly seeded into cool soils, tolerate frost after sprouting and provide an early harvest. Kale, arugula and peas are a few of my favourites. Check out Master Gardeners Sharleen Pratt’s article about cool season vegetables.
So how early in the spring can one direct seed? The usual direction is to seed when the soil is workable. What conditions need to be met to have workable soil? The squeeze test can help with this. Dig a handful of soil from 7-10cm deep, squeeze it into a ball and press your finger against it. If the ball crumbles easily it is workable. If it remains a dense, sticky ball it is too wet. When water fills the air pockets in soil, seeds may rot or suffocate. Checking the soil’s workability is important but it is also very important to reduce working or tilling your soil.
Raised beds, grow bags and deck boxes may help move up the date for direct seeding as they typically provide for better drainage and warmer soil.
If you have other questions about planting your seeds, the back of the seed packet is an invaluable resource. It will provide information about what conditions the seed needs to germinate, grow and provide you with a timely harvest.
Are you curious about the birds, insects, and other wildlife visiting your garden? iNaturalist (free iOS/Android app) lets you photograph organisms, get AI suggestions on identification, and submit observations that expert naturalists can verify and researchers can use. Knowing which organisms are using your garden both gives you a greater appreciation of its contribution to the local ecology and can help you support visiting wildlife’s needs. A few examples of how you can use iNaturalist follow.
You can easily generate a summary of observations in your garden in iNaturalist–in my case 68 species of butterflies and moths in my garden north of Peterborough since 2021.
This is just a partial summary of the species of butterflies and moths observed in my garden. Custom summaries can easily be generated in iNaturalist–no need to keep your own list!
Two summers ago I found caterpillars eating my Snowberry (Symphoricarpos albus). iNaturalist identified them as Snowberry Clearwing Moth (Hemaris diffinis). After pupating, they overwinter in leaf litter — so leaving leaves under trees and shrubs can protect its pupae and that of many other butterflies and moths.
(Left) Caterpillar of the Snowberry Clearwing Moth feeding on Snowberry shrub but I have only ever seen the adult of the closely related Hummingbird Clearwing Moth (Hemaris thysbe) adult (Right), here nectaring on Salvia in my garden.
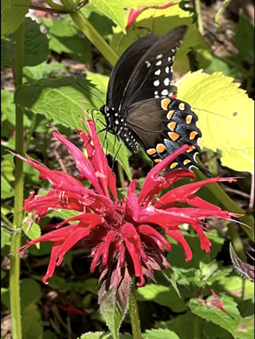
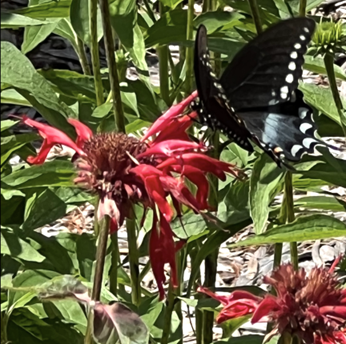
You can use iNaturalist to learn which species use your garden and then plant their host plants (required to feed its caterpillars). In 2024 I recorded a rare Spicebush Swallowtail (Papilio troilus) visiting Bee Balm (Monarda didyma). Its hosts are Sassafras and Spicebush — plants of the Carolinian Forest ecoregion. Researchers using citizen science records over an 18-year period have already documented North American butterfly range changes towards cooler and wetter locations with climate warming (da Silva and Diamond 2024). The next spring, I planted 12 seedlings of Spicebush. Although planting native species from further south of your location is generally not recommended, small experiments can be informative.
I submitted the above 2 photos to iNaturalist. My observation was reviewed by one of Ontario’s foremost butterfly experts, Rick Cavasin, who verified it was actually a Spicebush Swallowtail. It is one of only a few observations to date of this butterfly in central Ontario.
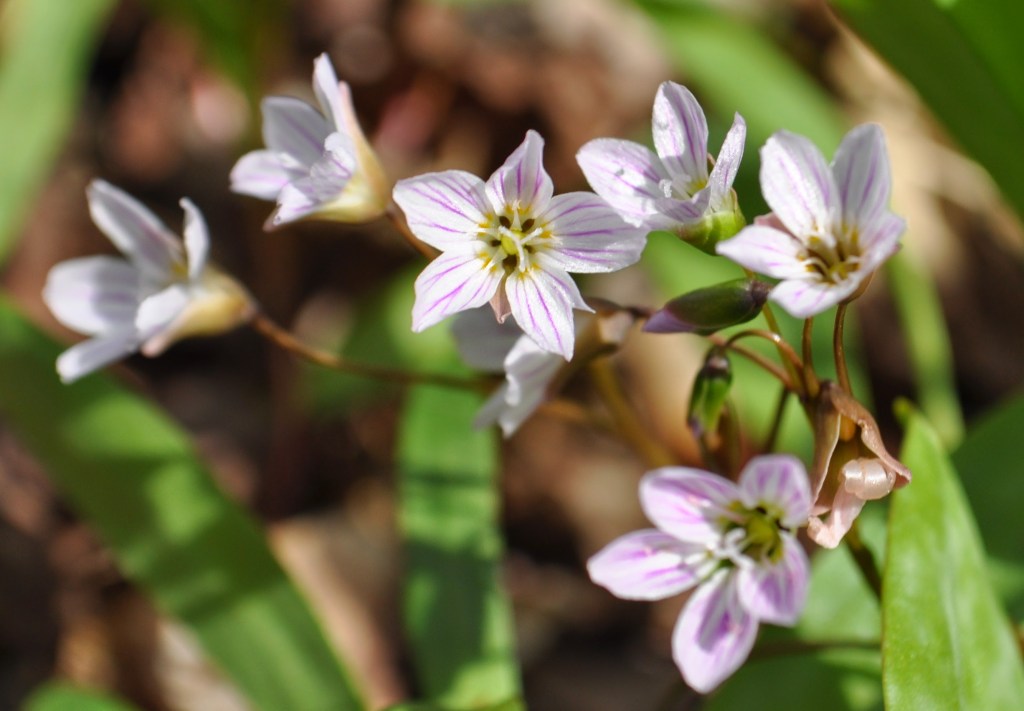
You could also use iNaturalist to identify a species you want to attract to your garden. I recently heard about a Brooklyn Bridge Park (New York City) gardener’s success in attracting the pollen specialist Spring Beauty Mining Bee (Andrena erigeniae) by planting hundreds of its host plant, Spring Beauty (Claytonia virginica), over several years. Twenty-five percent of eastern North America’s 770 native bumble bee species are pollen specialists that can only raise their larvae on pollen from either a group of closely-related plant families, a single genus, or, even just a single species (Fowler & Droege 2020).
Eastern Spring Beauty (above) and Carolina Spring Beauty (Claytonia caroliniana) bloom in early spring in northeastern North American woodlands. The pollen specialist, Spring Beauty Mining Bee can only raise its larvae on their pollen.
I am winter sowing Wild Geranium (Geranium maculatum) to support spring pollinators and to try attracting the Cranesbill Miner (Andrena distans) another pollen specialist, but this may be challenging because there are no reports of this species north of Peterborough (see map below). The lack of records could be due to fewer iNaturalist observers in this location and gardeners’ casual contributions could provide a more complete picture of biodiversity from their gardens.
Observations of Cranesbill Miner (Andrena distans) on iNaturalist as of February 18, 2026.
Getting Started with iNaturalist
I hope you are inspired to use this tool. You can download either the iOS (for an iPhone) or android version of iNaturalist from the App Store. This quick video shows you how to use iNaturalist while this one provides more details and shows how you can use data in iNaturalist to learn which species have been observed in your local area.
To Learn more about Ecological Gardening watch this TED Talk by Rebecca McMackin which has more than 450,000 views.
If you like butterflies, you may find this pocket guide to Ontario’s butterflies and moths by Rick Cavasin helpful.
Research Cited
da Silva, C. R. B., & Diamond, S. E. (2024). Local climate change velocities and evolutionary history explain multidirectional range shifts in a North American butterfly assemblage. Journal of Animal Ecology, 00, 1–12. https://doi.org/10.1111/1365-2656.14132
We visited Singapore in 2025, using it as our first stopover on a tour of SE Asia. Singapore was described as the ‘Switzerland of Asia’, an easy spot to get over jet lag, acclimatize, and ease into the pace. I’d seen pictures, heard of The Gardens by the Bay, but to me it looked like a huge soulless city that had shopping and commerce at the top of the list. My expectations weren’t very high; I hoped to be sleeping for a few days, perhaps getting a taste of some interesting food, at best tracking down a Singapore Sling.
I was wrong: Singapore is a gardener’s paradise, there is greenery and nature everywhere, all of it connected; it’s landscaped yet natural, with green roofs, vertical gardening, containers and planters, small and large areas of grass, tree lined boulevards, paths and parks – wherever the eye falls there is greenery and nature. The airport itself is filled with plant material; the drive from the airport into the city centre is lined with magnificent trees and flowers, flower baskets hang from the sides of bridges and it never stops. Freshly cut flowers, uniquely designed floral arrangements and containers adorn hotels and restaurants. It’s a marvel to walk anywhere, even through the business district where every angle has incorporated greenery and plant life. It’s awesome, in the true sense of the word, all the more remarkable because it’s a huge, busy city with massive skyscrapers, complex road systems, and modern amenities.
None of this happened by chance. In the 1960’s, the first PM of Singapore undertook an ambitious plan to develop Singapore into a Garden City. Fast forward several decades, the dream has become a reality, Singapore is known as a City in a Garden and a City in Nature.
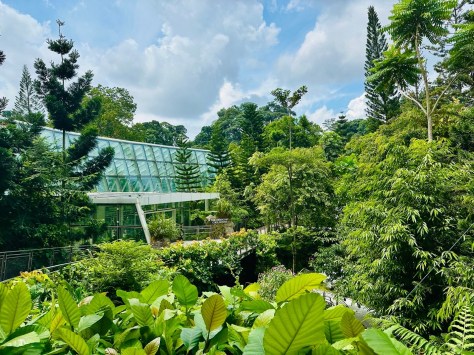
We spent two full days in the Singapore Botanic Garden and could have spent a week there. It’s a UNESCO World Heritage Site, free, a blend of history, research, education, relaxation, calmness and pure pleasure for the eyes and senses. As a botanic garden, there’s informative signage, interesting heritage trees, a beautiful pond, sculptures, museum and gallery, all presented with little to no commercial promotion or sponsorship. The National Orchid Garden (with a small admission fee) presents orchids (there’s an important orchid breeding program), bromeliads, gingers, rhododendrons, magnolias, and much more, all planted to simulate the ascent through a tropical montane forest. The original glass house has been upgraded with complex modern cooling and misting engineering to maintain a 1,000 metre altitude tropical montane environment at 24 – 26C.
Singapore Botanic Gardens
Singapore Botanic Garden
Gardens By the Bay is a tourist icon in Singapore. Certainly more commercial than the Botanic Gardens, it’s important to note that gardens and nature are at the core of the attraction. And the concept behind the Gardens is sustainability: in the glass house, a special coating on the glass minimizes solar heat gain while providing optimal light for plants, the roof has a sensor-operated retractable sail to provide shade, and a displacement cooling system maintains cool air at lower levels and vents warm air out a high levels. Outside, the lakes act as filtration systems, the supertrees harvest solar energy or act as air exhaust.
Gardens by the Bay
The seven ton floating baby boy, Gardens by the Bay. In addition to the technology and the sheer size and splendour, it is whimsical, creative and surprising.
The Supertree Grove is a vertical garden with nighttime light and sound shows, the Flower Dome is the largest glass greenhouse in the world, and nestled quietly between is Kingfisher Grove, freshwater wetlands developed to allow ecosystems to recover and wildlife to reconnect despite the development. It’s filled with mangroves to act as carbon sinks and surprisingly, otters, which are everywhere.
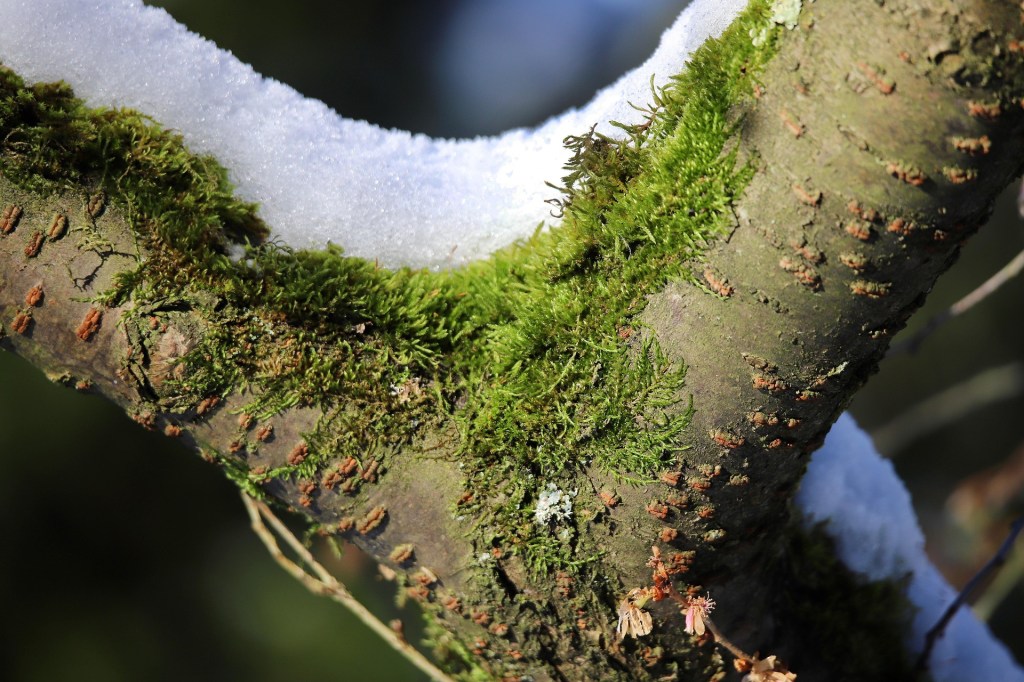
January is a very challenging time for garden writers. Gardens are pretty empty, the flowers are gone, and the beds are frozen; hopefully everything is resting under a deep pile of insulating snow. Garden topics are hard to come by! This one jumped out at me on a recent snowshoeing trek north of Gannon’s Narrows this week with my friend Ange.
On this trip, I took a close look at the north side of many of the trees. I confirmed that not everything in nature is resting. I saw a lot of soft green patches on the bark. That’s moss.
Moss is one of the oldest plants on earth. It’s classified as Bryophyta (bryophytes) in the plant kingdom along with its cousins the liverworts. It doesn’t have roots. It doesn’t flower. It survives by taking in moisture from rain, fog, and snow. Even in cold weather, moss can stay green. Moss also supports tiny life. Small insects and microorganisms live in it.
Many gardeners worry that moss on trees is a problem. It isn’t. Moss does not steal food or water from the tree. It does not damage the bark. Moss simply uses the tree as a place to sit.
Interesting fact: In the southern hemisphere, moss is more likely to grow on the south side of trees. Here’s why, in simple terms:
Moss prefers shade, moisture, and cooler conditions.
In the northern hemisphere, the north side of trees gets less direct sunlight, so it stays damper and cooler.
In the southern hemisphere, the sun is mostly to the north, which means the south side of trees is shadier and often more moist.
So the pattern flips across the equator. Road trip to confirm, anyone?
That said, moss is not a reliable compass. It can grow on any side of a tree if conditions are right. Factors like nearby buildings or fences, dense canopy cover, local humidity, or prevailing winds will all influence where the moss will grow or not grow.
In conclusion, moss isn’t a threat, and it is not always trying to point us north; it’s simply growing where the conditions are right.
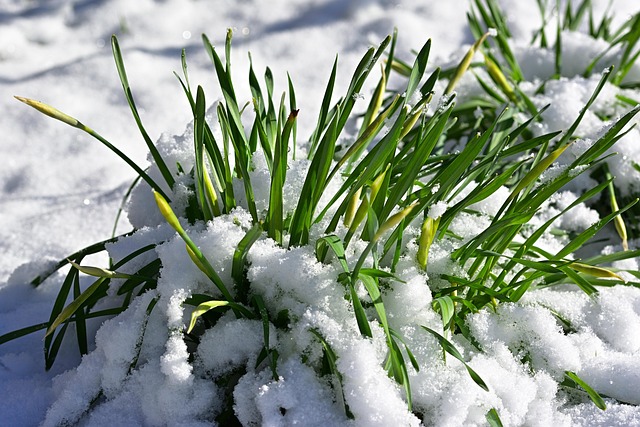
Snow after Christmas has a public relations problem. It blocks driveways and arrives just in time for the morning commute. But ecologically speaking, snow is a quiet hero; less frozen nuisance, more life-support system.
Freshly fallen snow is light and fluffy, packed with tiny air pockets that make it an excellent insulator. This airy layer acts like a thermal blanket, keeping soil temperatures relatively stable even when the air above plummets. Beneath it, plants are spared damaging freeze–thaw cycles, roots avoid frost heave, and soil microbes continue their slow, essential work (Pauli et al., 2021; Saccone et al., 2013).
As snow ages, it settles and compresses into denser layers. Below these compressed layers is a gap between the snow and soil, the subnivean zone—a hidden world of tunnels for voles, mice, shrews, and overwintering insects. Stable snow layers mean stable winter habitat for these creatures which directly influences survival migrating birds and awakening mammals (Pauli et al., 2021).
The subnivean zone — Photo Credit: AI generated Image
Snow also plays the long game. Acting like a frozen reservoir, it stores winter precipitation and releases it slowly during melt. This gradual release recharges groundwater, sustains streams, and prevents spring flooding. Crucially, snowmelt fills ephemeral pools—temporary wetlands that appear just long enough for frogs, salamanders, and invertebrates to breed before drying out. These pools are biodiversity hotspots, and many amphibians depend on them entirely for reproduction (Brooks, 2004).
Climate change, however, is rewriting snow’s script. Warmer winters mean thinner, more variable snowpacks, frequent mid-winter melts, and icy crusts instead of fluffy insulation. These unstable layers expose soil and roots to harsh temperature swings, collapse subnivean habitats, and increase winter mortality for small mammals and plants alike (Saccone et al., 2013; Pauli et al., 2021). Reduced snowpack also means less spring meltwater, shrinking ephemeral pools and compressing breeding windows for amphibians.
In short, inconsistent snow is not just inconvenient; it’s ecologically disruptive. When snow comes late, melts early, or freezes into ice instead of insulating layers, entire food webs feel the impact. And we are feeling it this year.
The next time snowflakes fall, take a moment. That squeaky, shovelled nuisance is buffering ecosystems, storing water, protecting roots, and quietly setting the stage for spring. Snow may be cold, but for nature, it’s doing some very warm-hearted work.
In this day and age, we spend so much time on our computers, googling all the information we want and need. But there is something about sitting by a sunny window on a cold winter’s day with a good book.
The winter months are a great time to pull out an old gardening book or invest in a new one. The days are now getting longer and spring is coming, but actual gardening is a few months away. Time to learn something new to help you improve your gardening skills. There are many good Canadian and zone appropriate books that can help you.
Below, I have listed a few of my favourite books on my bookshelf. I have also asked my fellow Master Gardeners to share their favourites. Some of the books are out of print, but check your local library, used book stores or online sites. Enjoy!
For the Houseplant Gardener
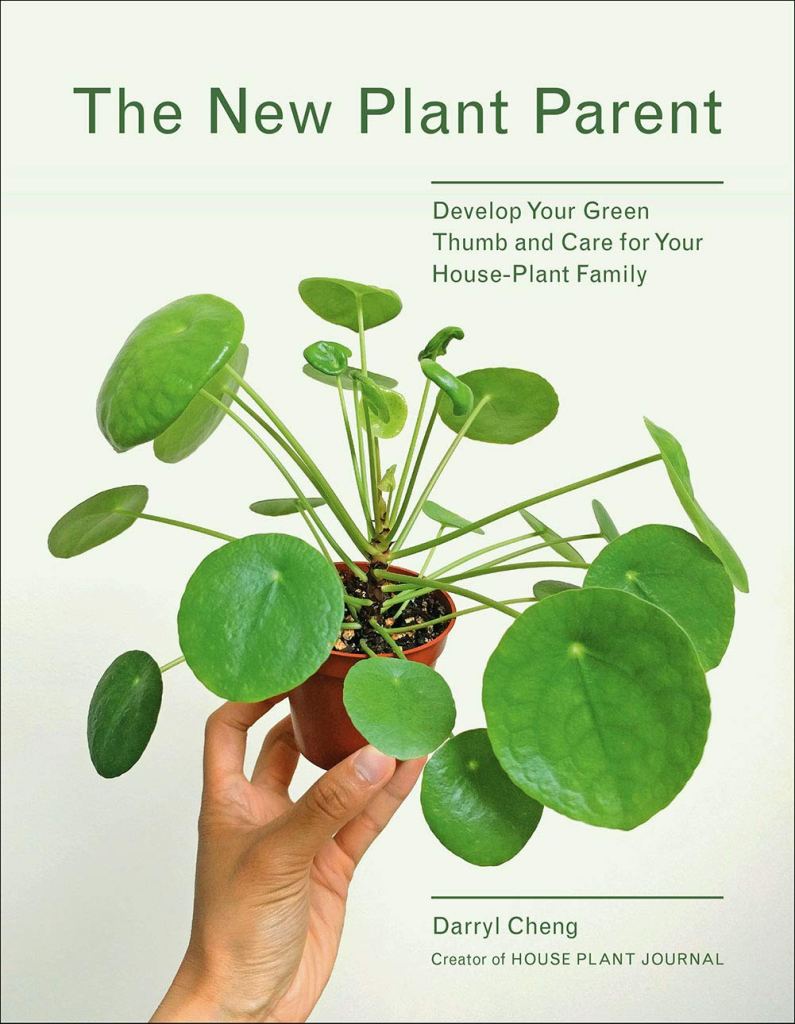
The New Plant Parent
Darryl Cheng gives advice that is full of common sense. He explains that leaves do die and plant care should be enjoyable, not a chore. He discusses basic requirements for healthy plants including the right light, soil care and proper watering. Great illustrations and nineteen plant varieties are listed in detail. Look for his newer books also.
For the Vegetable Gardener
Plant Partners
Companion planting has been around for years. Jessica Walliser gives us “science-based companion planting strategies” that help with disease and pests, improves soil and supports pollinators. Lovely illustrations throughout will have you dreaming of your next vegetable garden.
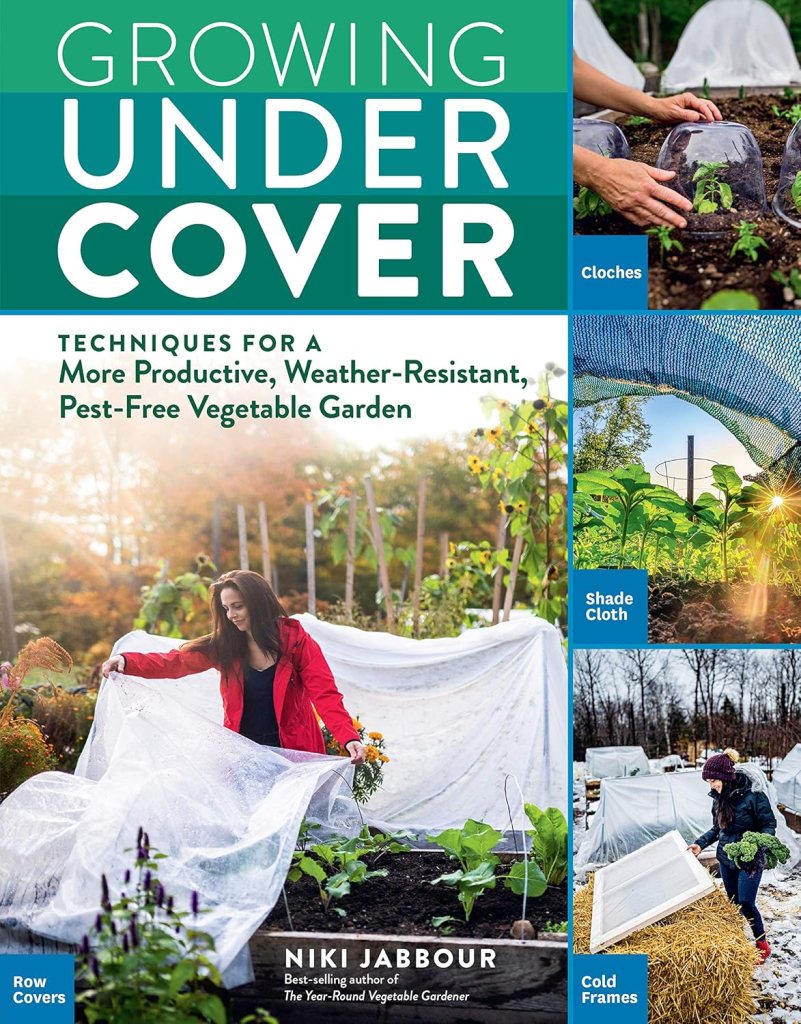
Growing Under Cover
Niki Jabbour is the Canadian half of the popular website Savvy Gardening (along with Jessica Walliser). She has several books out, but this one gives great information about how to reduce pests with row covers. Niki has several books out, so check them out.
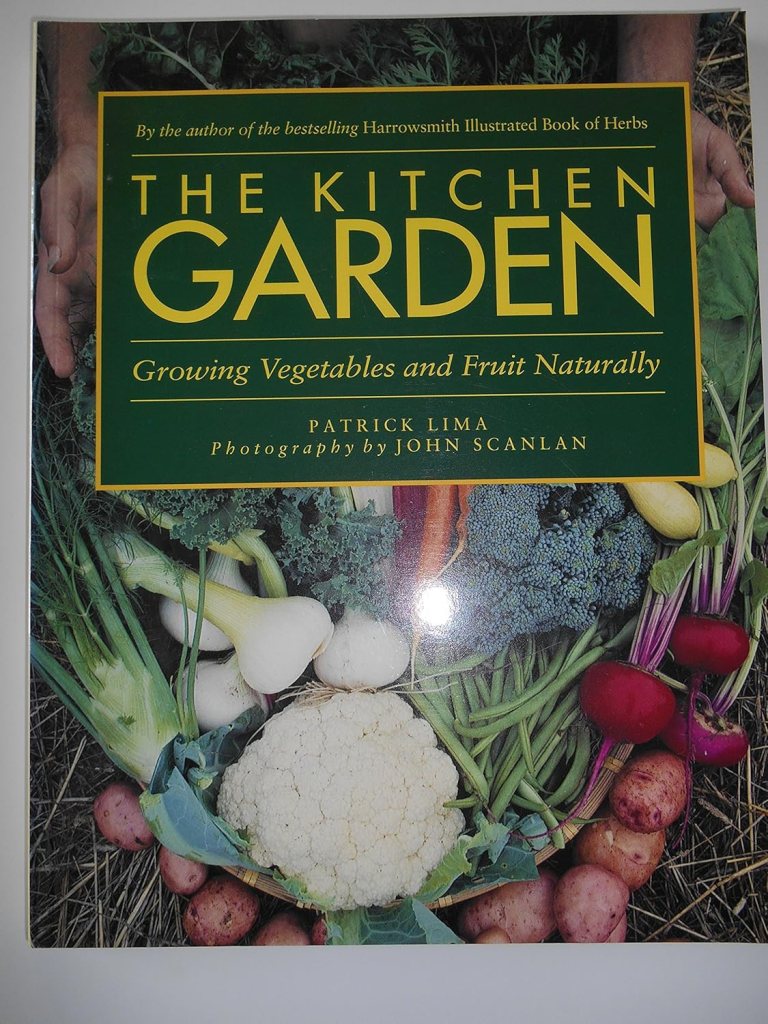
The Kitchen Garden
Peterborough MG Silvia Strobl first toured Patrick Lima and John Scanlan’s garden on the Bruce Peninsula over 40 years ago and was inspired by both their colourful perennial and productive vegetable gardens. Each spring, she still refers to this book’s excellent information to refresh her memory on time to sow, spacing, thinning, harvesting, etc. for the vegetable crops she grows! Unfortunately, this book is out of print, but you may find a used copy online.
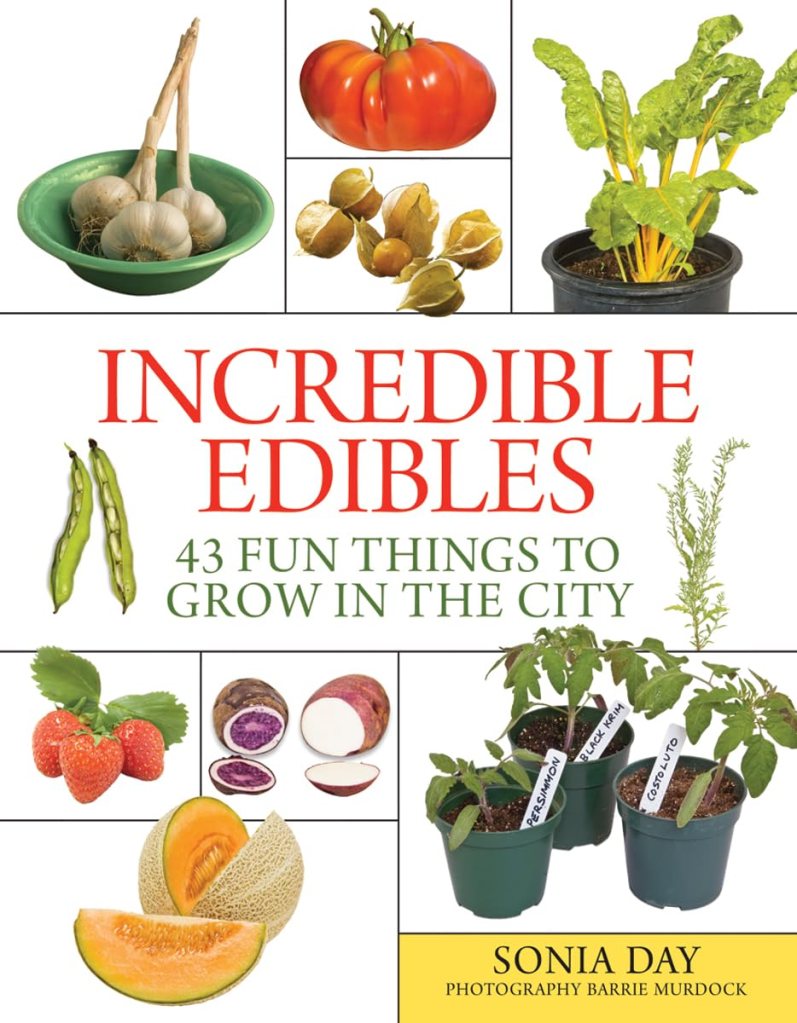
Incredible Edibles
This book by Sonia Day is recommended by Peterborough MG Deb Fraser. It is very basic for the beginner gardener. It answers when, where, how, as well as other questions for herbs and vegetables. She even gives a recipe for each plant. Another book that is out of print. Try used book sites.
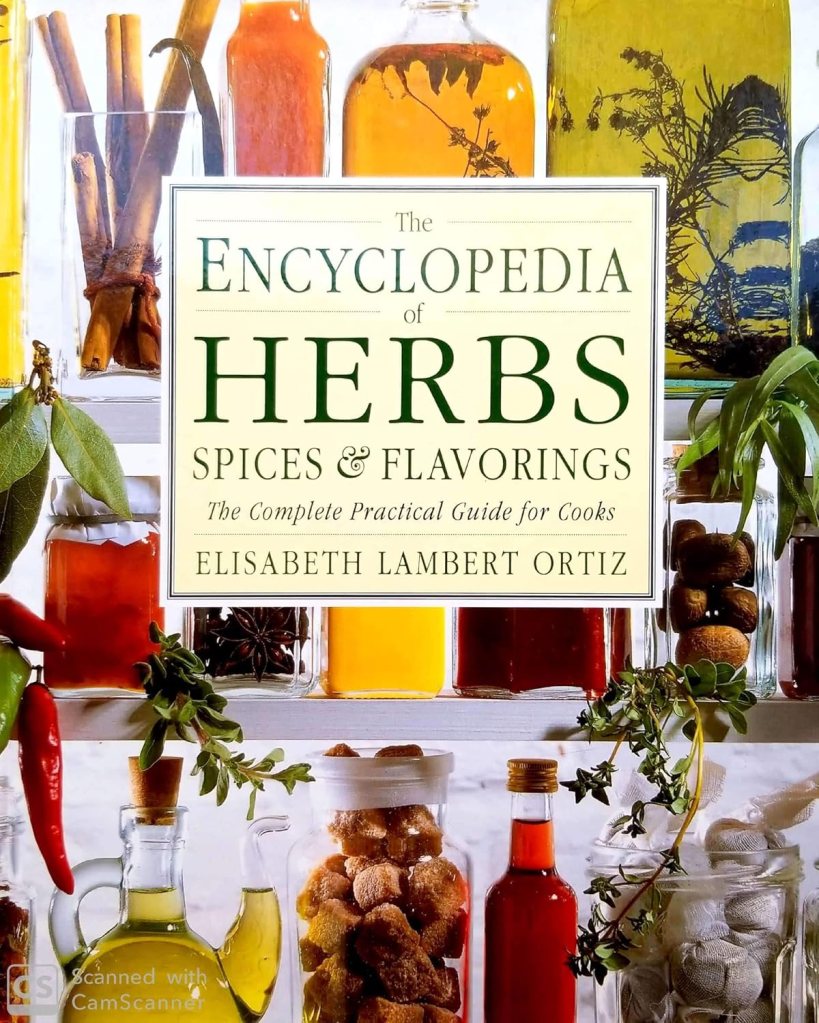
Encyclopedia of Herbs, Spices & Flavorings
Deb also suggests the Encyclopedia of Herbs, Spices & Flavorings, a cook’s compendium by Elisabeth Lambert Ortiz. Originally British but published in Canada by Readers Digest, 1992. It is beautifully illustrated and very detailed about the origin of herbs, spices, oils, sauces, coffees and teas around the world. She details the origin of these, how to cook with them and a recipe. When the weather is frightful with a nice warm drink in hand it makes for interesting reading, perhaps planning to add a few herbs to your garden next spring.
For the Perennial Gardener
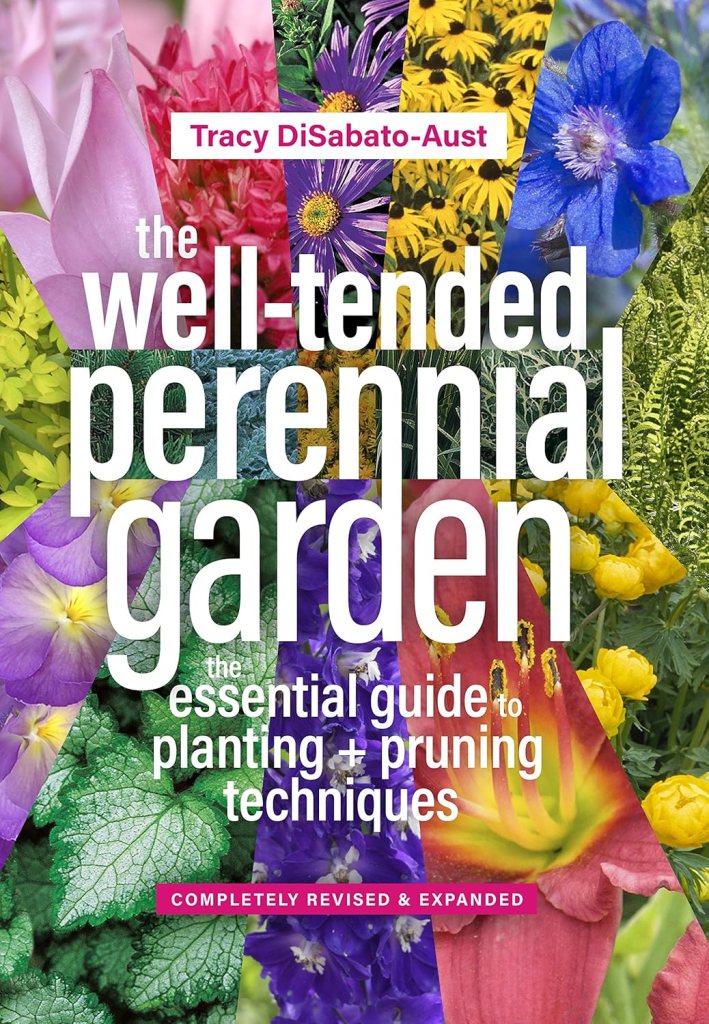
The Well-Tended Perennial Garden
Peterborough MG Gladys Fowler’s favourite book is the Well Tended Perennial Garden. Tracy DiSabato-Aust’s book has an extensive encyclopedia of perennial species and cultivars and she explains the maintenance and pruning needs of each plant. The explanations and illustrations are excellent.
For the Native Plant Enthusiast
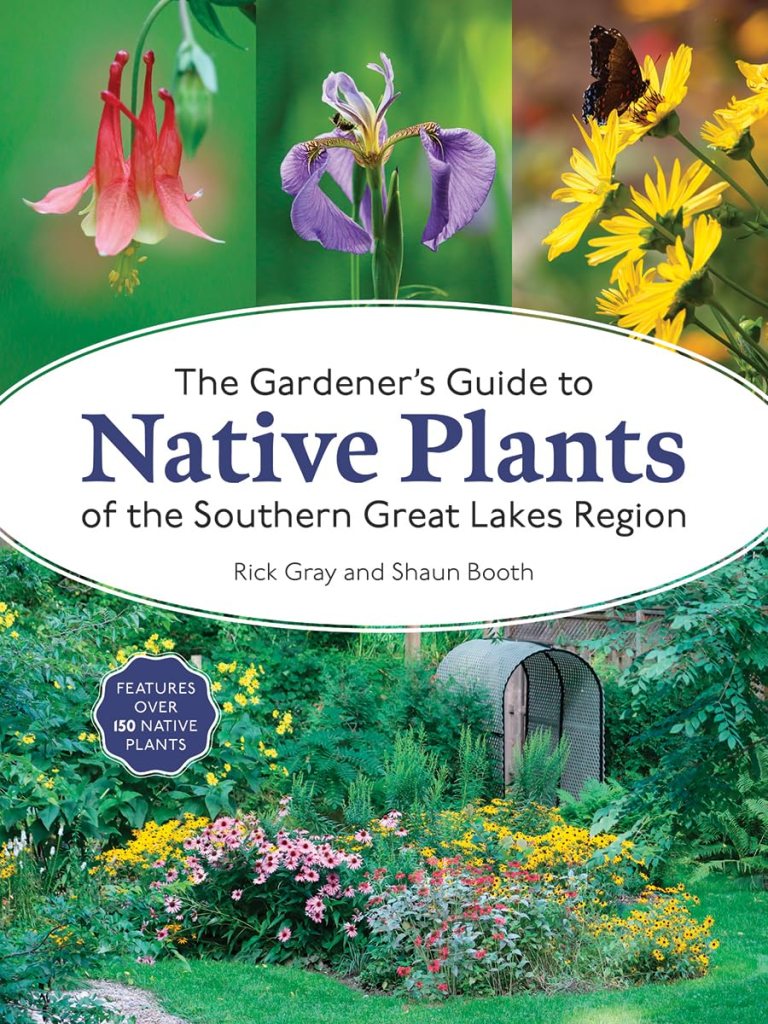
The Gardener’s Guide to Native Plants of the Southern Great Lakes Region
For Peterborough MG Emma Murphy, definitely this one on native plant gardening – for our region, gives everything you need to know about growing the plant, including propagation, wildlife value and what butterflies and moths it is a larva host for. For a full book review she did on Rick Gray and Shaun Booth’s book when it was published in 2024 click here.
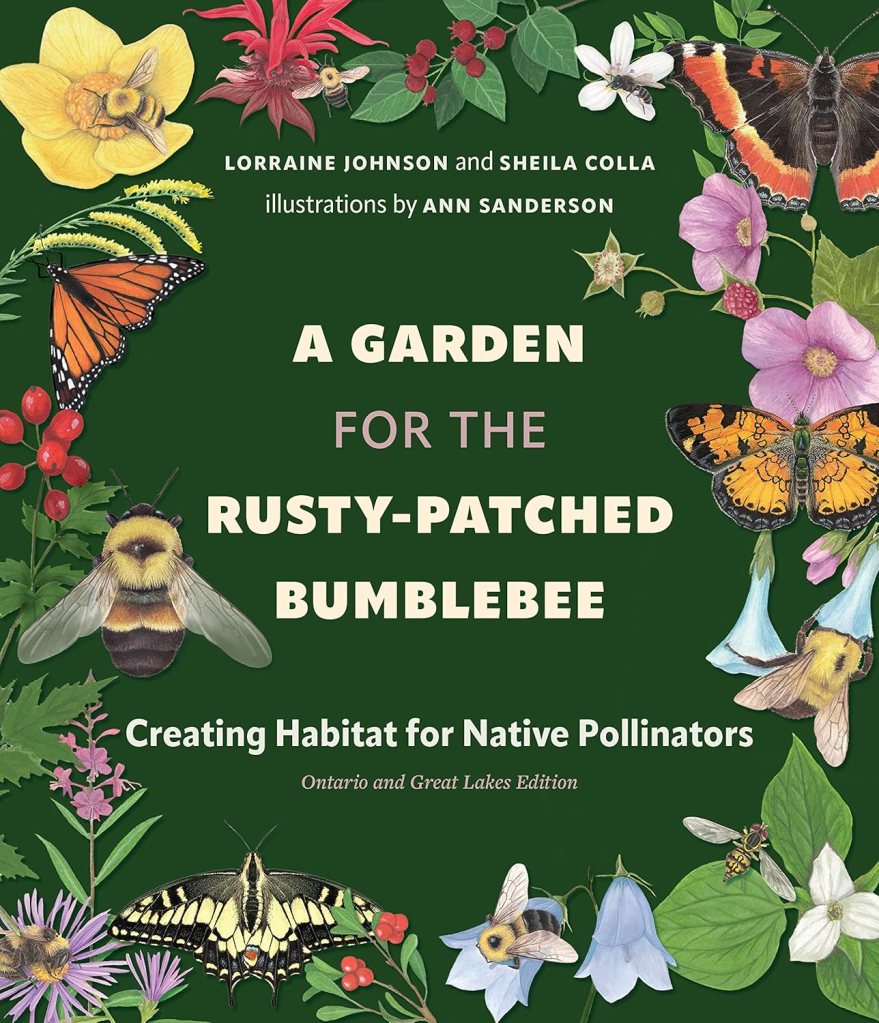
A Garden for the Rusty-Patched Bumblebee
Peterborough MG Sharleen Pratt says this book by Lorraine Johnson and Sheila Colla not only goes into great detail about Ontario native plants, vines, shrubs and trees, but it also encourages us all to think about the spaces we create so that pollinators can thrive.
For the Environmentalist
Our Green Heart
Peterborough MG Carol Ireland says it feels good to sit down and read something that requires absolute attention while at the same time causes you to make all the connections between what you are reading and the place trees have in the survival of our planet. This one by Diana Beresford-Kroeger is also on my reading list!
What is your favourite gardening book? What do you have on your list to find and read next? Eleven more weeks till spring!
This autumn, I’ve had the incredible experience of doing a teaching exchange at Hartpury University in Gloucestershire, England. In between teaching, hiking, and bird banding, I was able to cycle over 300 miles of beautiful English country lanes, stopping at castles, nature reserves, and some incredible gardens along the way.
Hidcote Manor
Walking through the gates of Hidcote Manor in the Cotswolds, it is easy to feel as though you’ve stepped into a painting. The clipped hedges, winding paths, and carefully designed garden rooms are alive with the hum of pollinators and the flutter of birds. Down the road at Sudeley Castle, wildflower meadows are stitched into the landscape, part of a growing movement in the UK to “rewild” gardens, restore soils through regenerative farming practices, and build habitats that bring nature (yes, hedgehogs!) back into cultivated spaces. Interactive songbird huts, topiary animals, and forest school playforts do their best to situate nature at the heart for all ages.
Hidcote Manor
As a Conservation Biologist, this experience has offered very good perspective. In Britain, every hedge, flower border, and restored meadow is a choice made against the backdrop of land pressure. With centuries of agricultural intensification and urban sprawl, biodiversity has been whittled down and what is left is very small, isolated, and still heavily managed by humans. The birds that flit in the hedgerows, the butterflies in the long grasses, and the rare orchids tucked into meadow corners are treasures precisely because they are fragile—and rare.
Hidcote Manor
This sense of loss combined with preciousness shapes the way the British approach gardening: nature is folded into design not as ornament but as necessity. Even the grandest estates now showcase pollinator gardens, bird-friendly planting, and soil-friendly techniques that acknowledge the land’s limits. My teaching partner in the department here summed this up pithily when she said: “We don’t conserve wilderness, we have to grow it alongside our tomatoes.”
Hidcode Manor
This past summer, much of Britain faced a severe drought. Gardens once lush with green lawns and blooming perennials turned brittle and brown, testing the resilience of even the most historic estates. For visitors, it was a stark reminder that climate change is rewriting the rules of gardening everywhere. Those manicured, clipped expanses of green that once symbolized order and wealth are now increasingly viewed as unsustainable. Pressure is mounting for landowners to let go of the perfect lawn and instead embrace wilder, woodier landscapes that store carbon, provide shade, and create habitat for wildlife. What was once considered unruly is being reimagined as resilience—an acceptance that in the face of climate change, neatness cannot take precedence over nature.
For Canadians, the contrast is striking. Canada is a country of seeming abundance: boreal forests that stretch for thousands of kilometers, wetlands that teem with migratory birds, and prairies that still hold echoes of bison herds. Diversity here can feel endless, and because of that, sometimes it is taken for granted.
Yet, abundance should not breed complacency. Canada faces its own ecological crises—loss of grasslands, declining pollinator populations, and habitat fragmentation in every province. There is much to learn from Britain’s careful stewardship of what little remains, especially in recognizing that a garden is not just personal space, but part of a shared ecological fabric.
Standing between the flower borders of Hidcote and the meadows of Sudeley, the lesson is clear. British gardens show how intentionality can transform even limited landscapes into havens of biodiversity, while Canadian gardens remind us of the wealth we still have—and the responsibility to protect it. In both places, the garden is more than a private retreat. It is a living classroom, teaching us how to care for what is precious, whether rare or abundant, in a changing world.
Thom Luloff is a Professor of Conservation Biology at Fleming College.