By Marjorie Vendrig, Master Gardener
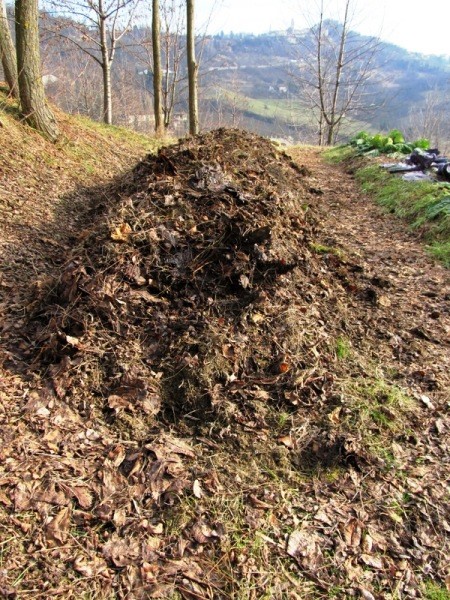
Hugulkultur is a German word meaning ‘hill culture’. It is a form of permaculture, a traditional way of building a raised bed using rotting logs and plant debris. Large logs form the base layer, subsequent layers of organic materials decompose over time creating a rich soil, perfect for many plants, especially vegetables.
There are many advantages to ‘hugelkultur’: it’s easy, affordable, low maintenance, it serves as a self-composting system, and conserves water when constructed in a location where it can capture surface runoff.
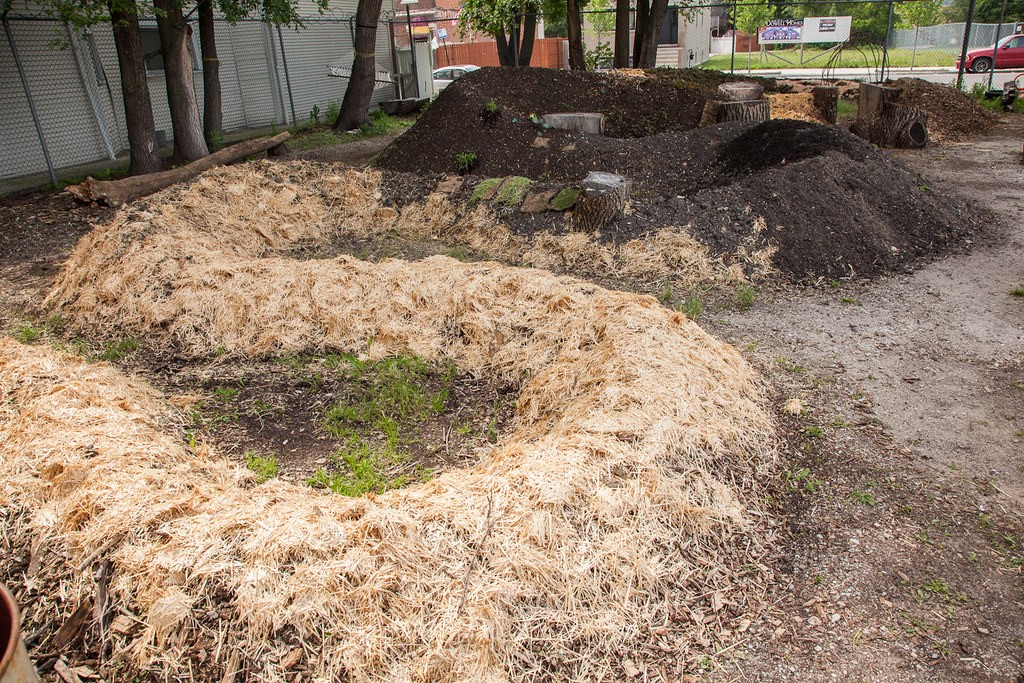
The concept is fairly simple. Placed on the lower elevation of a site with its length parallel to water flow, the hugel will catch and absorb moisture. An ‘S’ or serpentine shape positioned to capture runoff is a common shape, but a broken circle or several parallel squiggly strands are other ideas. Design choice is dependent on space available, water run-off, sun and light exposure, and easy access for the gardener. Most hugels are built slightly into the soil though deeper troughs, even completely raised hugels work as well. The width and length of the hugel are also dependent on space available and needs; 3’ wide x 6’ long x 3 – 5’ deep provides good area.
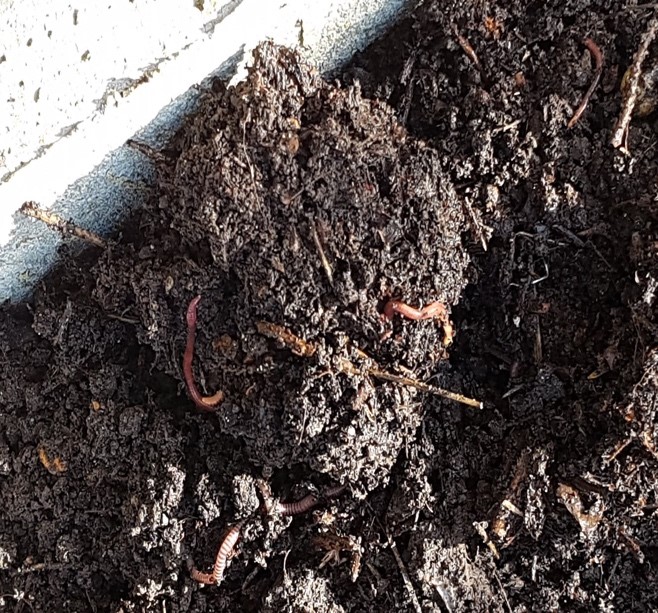
If the hugel is on turf, it’s worth the effort to scrape away the turf and rake some soil away before getting the biggest logs in place. Branches and leaves can be used to fill in the gaps, next comes kitchen and garden waste, manure, grass clippings and finally topsoil and some mulch (or the scraped away soil). Gaps can be filled in by stomping on the mound and moving things around a bit to allow leaves and small matter to slip through. Watering after the addition of each layer kickstarts the decomposition process and also helps things settle. Once things have settled, it’s ready for planting.
A border along the edges of the hugel creates more stability and reduces the risk of the shape collapsing and the top of the mound washing away. Different materials such as brick, wood, or stone can be used to create an edge.
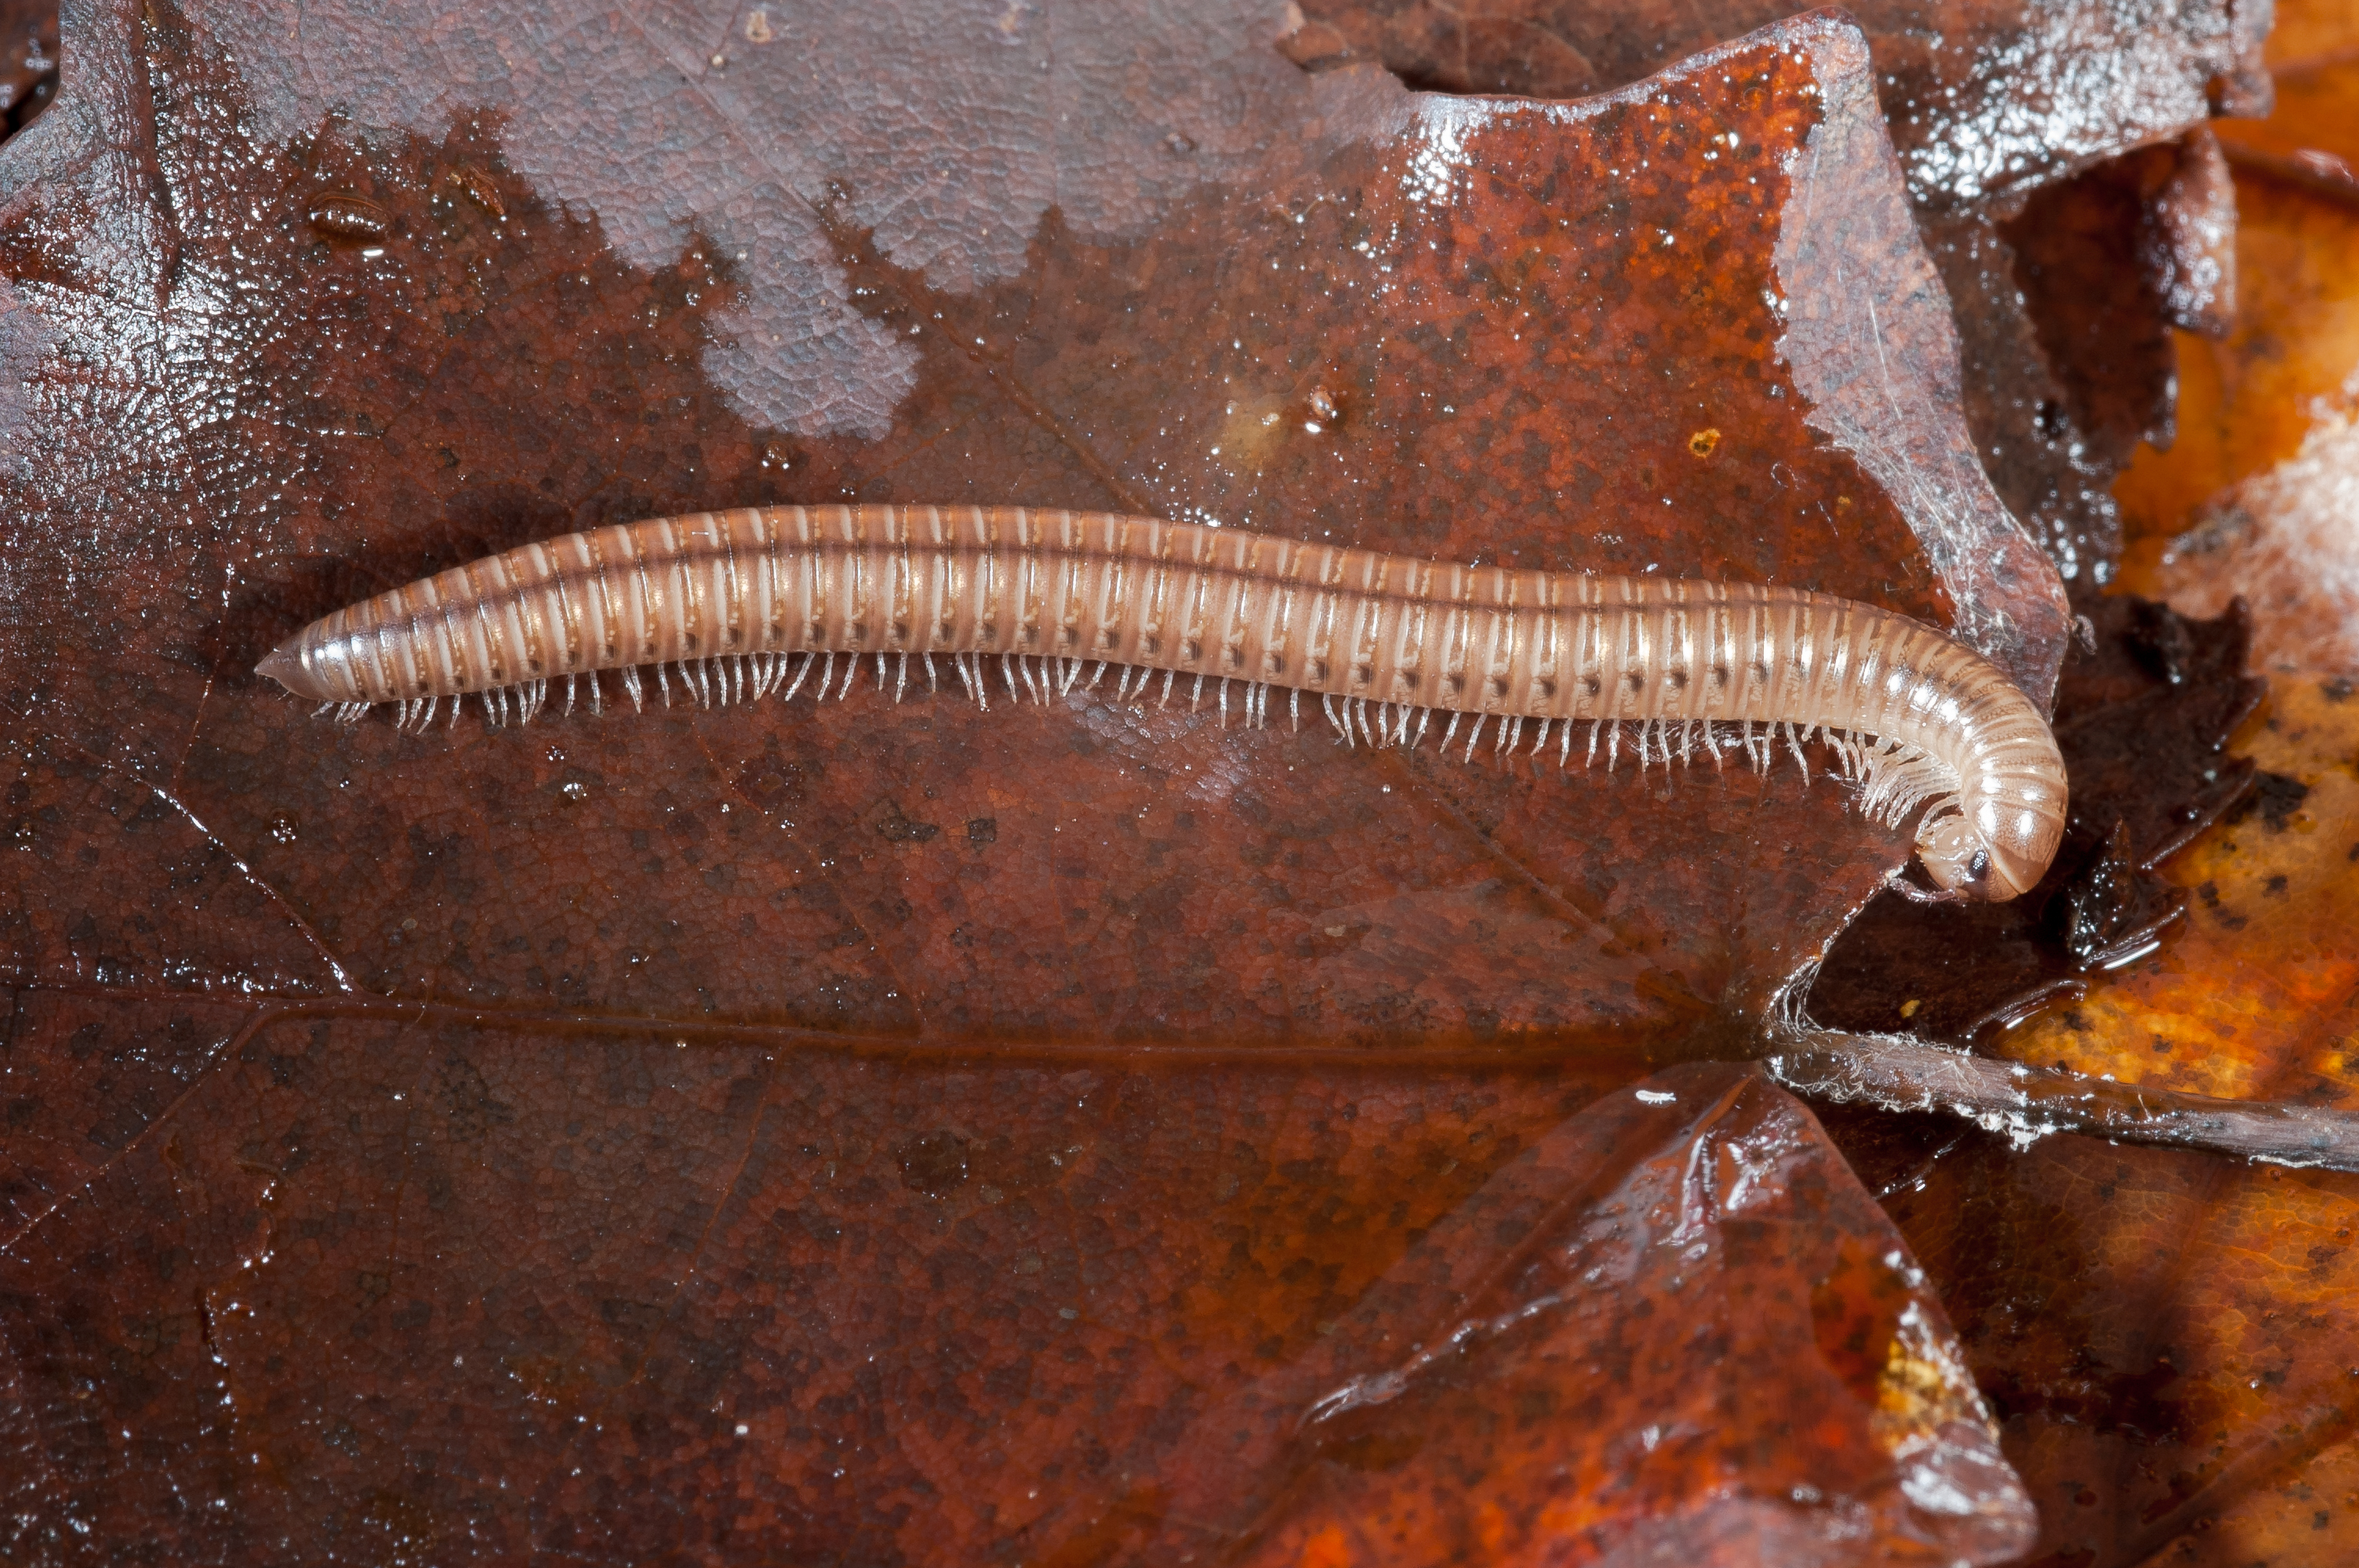
Not all logs and branches are suitable: hardwoods are best; black walnut should be avoided (many plants are sensitive to it), willow as well (branches will sprout), and even cedar is not the best (slow to decompose).
The hugel will likely benefit from additional watering in its first stages; once decomposition starts, less water is required. Over time, as wood and other organic materials decompose, the hugel will sink and additional compost would be beneficial. There is some discussion about whether the decomposing wood takes up nitrogen to the extent plant growth is inhibited so adding compost or growing legumes are considered effective mitigation techniques.
References and further reading:
https://garden.org/learn/articles/view/4214/Hugelkultur-Raised-Beds/, Retrieved Feb. 25, 2005
https://www.permaculture.co.uk/articles/the-many-benefits-of-hugelkultur/, Retrieved Feb. 25, 2005