By Mary-Jane Pilgrim, Master Gardener
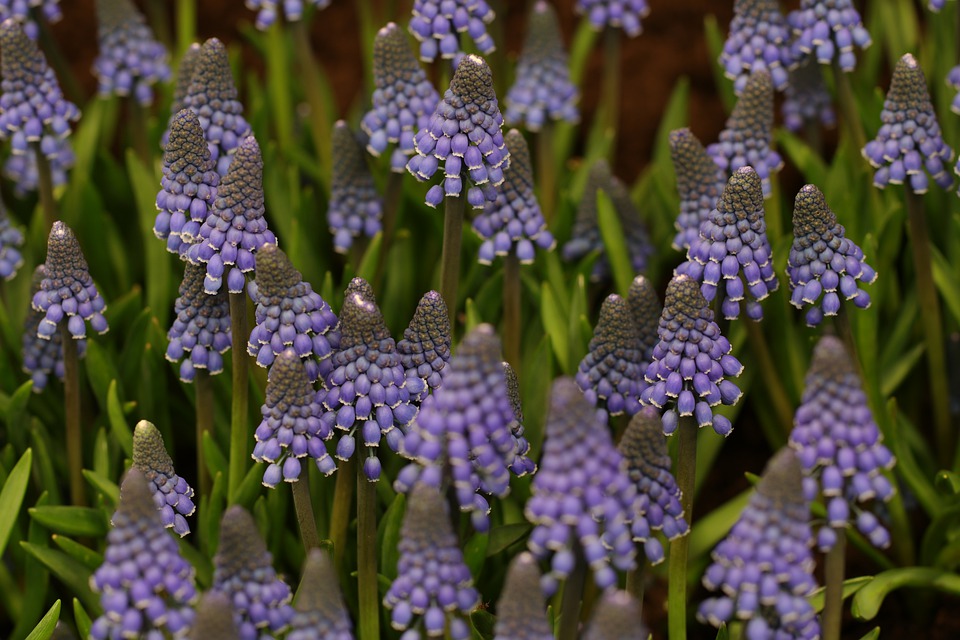
Spring bulbs are one of the most rewarding of garden plants. For very little maintenance, they show off their grandeur year after year while announcing the arrival of spring and a strengthening and more powerful sun.
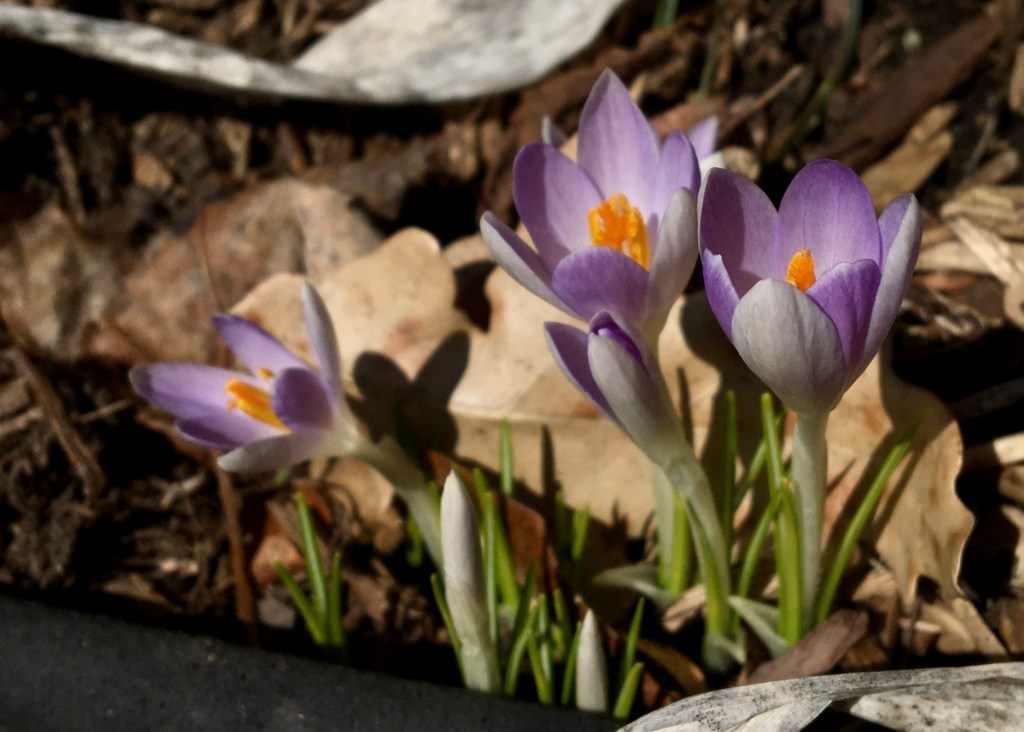
“The more, the merrier” is my motto when it comes to bulbs. From snowdrops to crocus to daffodils to hyacinths to tulips, they all provide a show in the garden for very little effort, and they chase away the late winter browns. You likely have more room for bulbs than you think because you can plant them underneath perennials and shrubs that will hide the bulb foliage while it is dying down in late spring.

Spring bulbs are planted in between September and frozen ground during the year previous, and they spend the winter underground preparing for their showtime when the snow fades away. You’ll find bulbs of all types for sale in that timeframe at your local nursery centre, in supermarkets and in big box stores.
The secret to being able to plant more bulbs each year in the fall is to know what you have growing already and where. This spring: take pictures and more pictures so that you know where these reliable soldiers are and you can then avoid shoveling into an existing clump this summer.

Pictures are also helpful when it comes time to divide those happy but oversized clumps of bulbs. When the flowers begin to decrease, it’s time to divide and replant. The best time to do this is when the foliage has browned in late spring. Dig up the clumps, being careful to dig deep enough so as to not slice them into pieces by mistake. Replant a few immediately and store the rest in a dry place until the fall.
An alternative to pictures is to come up with a “bulb marking system” — I use green metal miniblinds to mark my bulbs. Unfortunately, the miniblinds do travel sometimes so I need to reinstate them in the spring if that has happened. The markers are a visual reminder that although it appears later in the summer that a particular location is bare, it is not and you’ll avoid having to replant those spring beauties.
If you purchased forced bulbs in the supermarket in February (like paperwhites, daffodils or tulips), these can be planted out into the garden that same year. After the greenery has died back, store them in a dry place until the fall and then plant them with other purchased bulbs.
For autumn planting: Choose the site for your new bulbs and prepare the area with compost and bone or blood meal. I usually plant 5 or 6 in a group initially for tulips, daffodils and smaller bulbs like crocus.
If squirrels and chipmunks are bothering your tulips after planting, try cutouts of 1″ chicken wire planted into the soil just above the bulbs. The bulbs will happily grow through the mesh next spring but the critters can’t dig past the wire mesh.

If squirrels are bothering your tulips in the spring, try daffodils instead. You could also try planting allium bulbs with your tulips as they emit an odour that the critters do not like. Other suggestions are some raw onions cut up and scattered around the bulbs or tall chicken wire cylinders, even if they are unsightly. Might be worth a try.
Lastly, you may also choose to embark on a squirrel-feeding program during bloom time to discourage the striped and bushy-tailed rodents from munching on your blooms in favour of yummy peanuts. Be aware, though, that this may actually encourage more squirrels to your buffet!