By Judy Bernard, Master Gardener
As mentioned in the my previous blog, creating healthy soil is to be the topic of this article.
Healthy soil is made up of the following components:
Sand, silt and clay – in any soil they are the bones, the structure that is the foundation on which the rest is built. About 48% of the soil.
Air spaces – are the lungs of the soil. They allow for movement of oxygen, water, and nutrients. About 25% of the soil
Organic material – is the food which nourishes the soil to make it a living microcosm for plants to grow in. The microorganisms in the soil process the organic material into a form that plants can use when they need it. The larger organisms in the soil help to maintain its structure. The organic material in the soil is also like a sponge which will hold many times its weight in water. This represents ideally about 4% of the soil.
Water – is like blood. It carries the nutrients from the soil to the roots of plants in a form the plants can use.
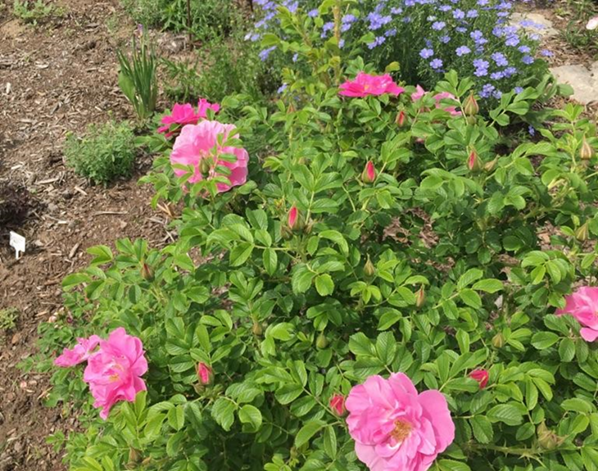
In the housing development where I live, we have been provided with good bones. Some of the soils may have more or less of one component than another, but for the most part the bones are good.
From my perspective, the biggest issues are:
- compaction from all of the heavy construction equipment that has been driven over and over the sites. Even when the topsoil was put down, dump trucks and bulldozers were used. The soil and sub soil are deeply compacted.
- lack of organic material in the soil.
- the inability of the soil to retain water.
To overcome these problems the soil needs to be aerated, whether by mechanical means with a core aerator or by hand with a shovel. The plugs of soil, although unsightly, can be left on top of the soil to dry out and then run over with a lawn mower to break them up and spread them over the ground or lawn. Then organic material needs to be added to the soil. For the grass, I would add compost which you can purchase in bulk from garden centres. Spread 1-2 cm (1/2”) over the lawn and rake it in. You may want to add a little grass seed where there are bare spots. With the compost, you won’t have to add any other fertilizer and you won’t have to water very much. For my flower and vegetable beds I add a more generous amount of compost or manure, working the manure into the soil so it doesn’t smell.
It takes 2.5cm (1”) of water to penetrate 15cm (6”) into the soil. With air spaces and multiple surfaces for the water to adhere to and with organic material to act as a sponge and hold the water, the water will stay In the soil better and not run off. For growing vegetables 2.5cm per week is a good rule of thumb. Add more if it’s very hot or windy. With healthy soil, watering the lawn and garden is less of an issue.
The most common grass used for sodding is Kentucky Blue Grass. It is natural for this grass to go dormant in the hot summer months. With good healthy soil to support it, the grass will be able to overcome the drought and revive as the weather gets cooler.
You know you have healthy soil when it has a nice crumbly texture, the surface of the soil doesn’t crack from the heat and when the soil absorbs water instead if having the water sit in pools or run off into ditches. I’ve added a couple of web sites with further information about healthy soils and adding compost to lawns.
Resources
Healthy Soils, UMass Extension
Compost for Summer Lawns, Planet Natural Research Center


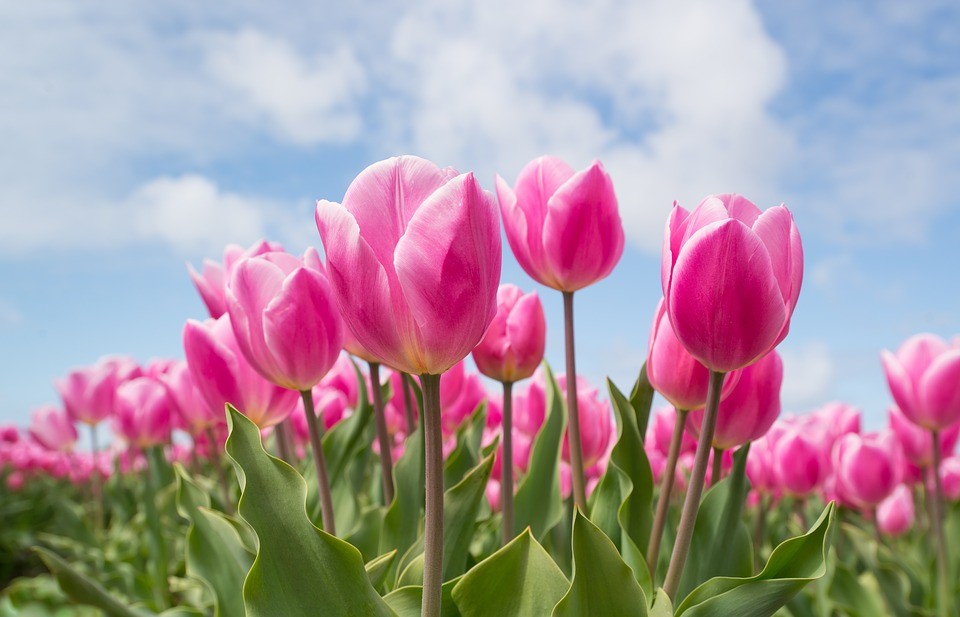 Tulips are to Turkey and Central Asia. In the 1600s, they made their way to the Netherlands. Tulipmania took hold in the 1620s and tulip prices skyrocketed. A single bulb could be worth as much as an average family farm. The market collapsed in 1637, but tulips remain widely grown in the that country. Canadians liberated much of the Netherlands during the final months of the Second World War. More than 7,200 Canadians were lost in that conflict. The Dutch have gifted Canadians with 20,000 bulbs a year since that time and they are used in Ottawa’s now famous Canadian Tulip Festival every May. This year marks the 75th anniversary of liberation and the Dutch royal family will mark the celebration by thanking Canadians this year with a gift of 100,000 tulip bulbs. If you want to join the celebration, you can purchase your own Liberation75 tulips for $15.00 through the Royal Canadian Legion. By purchasing the bulbs, you will also be entitled to win a trip to the Netherlands. To place an order visit the
 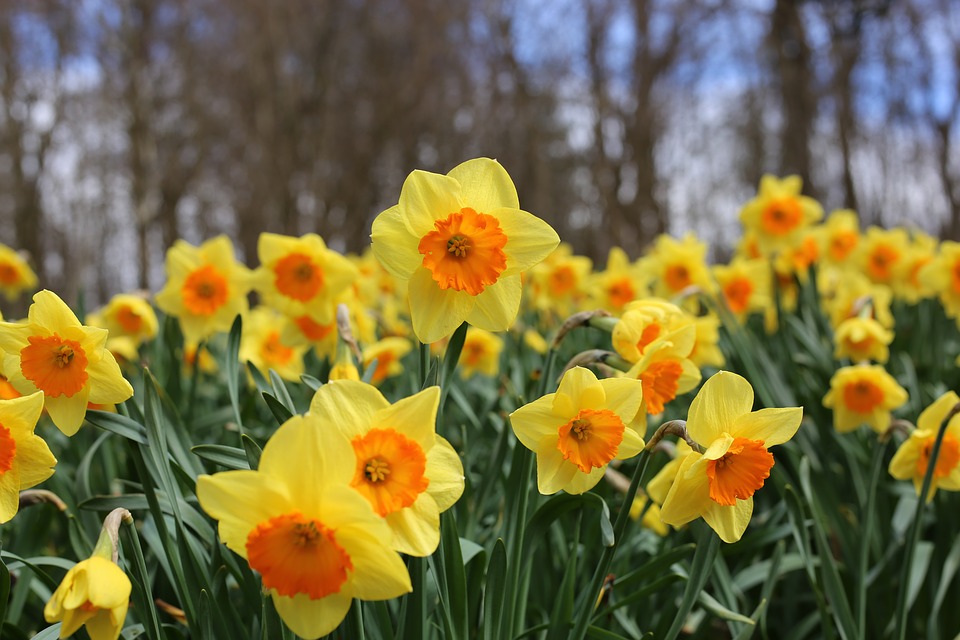 Daffodils and narcissus bloom earlier than most tulips. Spring sun is needed and they like soil that is well draining or they will rot. Oxalic acid on the bulb make them unpalatable to rodents. ‘Tete a tete’ is a mini daffodil that is very fragrant and also good for cut flowers. However, never include daffodils with other flowers in a vase as they have a sap that will cause the other flowers to wilt.
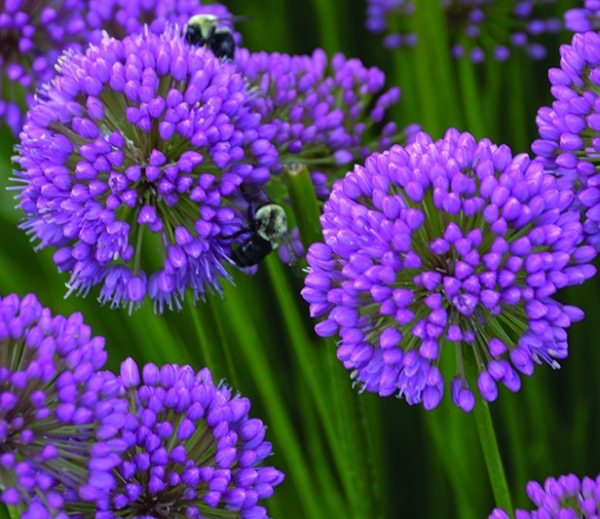 Alliums are ornamental onions. Most of the varieties bloom in June. They need free draining soil with 6 to 8 hours of sun. They make lovely dried flowers. It is best to plant alliums amongst other plants as the foliage is not desirable.