By Thom Luloff, Master Gardener in Training
This autumn, I’ve had the incredible experience of doing a teaching exchange at Hartpury University in Gloucestershire, England. In between teaching, hiking, and bird banding, I was able to cycle over 300 miles of beautiful English country lanes, stopping at castles, nature reserves, and some incredible gardens along the way.

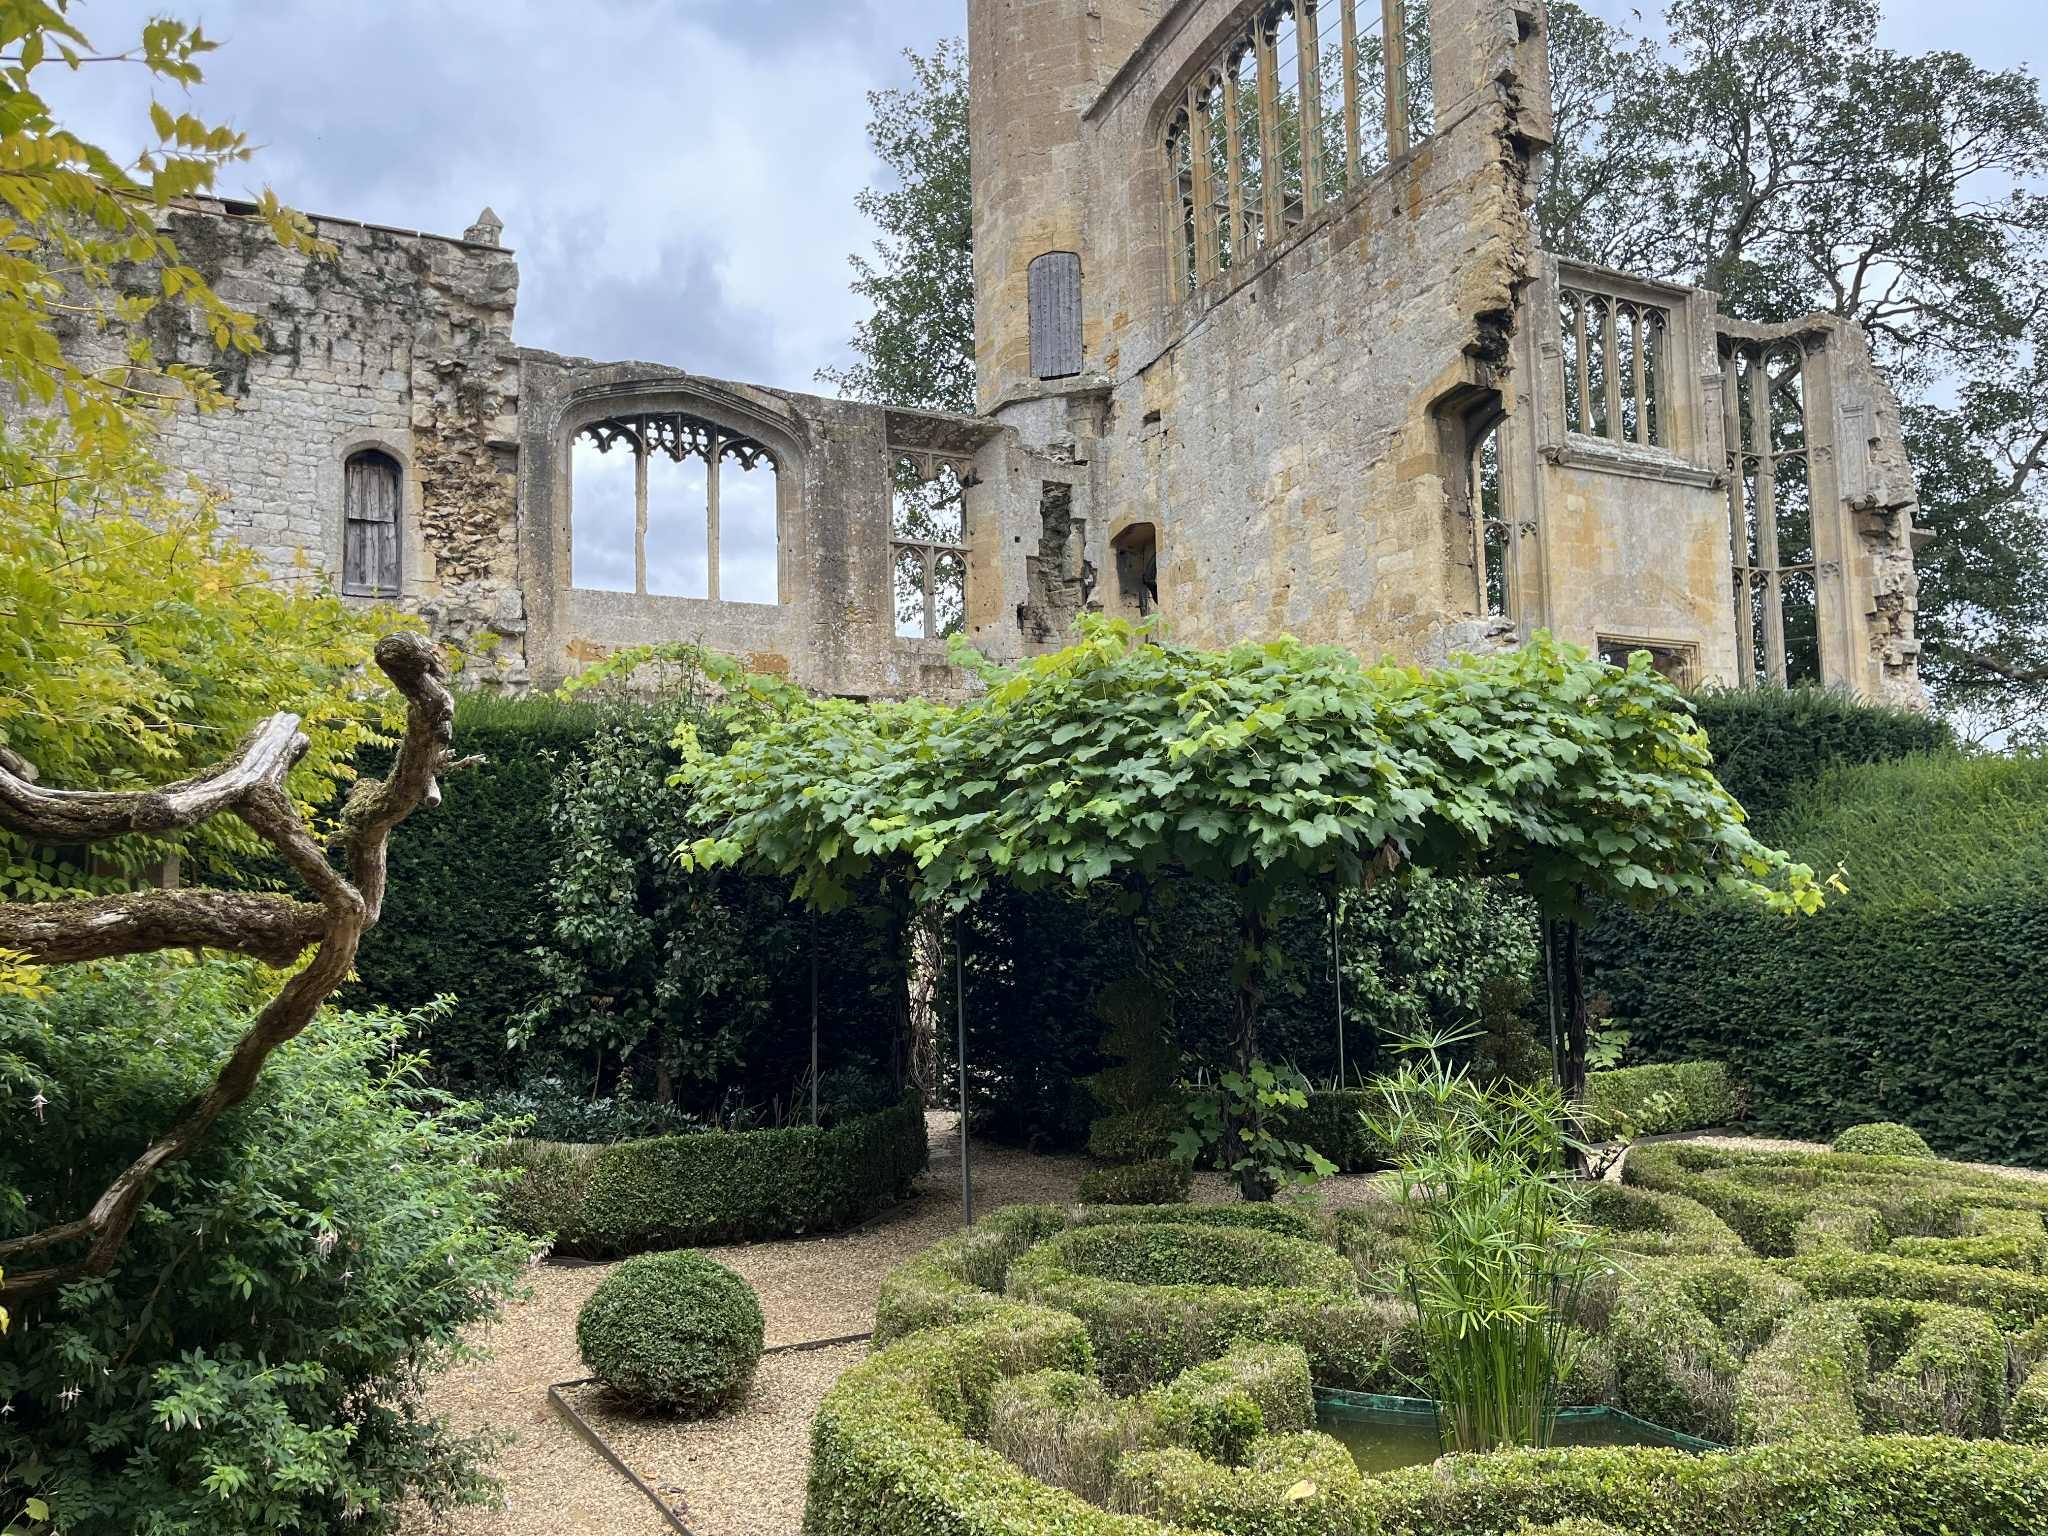
Walking through the gates of Hidcote Manor in the Cotswolds, it is easy to feel as though you’ve stepped into a painting. The clipped hedges, winding paths, and carefully designed garden rooms are alive with the hum of pollinators and the flutter of birds. Down the road at Sudeley Castle, wildflower meadows are stitched into the landscape, part of a growing movement in the UK to “rewild” gardens, restore soils through regenerative farming practices, and build habitats that bring nature (yes, hedgehogs!) back into cultivated spaces. Interactive songbird huts, topiary animals, and forest school playforts do their best to situate nature at the heart for all ages.

As a Conservation Biologist, this experience has offered very good perspective. In Britain, every hedge, flower border, and restored meadow is a choice made against the backdrop of land pressure. With centuries of agricultural intensification and urban sprawl, biodiversity has been whittled down and what is left is very small, isolated, and still heavily managed by humans. The birds that flit in the hedgerows, the butterflies in the long grasses, and the rare orchids tucked into meadow corners are treasures precisely because they are fragile—and rare.

This sense of loss combined with preciousness shapes the way the British approach gardening: nature is folded into design not as ornament but as necessity. Even the grandest estates now showcase pollinator gardens, bird-friendly planting, and soil-friendly techniques that acknowledge the land’s limits. My teaching partner in the department here summed this up pithily when she said: “We don’t conserve wilderness, we have to grow it alongside our tomatoes.”

This past summer, much of Britain faced a severe drought. Gardens once lush with green lawns and blooming perennials turned brittle and brown, testing the resilience of even the most historic estates. For visitors, it was a stark reminder that climate change is rewriting the rules of gardening everywhere. Those manicured, clipped expanses of green that once symbolized order and wealth are now increasingly viewed as unsustainable. Pressure is mounting for landowners to let go of the perfect lawn and instead embrace wilder, woodier landscapes that store carbon, provide shade, and create habitat for wildlife. What was once considered unruly is being reimagined as resilience—an acceptance that in the face of climate change, neatness cannot take precedence over nature.
For Canadians, the contrast is striking. Canada is a country of seeming abundance: boreal forests that stretch for thousands of kilometers, wetlands that teem with migratory birds, and prairies that still hold echoes of bison herds. Diversity here can feel endless, and because of that, sometimes it is taken for granted.
Yet, abundance should not breed complacency. Canada faces its own ecological crises—loss of grasslands, declining pollinator populations, and habitat fragmentation in every province. There is much to learn from Britain’s careful stewardship of what little remains, especially in recognizing that a garden is not just personal space, but part of a shared ecological fabric.


Standing between the flower borders of Hidcote and the meadows of Sudeley, the lesson is clear. British gardens show how intentionality can transform even limited landscapes into havens of biodiversity, while Canadian gardens remind us of the wealth we still have—and the responsibility to protect it. In both places, the garden is more than a private retreat. It is a living classroom, teaching us how to care for what is precious, whether rare or abundant, in a changing world.
Thom Luloff is a Professor of Conservation Biology at Fleming College.


