By Mary-Jane Pilgrim, Master Gardener
If you scroll through some of the gardening groups on Facebook these days, you’ll often see people asking “How do I get rid of the clover in my lawn?” Shortly thereafter, you’ll see a lot of people respond with “Love my clover”, “Leave it”, “Food for pollinators”, etc., all of which is true. This post follows fellow MG Emma Murphy’s post from last week quite well, I think!
As a contract gardener/landscaper, if I had a loonie for every person who asked me what to do about their weed-ridden lawns post-herbicides, I’d be a rich person.
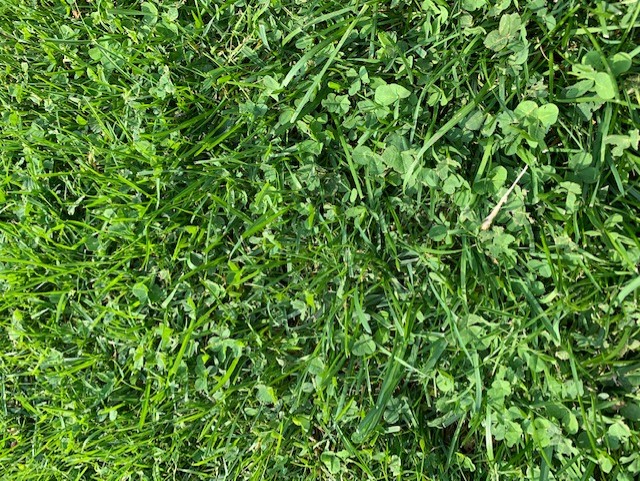
Clover may be just the ticket, as it requires less water, fertilizer and weeding than lawns without clover. It stays green all summer. It requires little or no mowing as it only grows 10-20cm (4 -8″) high. It out-competes other weeds, as it has a dense root structure. It grows well in poor soil. It feels great on bare feet. The seed is inexpensive (see below for a tip on where to buy it!)
White clover (Trifolium repens) or Dutch white clover can be established in an existing lawn by overseeding whatever is currently there or by planting a mixture of clover and basic grass seed in a new lawn. From my reading, I’ve found that people have had disappointing results when trying to establish a pure clover lawn. You really need both clover AND grass as they are complementary to each other and one supports the other. Clover does best in full sun, but can do OK in partial shade. It doesn’t grow well in full shade. When mixed with grass, it does well in high traffic areas as well.
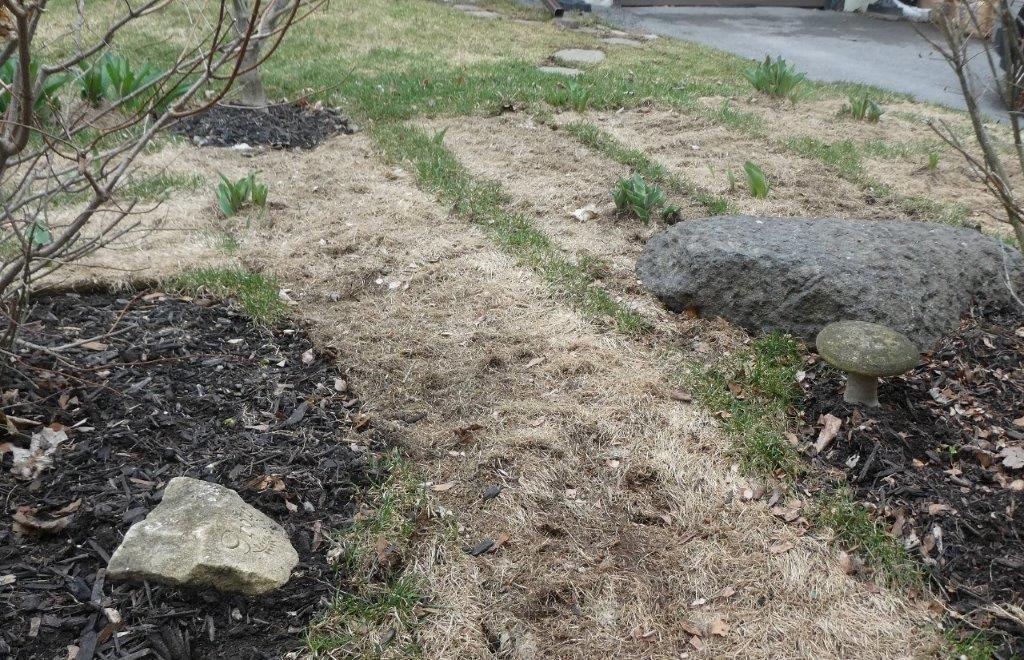
For us, it started with the white grubs. Whole sections of grass in the front yard are gone. Just gone. Turns out that grubs also do not like clover. Bonus.
Be sure to use Dutch white clover and not the larger red clover. The best time to plant clover is in the early spring before the grass starts growing quickly because the other broadleaf plants are not in competition with it. Early seed sown will germinate when the soil starts to warm up in late April. Clover seed can be purchased at your neighbourhood garden centre or hardware store, but I’ve found it to be much cheaper (less than half price) at my local co-op as it is also a farm product. Clover seed to cover my large front lawn (150ft x 150ft) cost about $10 at the Co-op. About 2 ounces of clover is needed for every 1,000 sq ft of lawn, so my front yard required about 3 pounds or 1.4kg of clover, mixed with about $30 worth of grass seed.
Late summer/early fall is an alternative time to plant. The grass should be cut short and raked first to remove any existing thatch. Clover seed can be spread onto the soil along with grass seed on a 10:1 or 15:1 grass/clover ratio. I’d suggest top-dressing with some triple mix for best results so that the seeds are covered well. Most seed will germinate in less than a week if the temperature is above 15C and if it’s well watered.
It may be necessary to overseed with clover every 2-3 years for the first few years until the mixture gets established.
One caution: If you or any of your loved ones are allergic to bee stings, clover may not be right for you. The clover will flower, and bees will be attracted to the flowers! You can, however, minimize this risk by mowing regularly from June through August during flowering time.

Resources:
How to Overseed Clover Into a Lawn
Establishing White Clover in Lawns:
Advantages and Disadvantages of Clover Lawns