By Cheryl Harrison, Master Gardener
In the spirit of adding more native plants to my garden in order to help support diversity, native pollinators and birds, I recently purchased a New Jersey Tea shrub. Of course, it is also a new-to-me plant so I could not resist! This made me start thinking about other native shrubs that I could use in my garden….I already have some of the usual non-natives like hydrangea, lilac, forsythia and a few of the dwarf conifers. But, much to my surprise, I realized that I also have, in addition to the new-to-me New Jersey Tea (Ceanothus americanus), downy arrowwood (Viburnum rafinesquianum) , dogwood (Cornus species) and ninebark (Physocarpus opulifolius)!
New Jersey Tea – My newly purchased shrub is just a baby….it is barely 13 cm (5 inches) tall but will grow to be about 1 meter (3 feet) tall. I will need to protect it from the rabbits, who also inhabit my garden, by caging it with chicken wire. New Jersey Tea prefers full sun and well drained soil. It produces small white flowers in oval clusters at the branch tips in spring. It is hardy to zone 4. Additional information is available here.
Downy Arrowwood – My arrowwood is blooming right now. It is covered with clusters of tiny white flowers and many native pollinators. The flowers will be followed by blue-black berries that the birds love. Arrowwood prefers poor, well drained soil…..ours is planted at the edge of a gravel walkway. It can take part-sun to shade and is hardy to zone 3. At maturity, this multi-stemmed shrub will be 1.8-2.4 meters (6-8 feet) tall. Additional information is available here.

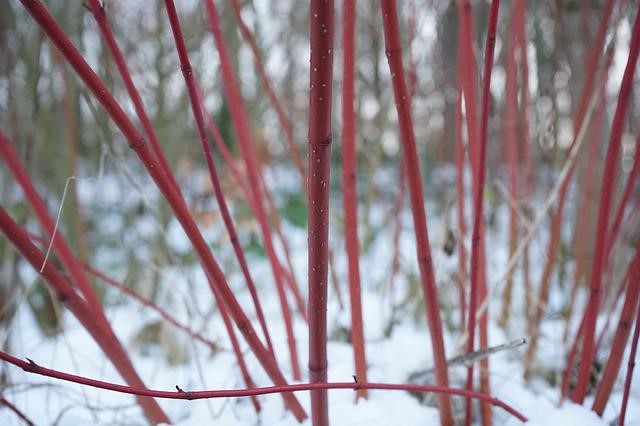
Dogwood – There are a few different species of dogwood native to Ontario including Pagoda dogwood (C. alternifolia), bunchberry (C. canadensis) and Red Osier dogwood (C. sericea). There are more but this group are hardy to at least zone 5 (Peterborough area). They vary in height and growing condition requirements. For more information on dogwood look here . The Peterborough and Area Master Gardeners also have a fact sheet available on dogwood here .
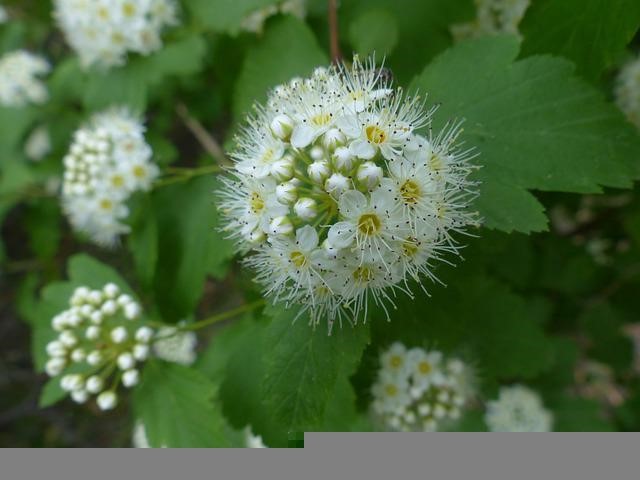
Ninebark – Ninebark is a great native shrub for your garden. It adapts to lots of different soil conditions and moisture levels including drought once established. It is hardy to zone 3, has pretty white blooms in summer and attractive fall foliage. I must admit that ours is planted in good garden soil and is mulched to minimize weeds and for moisture retention so my ninebark has it pretty good. This shrub does prefer full sun for best bloom production. The Peterborough and Area Master Gardeners also have a fact sheet available on ninebark here.
Remember that all new plants need to be coddled for their first year in your garden so keep them watered and watch for insects or critters that may cause damage. For me, that is fairly easy because I am often out in the garden admiring my new plants!
For more native plant choices and other pollinator information, check out Pollinator Partnership Canada under Resources. June 20-26/2022 is Pollinator Week in Canada. Why not celebrate by adding one or more native plants to your garden?