By Laura Gardner, Master Gardener in Training
Ed: This post was released in error on March 22. Apologies if you’ve already read it — perhaps you can glean something from it upon second reading as well?
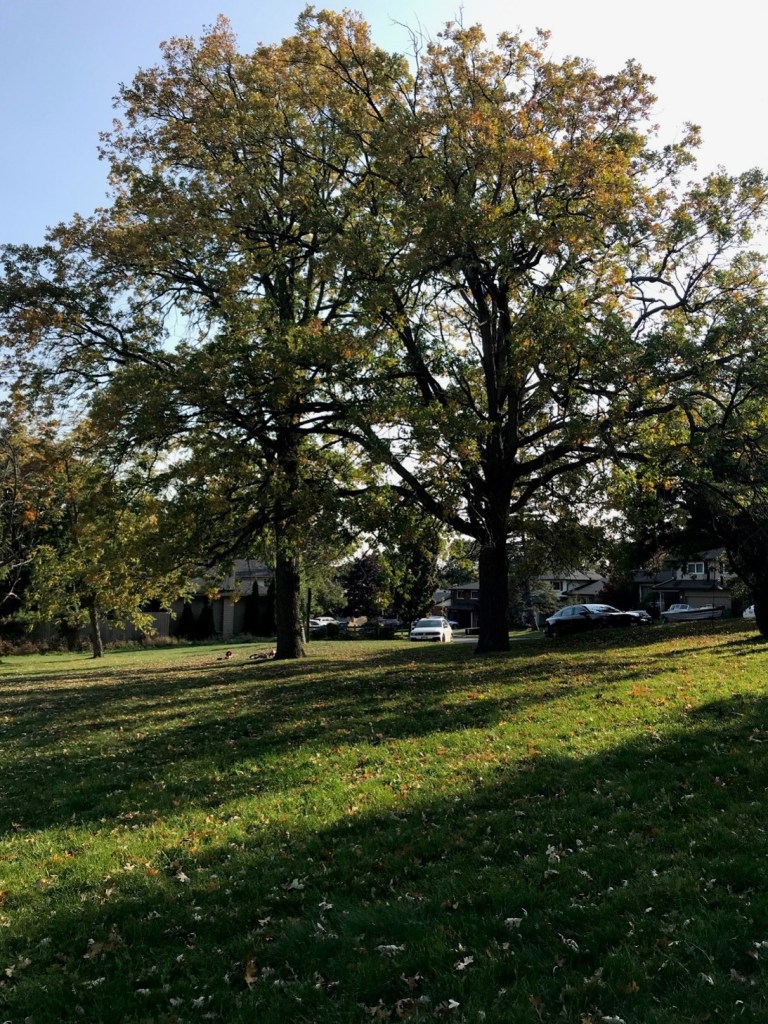
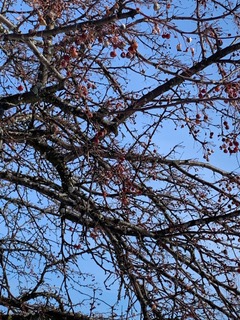
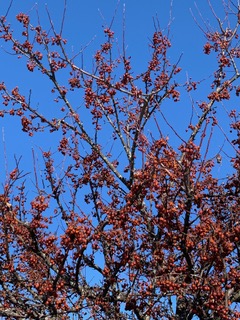
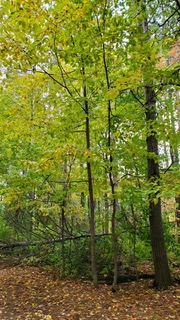
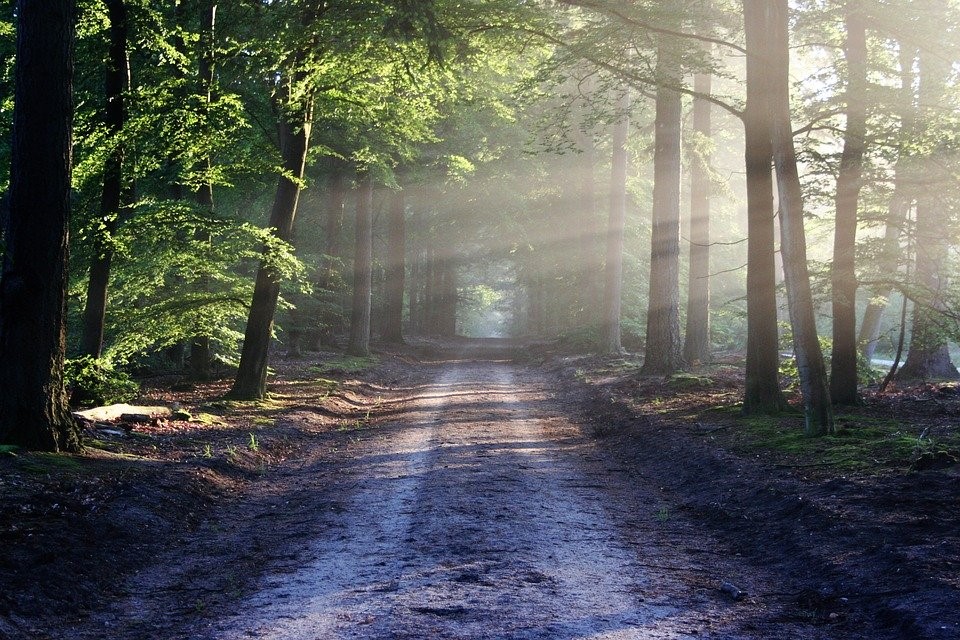
There are a pair of Quercus macrocarpa (bur oak) trees in a park near my house in Peterborough and I often look at them in awe. I estimate that these trees are between 100 and 150 years old. What is amazing is that they could live another 150 years. If they receive enough sunlight and moisture and their roots are undisturbed, this lifespan is possible. Sadly, most trees planted in cities are not long-lived due to stresses like heat, drought, road salt, compacted soil and interference by sewer or other utility lines. For these reasons, backyards tend to be the better locations for trees in urban environments. If you are planning to plant a tree on your property this year, Douglas W. Tallamy’s latest book, The Nature of Oaks: the Rich Ecology of Our Most Essential Native Trees, published by Timber Press, will make you seriously consider an oak tree.
Tallamy, an entomologist who researches the relationships between insects and plants, is well known for his other books that seek to change the way we garden by encouraging us to incorporate more native plants. His latest book honours the oak tree and provides a month-to-month chronicle of the life of one on his property. While small at 200 pages, the book has many interesting and informative anecdotes about the types of insects, birds, mammals, fungi, and micro-organisms that live in, on, and around these trees. Tallamy aims to instill in us an interest in these great trees and to recognize their important role within the food web.
What makes oak trees so special? In addition to moderating the climate, reducing pollution, producing oxygen, and storing carbon from the atmosphere, they have an enormous impact on the lives of other species. Within our ecosystem, oaks support more life than any other North American tree genus (p. 12) and they are considered a “keystone species.” A “keystone species” is one that produces food that supports a broad range of life forms. Over the course of its lifetime, an oak can produce over 3,000,000 acorns. Other trees such as birch, cherry, hickory, pine, maple, and willow are also “keystone” species (p. 39) but they are not as supportive as oaks. In his research, Tallamy measured the degree of this support by counting the number of moth and butterfly species that live, feed, and reproduce on different trees. The Lepidoptera Index places oaks at the top of the list at 532 species of moths and butterflies. One of the reasons as to why they support so many species is because they grow in a wide range of ecological zones (p. 41). Most species near the bottom of the list are non-native trees and shrubs. Most of our native insects and animals have not fully adapted or evolved to non-native plants or are only adapted to a small number of plants—referred to as host plant specialization (p. 37). Certain birds, like the black-capped chickadee need between 6,000 and 9,000 caterpillars to raise one clutch of young. Filling bird feeders with seed can be beneficial for them, but planting trees are necessary as up to 50% of their diet consists of insects (p. 34).
There are a number of unique and fascinating attributes of oaks that are explored in the book. Masting is a survival adaptation that occurs periodically in oaks where they produce many acorns. Since animals cannot eat them all, this allows more trees to grow (p. 18). Masting occurs on different cycles for both white and red oaks and this ensures food is consistently available for animals (p. 120). Many oaks retain their dead leaves through the fall and winter. Marcescence is thought to be a defence mechanism that deters animals from eating the tender buds (pp. 27-28). Concerning acorn production, as an oak tree has both male and female flowers, a few can self-pollinate and grow acorns. However, for optimum production, an oak tree must be planted with another of its own species or be in close proximity to another of its own species for pollination (by wind) to occur (from either the “red oak” or the “white oak” group).

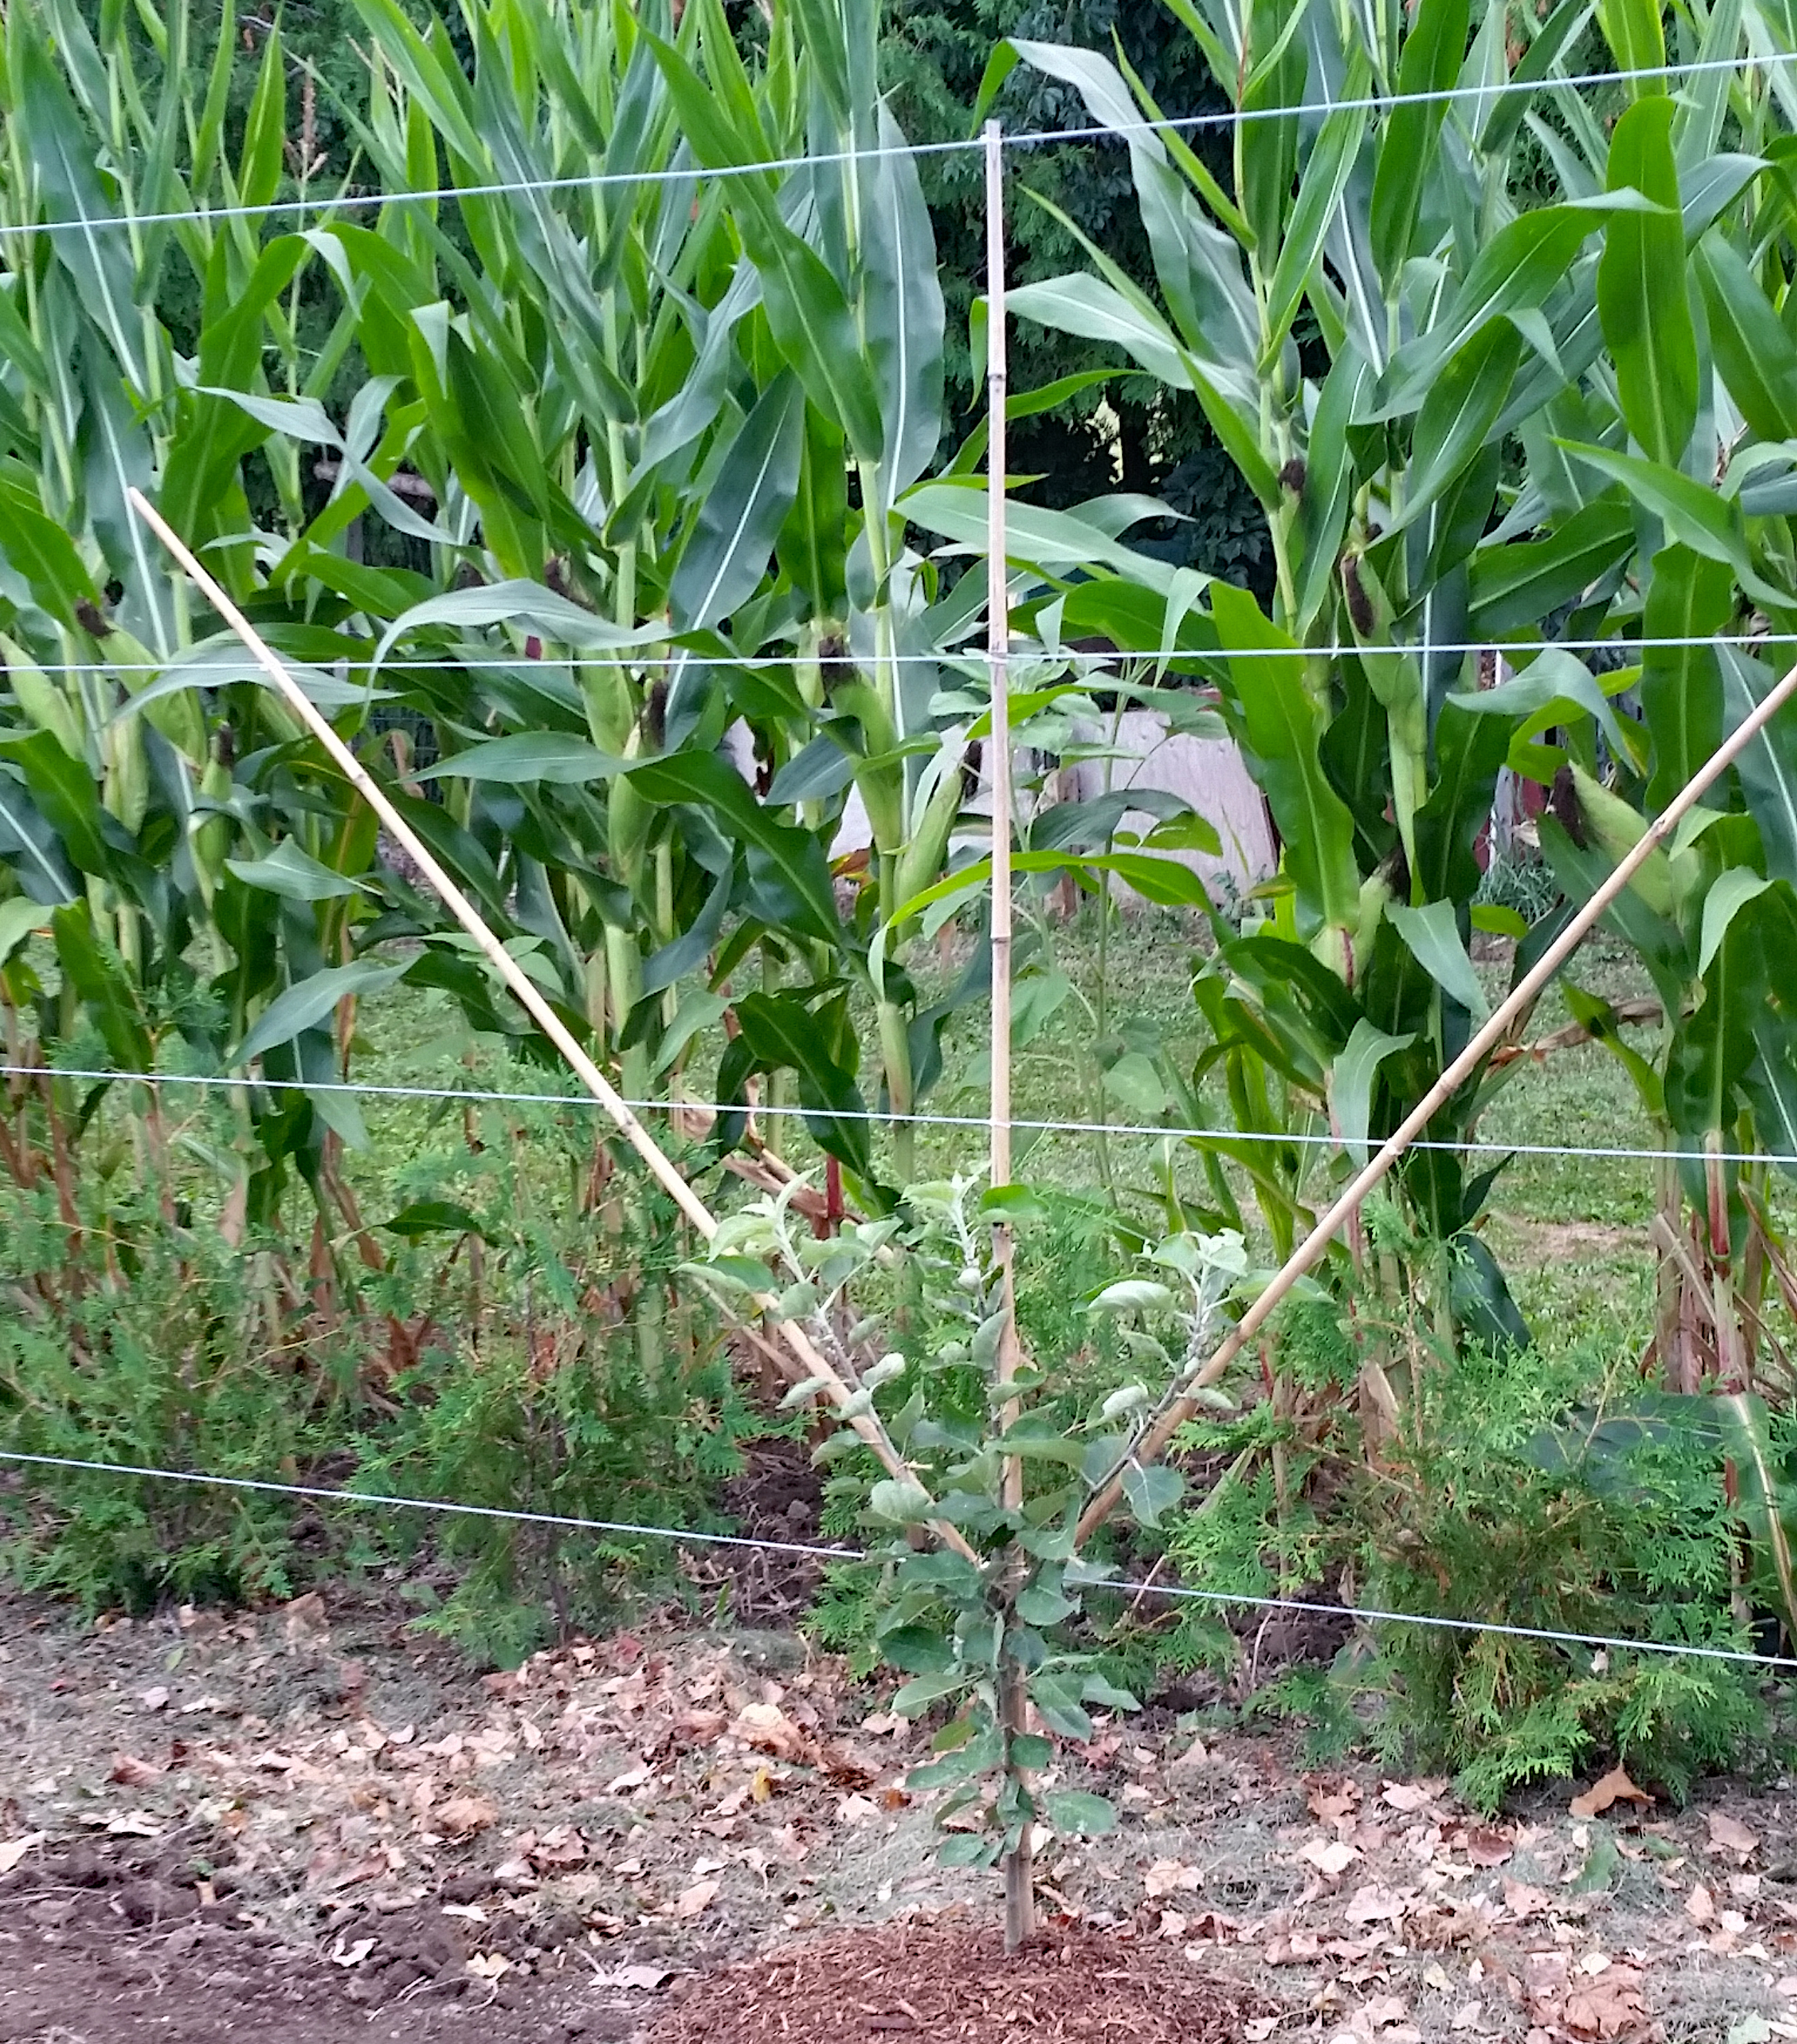
Tallamy also provides us with some tree planting advice and seeks to dispel some of the myths around planting oaks. His first choice would be for us to plant an acorn in the fall but the next best choice would be to plant a bareroot whip in the spring. A bareroot whip is a pruned dormant tree that is only a few feet tall. It should be planted in the spring so it can break its dormancy naturally. Overall, he recommends purchasing the youngest tree available because it will have a better chance of survival than a larger tree. Larger trees often have damaged roots at planting and have a 50% chance of dying in the first few years after transplant. (p. 47)
While some oak species grow to great heights and widths, they do grow relatively slowly, and most people will not live to see their tree at its peak. Some may be concerned about its root system, but they extend deeply into the ground and tend not to interfere with driveways or sidewalks like some other species. Tallamy recommends planting two or three trees spaced 10 feet apart—in a grove. This may seem too close, but it is true to their nature in the wild. The trees’ roots will also bind together and the resulting strength of them will be able to withstand extreme weather and lessen the chances of damaging property.
For those with smaller lots, it may not be practical to plant more than one oak, let alone a larger species like Quercus alba (white oak) or Quercus macrocarpa (bur oak). There are several smaller oak species that may suit. Of these, two are native to the Carolinian zone of Southwestern Ontario: Quercus prinoides (dwarf chinquapin oak) and Quercus ilicifolia (bear oak) and one from the US Northeast: Quercus marilandica (blackJack oak). While the soils of the Carolinian zone are drier and sandier, these trees can be adaptable to other soil conditions. Nutcracker Nursery in Maskinonge, Quebec specializes in growing these hard-to-find oaks and they ship bareroot stock. The stock is grown in cooler zone 4B and in clay-loam soils. Peterborough GreenUp advises that while it is preferable that trees be selected from within their native eco-zone, climate change is making it more possible for us to consider some species from outside. Selecting a site that is shielded from winter winds is recommended.
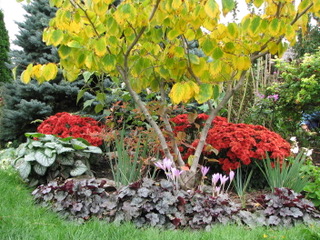
Since an oak is a shade tree, there may be concerns about what can be grown beneath them but there are many plants that are suitable for the understory. Tallamy makes recommendations that are more suited to US states but I will suggest some possible plants suited to our area: Asarum canadense (wild ginger), Polygonatum biflorum (smooth solomon’s seal), Aquilegia canadensis (eastern red columbine), Ceanothus americanus (New Jersey tea), and Amelanchier alnifolia (Saskatoon serviceberry), just to name a few.
This little book is not only fascinating to read, it is inspiring. When the declining non-native Acer platanoides (Norway maple) is eventually removed from my yard, I am going to see about replacing it with a native oak “keystone species.”
Other Resources
Nutcracker Nursery and Tree Farm
Peterborough GreenUp. Choosing the Right Tree in Peterborough, Ontario
Smithsonian’s National Zoo and Conservation Biology Institute. Lepidoptera Index, June 2017