
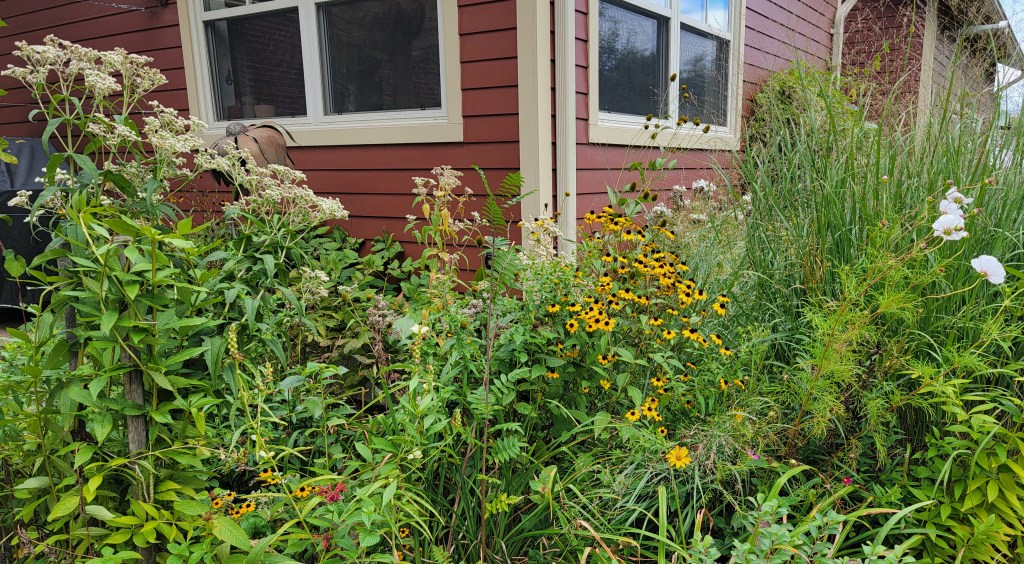
By Marilyn Homewood, Master Gardener
As we look through our seed catalogues on these cold days, it’s time not only to decide on what we are growing but on how we intend to grow it. The choices seem endless! Winter sowing has been covered in a previous blog. I recommend you give it a try. As for indoor seed starting, there is a plethora of ways to do it. Discovering which works best for you can make the difference to a successful season.

A single flat tray (often called a 1020) or half tray is a traditional way to start seeds. The tray is filled with your chosen medium (be it seedling mixture, coconut coir or potting mix). Seeds are planted in rows in the flat, the medium moistened and set to germinate. Once the seeds have germinated and have developed at least 2 true leaves, the seedling is “pricked” out of the mixture and potted up into a larger container. Pricking out is the term for holding onto a leaf (never the stem!) and gently teasing the seedling out of the potting mix. Pros – single tray saves space, easier to keep moist due to the larger volume of mix. Good for seeds with uneven germination rates such as larkspur. You just prick seedlings out as they are ready. Cons – 2 step process is more labour intensive. Some types of seeds that are sensitive to root disturbance (poppies, zinnias) dislike being tugged out and usually do not do well once transplanted.
Row Trays

These trays are divided into 20 rows. Using a row tray is similar to the open flat in that seedlings are pricked out and potted up. But this system uses much less soil mixture. This tray is commonly used for very tiny seeds that are difficult to handle such as snapdragons. Seeds are just carefully poured onto the seedling mixture and the trays watered from below. Pros- easier method when dealing with small seeds, germinate faster due to smaller amount of soil mix. Cons – more labour intensive, prone to drying out quickly due to smaller amount of soil. Not recommended for varieties that dislike root disturbance. Must also use flat bottom tray as rows trays are too short to sit in a 1020 tray.

Cell Trays
These trays are divided into “cells” that hold growth medium and one seedling. Seed is sown into each cell. Cell trays come in a variety of sizes 50, 72, 128, 200 cells etc. The 72 cell size is the most common. The choice of size is usually dictated by the type of seed sown. For example, I use 128’s for my lisianthus seeds as the seedling is very tiny for a long time. Pros – one step, easy to keep track of how seedlings are doing, water well from bottom
Cons – May need a number of sizes depending on varieties grown, roots of seedlings with a long growth period tend to start circling in cell, this may cause production difficulties once transplanted.
You may not need 72 seedlings of the same variety and do not want varieties that germinate early to stay under the humidity dome until all have germinated.

To address this problem, I use a variation on the 72 cell tray. Instead of using a tray for each variety, I have propagation inserts that can be separated in 9 or 6 cells units. I still plant 72 cells total of more than 1 variety, all placed in a single 1020 tray under a humidity dome. When one variety germinates, I can remove it and put it under the grow lights. This avoids the germinated seedling from developing fungal disease which is fatal (“damping off”). This method lets me successfully germinate different varieties in a limited space.
Soil Blocking

This is a method that compresses wetter soil mix into free standing blocks which are then seeded, germinated and grown on. The blocks are placed on flat trays with lips in order that the blocks can be carefully watered. Seedling roots are naturally air pruned in soil blocks. Plants with long growth periods benefit from the air pruning as do varieties that dislike root disturbance. Pros – No use of plastic!! Despite carefully washing and reusing my trays, each year there are a few casualties that can no longer be used. Soil blockers are a one- time purchase. Seedlings are air pruned and never develop circling roots hence make more resilient transplants by reducing transplant shock. Cons – initial soil blockers were spring loaded and hand held. Can be hard on hands to use. Newer blockers (Swiftblockers) can make an entire 1020 of blocks. These are stainless steel and are heavy to use. There are now half size versions available which are more affordable and easier to handle. Blockers are available in different block/cell sizes. Soil blocking is messy. The mix must be relatively wet in order to compact it. The watering of blocks is a little tricky as blocks can not be left in standing water as they will fall apart.

Winnstrips
This is a hybrid concept between cell trays and soil blocks made from heavy duty plastic. Made in 50, 72, 128 sizes, Winnstrips have air cells throughout the tray and each planting cell has 4 air slits to allow for air pruning. Pros – Not as messy as soil blocks but with the air pruning benefits. Good for varieties that do not like root disturbance. Made from a polypropylene material that is very durable and can be recycled. Cons – trays are heavier and use a great deal of potting mix.
No matter what method you use, remember to have fun!


