By Christine Freeburn, Master Gardener
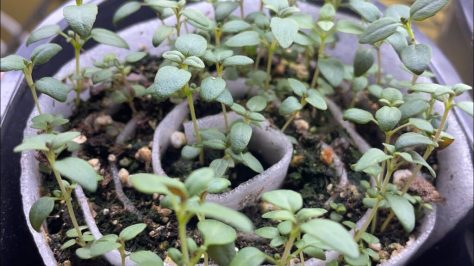
Starting seeds indoors by setting them in a bright window can get you started growing vegetables and flowers early. If you have windows that face south and get full sun all day, you will have better luck, however the winter months can often be dull and cloudy, making your young seedlings struggle and stretch for the light. If you are a serious indoor grower, you will want to invest in some type of light system.
Many gardeners still use shop light fixtures with warm white and cool white fluorescent 40 watt bulbs.This type of light system still works and may be a good first step. LED lights are very popular and available as light bulbs or strip lighting as well as tabletop lighting systems.
| Fluorescent | LED |
|---|---|
| Less expensive to purchase Use more hydro May be phased out of production Need to be placed close to seedlings and raised as they grow to encourage more compact, bushier plants | Available in white (full spectrum) or red/blue combination which gives off a pinkish purple glow Don’t give off much heat Longer life Higher cost to purchase Less cost to operate Do not place really close to plants as bleaching may occur |
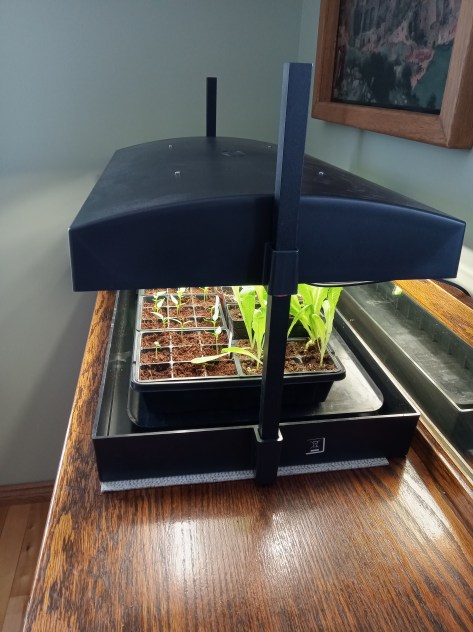
Natural sunlight has all the colours of the spectrum, so having lighting with a full spectrum will be the best. Plants need light for photosynthesis and they like the red and blue which are at each end of the light spectrum. Blue light helps with plant growth and keeps your plants compact, while red light is important for leafy growth and flowering.
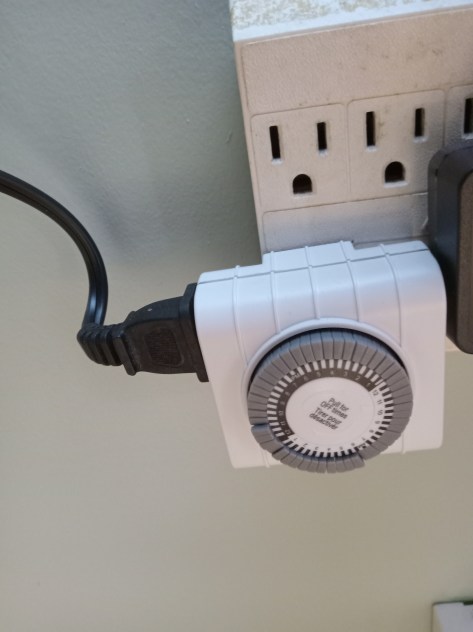
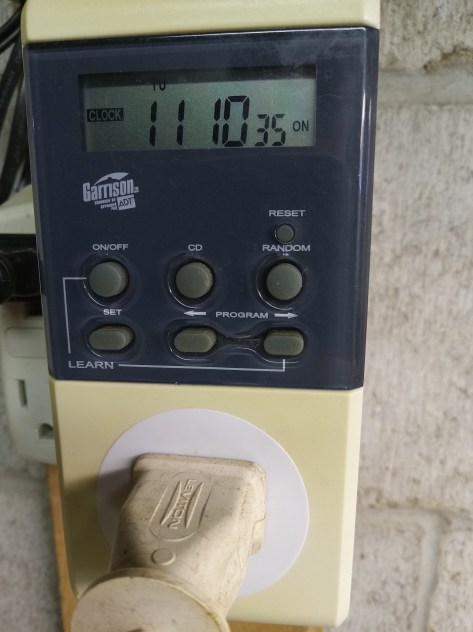
Most seedlings should get about 16 hours of light each day. Invest in a timer that will automatically come on around 6 am and shut off around 10 pm.
There are many types of lighting systems available with lots of price points.
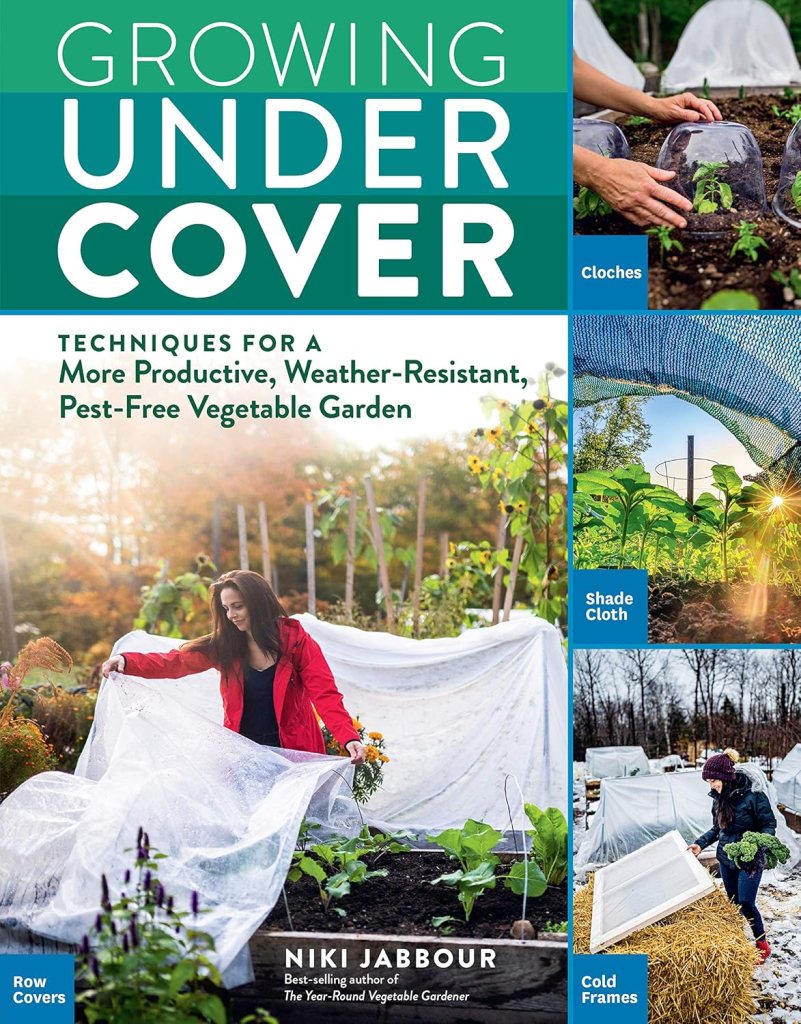
Check out Nikki Jabbour’s article where she talks about her successes and a great variety of lighting options.
Another great article on growing under lights comes from The Garden Professors.
You can invest in a light meter or get the app on your phone to determine how much light is being given off and how far that light can reach. This is also good for testing what your houseplants are getting for natural light from your windows. Be aware that many of the plant lights available now in very stylish designs are not for seed starting but for growing happy, healthy houseplants.
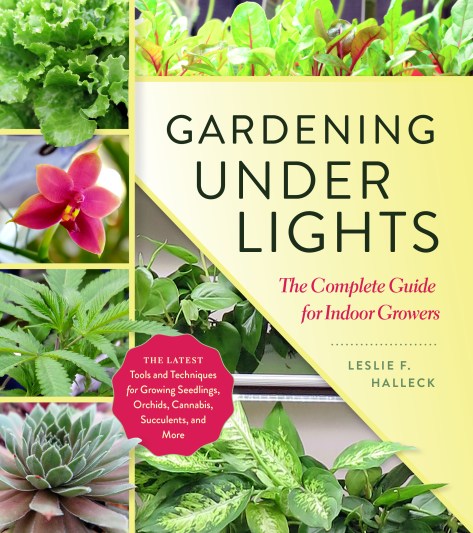
Leslie Halleck’s book Growing under Lights (published in 2018) has all the information you need about lighting for seed growing and plants. In her book, you can learn about kelvins, lumens, watts, footcandles, measuring light and photoperiods of specific plants you want to start indoors under lights.
I found her explanation of photoperiods interesting. This is basically how much light or darkness is needed for a specific plant to flower. For example, for poinsettia to bloom, they need a short day photoperiod, with 14 hours of darkness, while a perennial coneflower requires a long day and so doesn’t flower until days are longer in the summer. Peppers and tomatoes are both warm season vegetables from the nightshade family that many start indoors. They are day-neutral, which means they grow well with 14-18 hours of light. Check here for a book review.
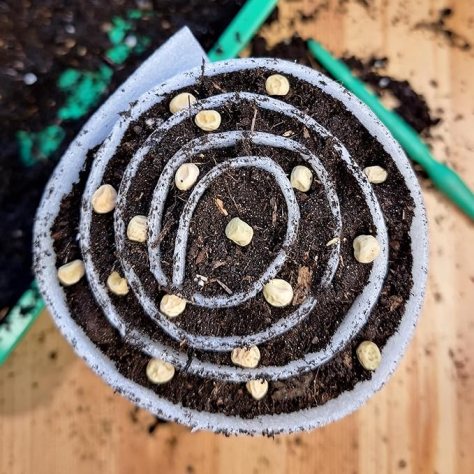
With a renewed interest in food security and growing our own food, starting vegetables under lights is a good step forward.