By Silvia Strobl, Master Gardener in Training
More than 1 in 4 birds have disappeared in North America since 1970, primarily due to habitat loss according to a recent study. As gardeners we can help to mitigate further declines by adding native plants to our gardens that meet seasonal bird habitat needs. If you would like to help, consider whether you can add one or more of the Ontario native plants noted below in your 2024 garden plans. All these are easy to grow, low maintenance, prefer full to part sun, and tolerate a wide range of soil conditions—ideal for almost any garden! Click on the plant names for Ontario specific growing information and photos.
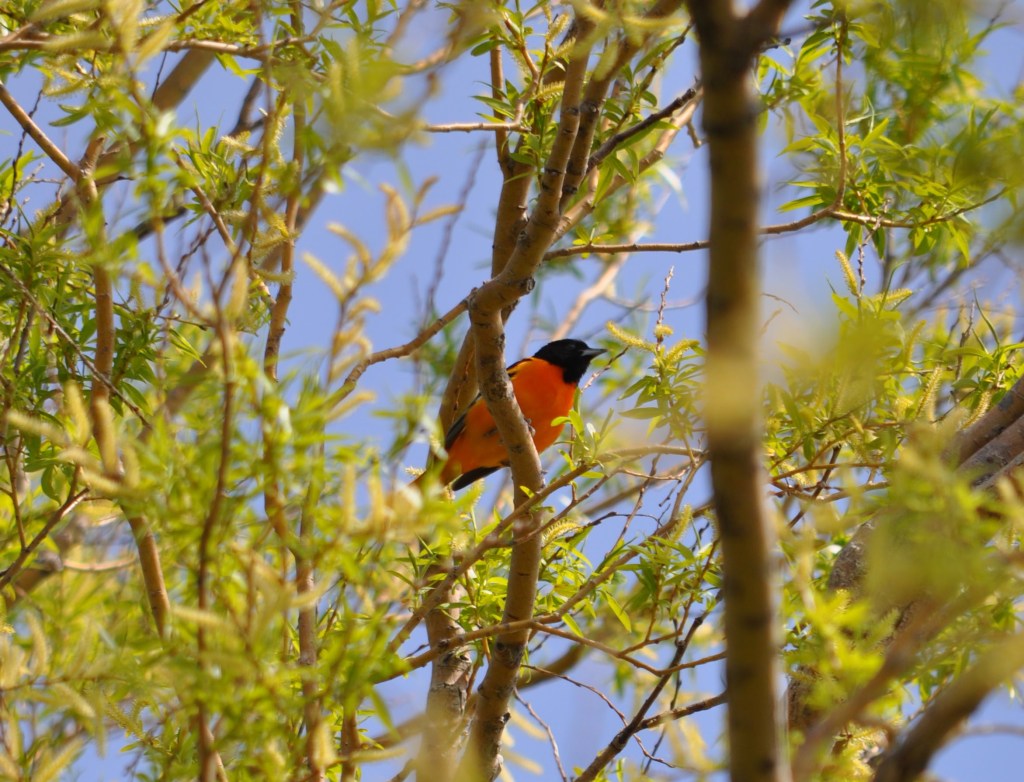
In spring, food for early returning migrants is critical. The catkins of Pussy Willow (Salix discolor) and other willow species are an important early nectar and pollen source for native bees, but they also attract insects which feed returning Eastern Phoebes, Ruby-crowned Kinglets, Chickadees, and other insect eating birds.
For returning Ruby-throated Hummingbirds, growing a patch of Wild Columbine (Aquilegia canadensis) provides a critical source of early nectar. Providing a succession of nectar sources for hummingbird parents will entice them to nest and let you enjoy the flight chases of the juvenile birds in late summer. Include native plants with red, orange, or pink tubular flowers such as Scarlet Beebalm (Monarda didyma), Fly Honeysuckle (Lonicera canadensis), or Northern Bush Honeysuckle (Diervilla lonicera).
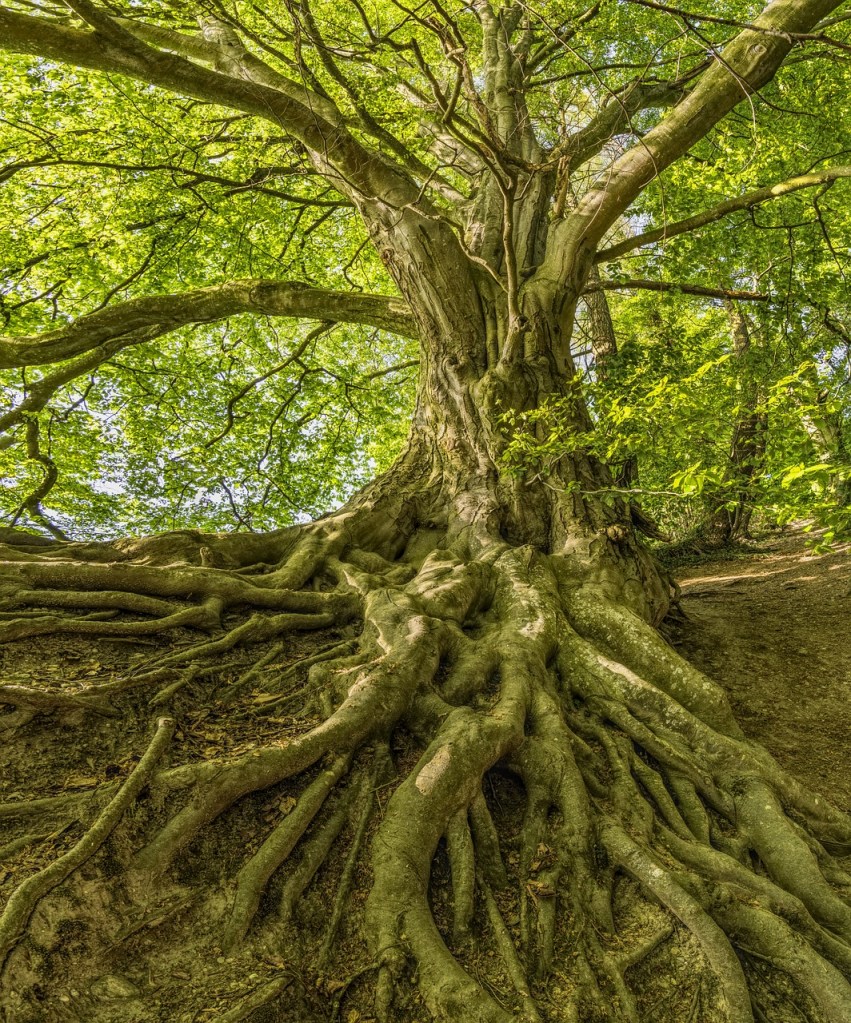
If you have room to plant only one tree in your yard, make it a Bur Oak (Quercus macrocarpa), Red Oak (Q. rubra), or Black Cherry (Prunus serotina). These trees support the greatest numbers of caterpillar species and hence provide important food high in protein for Chickadees and other birds raising nestlings in our short, temperate summers. To rear one clutch, Chickadees require up to 9000 caterpillars. Trees also provide structure and cover for nests.
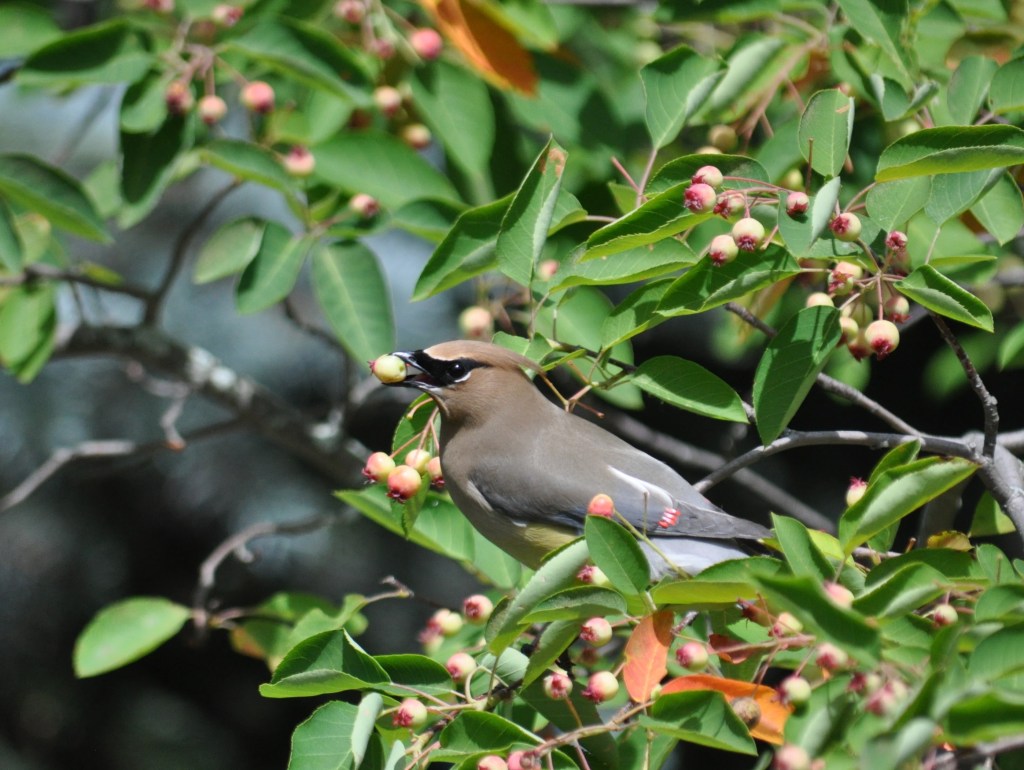
Small, garden-size shrubs such as Serviceberries (Amelanchier spp.), Common Elderberry (Sambucus canadensis) and Chokecherry (Prunus virginiana) produce early season berries that provide food for Cedar Waxwings, Rose-breasted Grosbeaks, Catbirds, and Robins. These shrubs also provide cover for nesting birds.
For fall and winter bird habitat, grow a variety of plants that provide food, including:
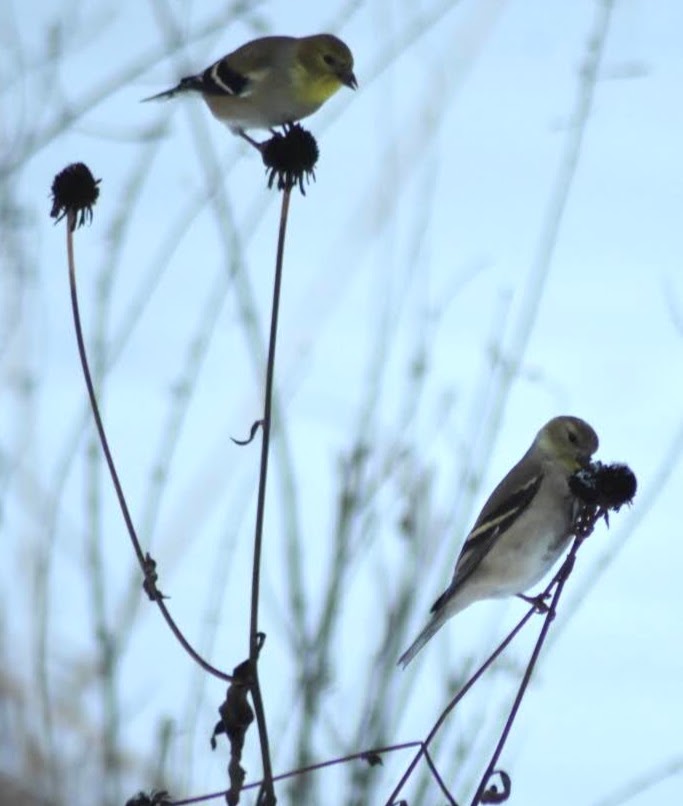
- Native Sunflowers, Purple Coneflower (Echinacea purpurea), Black-eyed Susan (Rudebekia hirta), and Asters (Symphyotrichum spp.) and stop deadheading at the end of August to promote production of seeds. Leave these plants standing overwinter to provide food for Goldfinches, Northern Cardinals, and Dark-eyed Juncos.
- Shrubs such as Grey Dogwood (Cornus racemosa), American Plum (Prunus americana), Chokeberry (Aronia melanocarpa) and the vine, Virginia Creeper (Parthenocissus quinquefolia) produce late-season berries that are rich in fats. Many insect-eating birds switch to eating berries in fall to store fat under their chests and wings to support either long journeys south or survival in our chilly winters. Berries of native shrubs have higher percentages of fat (6.5% to 48.7%) than most non-native shrubs (less than 1%) according to this study.
- Conifer trees and shrubs such as Eastern White Cedar (Thuja occidentalis) provide sheltering cover for year-round resident birds such as Chickadees, Nuthatches and Mourning Doves.
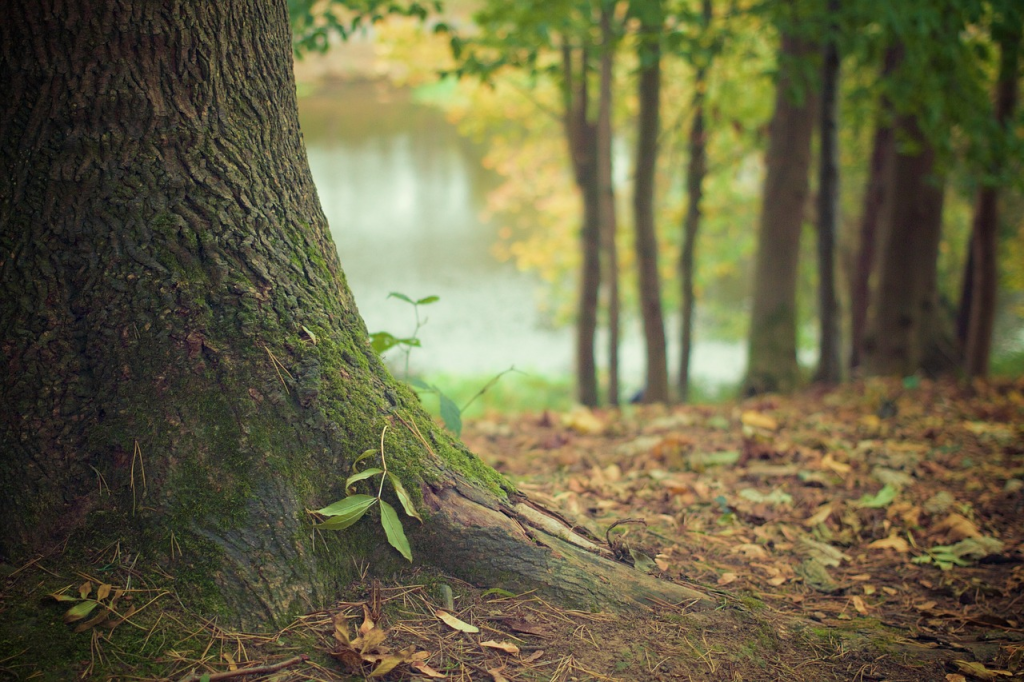
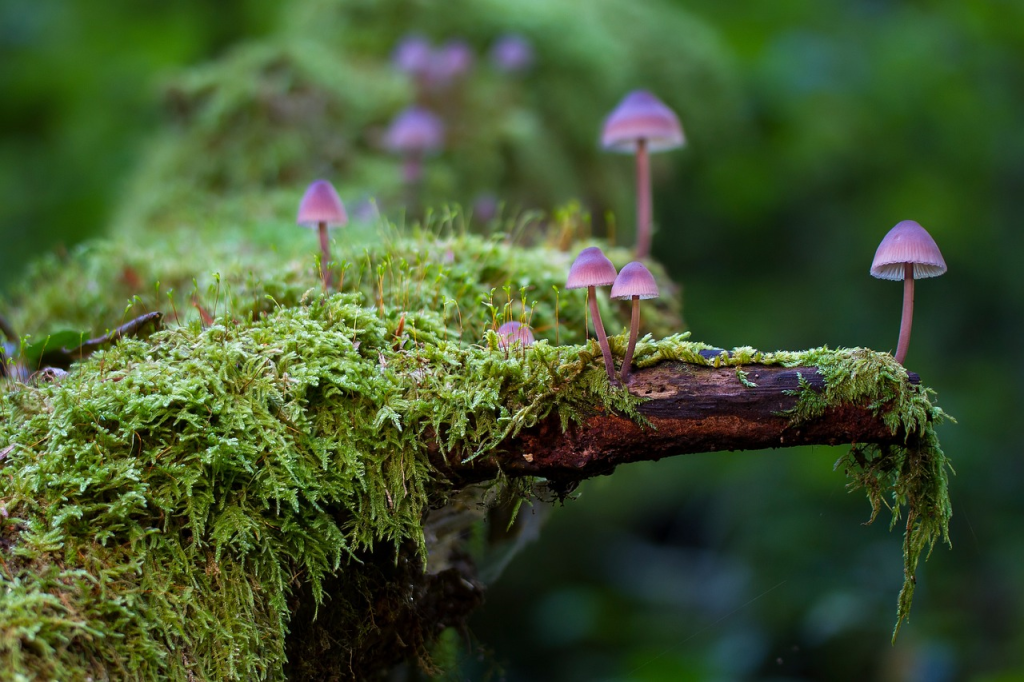
- Decaying stumps and logs attract numerous beetles and ants. If you must remove a tree that has died or outgrown your garden, consider leaving the standing dead tree or stump to decay and provide insect food for Pileated and other Woodpeckers.
You can have a spectacular garden by adding native plants. And, when you see birds using your garden, you will not only feel good about your contribution to bird conservation, but you will enjoy your garden even more!

Native Plant Sources
A key issue for those trying to grow native plants is finding them. To help you, the Halton Master Gardeners maintains a map of Ontario native plant nurseries that also provides websites and contact information. Always phone the nursery first to confirm they will be open.
Other Resources
In Our Nature. Nd. Native Plants for Hummingbirds. https://www.inournature.ca/plants-for-hummingbirds
In our Nature. N. 30 Native Shrubs for Ontario Gardens: Your go-to reference for the best shrubs for gardeners and wildlife. https://www.inournature.ca/best-native-shrubs
Tallamy, D.W. 2019, Nature’s Best Hope: a new approach to conservation that starts in your yard. Timber Press. 256 pp.