by Rachel Burrows, Master Gardener
You just couldn’t resist the sign saying “Only $2” or you are confident that you can rescue that pathetic looking plant, after all you have a thriving garden so it shouldn’t be that difficult.

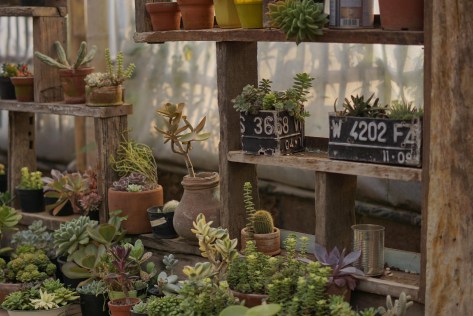
How many times have you bought a bargain plant and regretted it when it dies on you? Big box stores in particular often have a small section of rather sad looking plants looking for a home. End of season clearances are often a great place to pick up bargains.
However, these sad orphans may need a lot of tender loving care (TLC) to get them to flourish. These are some important things to think about before carting off your ‘bargain’ plant that you couldn’t resist.
Take time to inspect the plant and don’t be tempted if it has any of the following problems. Some of the problems may be easy to rectify but others may be too far gone.
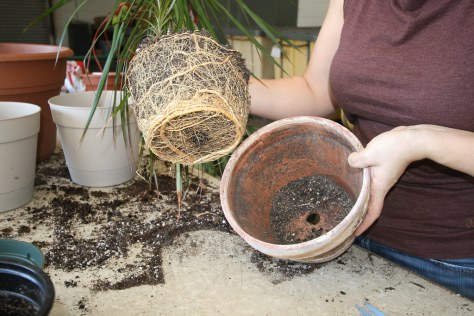
- Is it root bound? Ease the plant out of the pot – is it totally root bound? Are some of the roots brown and squishy?
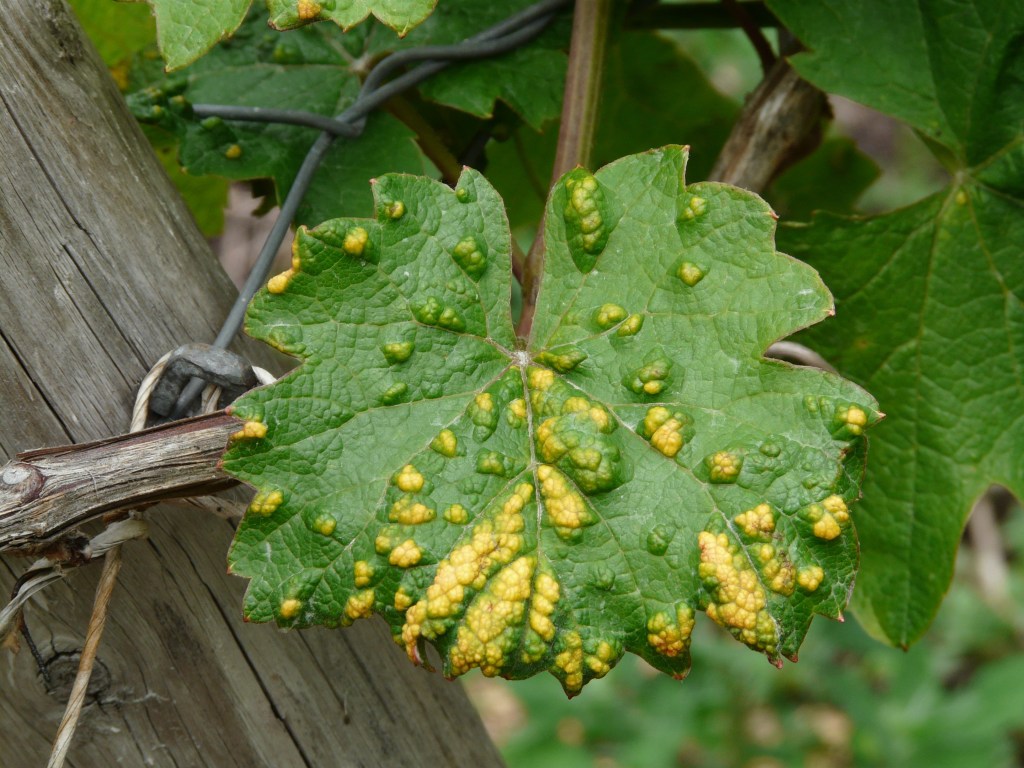
- Any sign of pests or disease? Check the leaves, stems and roots for pests.
- Have you got the right spot in your garden for the plant? I have often been tempted only to get home and wonder where on earth I am going to put it. (more later on keeping the plant isolated)
- Quarantine your bargain plants for a few weeks to see how they progress before planting in your garden. This way you can spot any further problems and not infect your other plants. This is a good idea before bringing in any new plants as it is all too easy to bring in goutweed or other invasives.
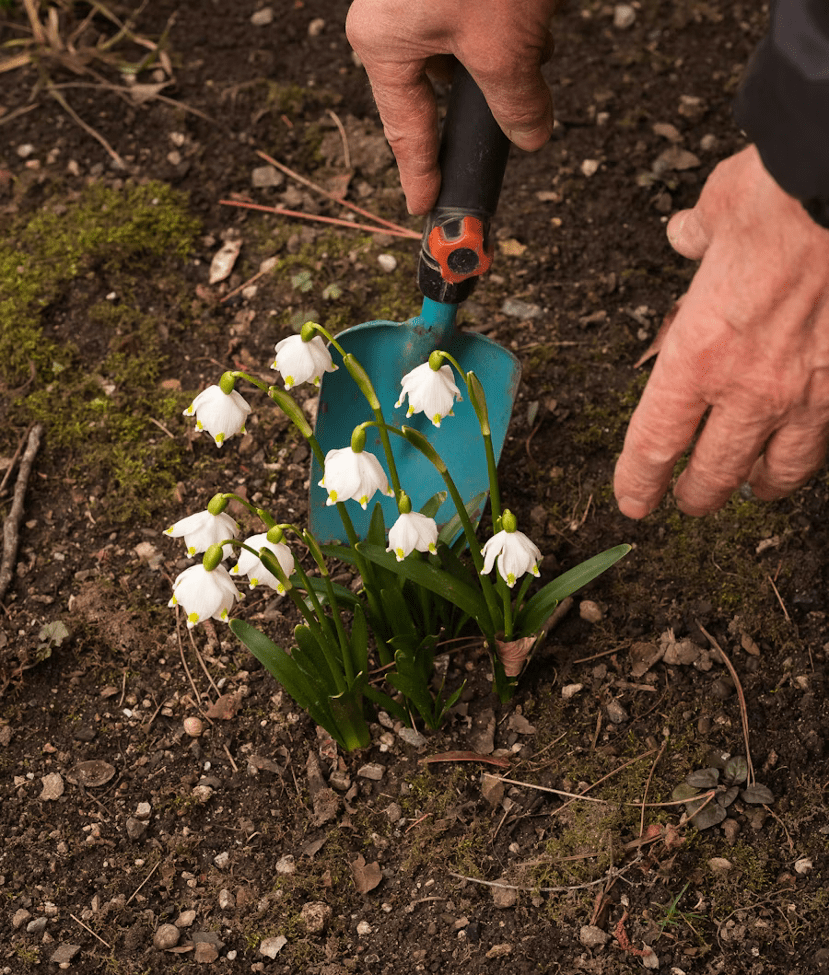
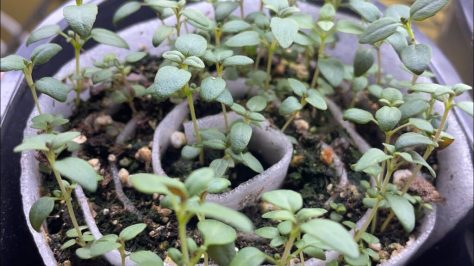
- Does it need repotting? The plant may be too cramped and have used up all the nutrients in the soil. It is a good idea to wash the roots just to be sure that there are no other unwelcome passengers. Put it in a slightly larger pot, 1 or 2 sizes bigger and use fresh potting soil. Remove any dead roots and trim surplus.
- Check the plant’s water requirements. Over watering can be just as bad as under watering,
- Prune and trim back any dead or infected leaves and branches. Cut back into healthy, green wood and to a healthy outward facing bud. Do it immediately regardless of the correct time for pruning. It may look awful at first but it will encourage new growth.
- Fertilizer – probably not a good idea for a sick or poorly treated plant Once it begins to recover, a light application would be helpful.
You can get some really good deals on ‘bargain’ plants if you check them carefully before handing over your money. Give them lots of TLC and they will reward you. We all love a bargain but it is worth inspecting the plants thoroughly before you decide to rescue them.
Good hunting!