by Emma Murphy, Master Gardener
As a Master Gardener, one of the most common questions I get asked is about the toxicity of walnut trees (Juglans nigra).
“Well I heard that the juglone stuff in the roots kills everything and that I can’t plant anything under or anywhere near a walnut tree.”
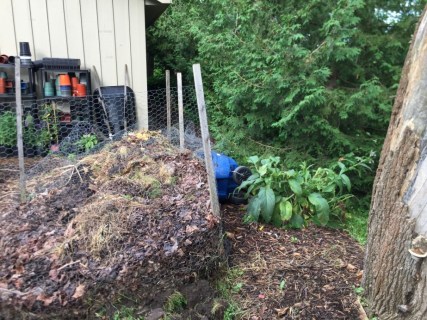
Well yes Virginia, you can plant a garden under a walnut tree, and have it thrive. Let’s look at Exhibit 1 below – an established perennial bed under a walnut tree. It’s at our house, so I guarantee it’s real, and it’s been there since late 2007.

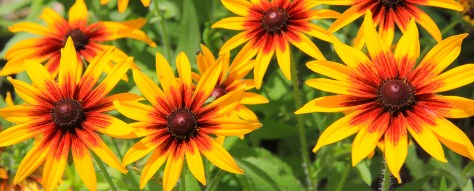
Lots of lovely perennials here – hostas (Hosta spp.), daylilies (Hemerocallis), bearded iris (Iris germanica), summer phlox (Phlox paniculata), wild ginger (Asarum canadense), purple coneflower (Echinacea purpurea), ditch lilies (Hemerocallis fulva), although those last ones are doing just a little too well LOL. Don’t believe it’s a walnut tree? Here’s a photo from a bit further back on the street.

Yes, she’s a big old lady – we think she was planted around the same time the house was built, making her about 140 years old. I think she’s getting a bit tired out – most years she doesn’t produce too many walnuts. Her slightly younger cousin is to the left of the barn in the background – LOTS of walnuts off her (and yes a garden under that one too).
So where does this fallacy come from that ‘nothing grows under a walnut’? Well certainly all parts of the walnut tree contain a chemical called juglone (heck it’s even in the Latin name!). Juglone is a chemical that affects other plants growing nearby (a phenomenon called allelopathy). Simply put, allelopathy involves “living or dead plant parts that release chemicals into the soil which have an effect on other plants—positive or negative.” For walnuts it seems like an attempt at self preservation, with juglone acting like a natural herbicide on other plants.
As Professor Linda Chalker-Scott explains in her recent (2019) peer-reviewed Washington State University Extension paper, damage to tomatoes and other crops near walnut trees in the 1920s caused people to believe that toxic chemicals were involved, and this perception persisted and became widespread despite there being no evidence (and this was before social media existed!). The US Department of Agriculture did field testing – no problems. When applied in a laboratory setting to seeds and seedlings it did cause stunting, wilting, and necrosis, but the specific way it did this was unclear. The most recent science suggests that juglone disrupts photosynthetic and respiratory pathways and interferes with water uptake in plants.

So! It does affect plants – the laboratory says so. Well yes, and no. Field tests do not support the laboratory work, which doesn’t accurately mimic real life conditions in your average residential garden (again, for more detail read the excellent paper referenced above). Two very old University Extension papers (1973 and 1993) continue to be used to state which plants are ‘sensitive’ and which are ‘tolerant’. However these were simply observational papers—meaning that they correlate the presence of walnut trees with damage to other species but do not confirm a causative relationship. Neither should be considered good scientific evidence.
Gardening With Walnut Trees – My Story
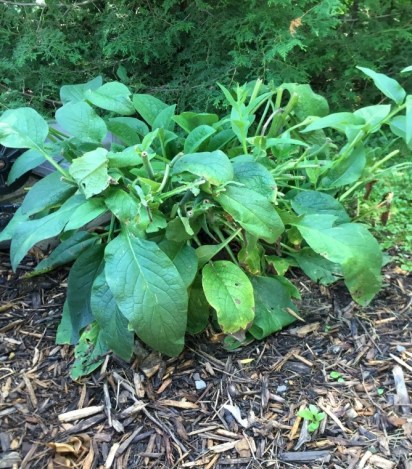
I am sure the scientists, arboretums, farmers, and garden writers will continue to debate this topic for a while. Meanwhile, here’s our story. In 2007 I wanted a garden bed under our black walnut in my front yard. At the time I had heard the walnut horror stories, so I thought – well, how about I just don’t disturb the roots of the tree? (not a good thing to do when establishing any garden beds under a tree). I put good topsoil and compost down, making sure to minimize tearing up of the soil and roots, and planted, and watered, and waited. Things grew. Winter happened. Next spring plants came up. For the most part I just moved perennials that were already on site, although some hostas were new. Here’s the garden in 2008 in the fall.

Fall asters (Astereae spp.), sedums (Sedum ‘Autumn Joy’ in this case), hostas (Hosta spp.), wild ginger (Asarum canadense), fall rudbeckias (Rudbeckia fulgida and triloba), purple coneflower (Echinacea purpurea), ninebark (Physocarpus opulifolius), iris (Iris spp.), astilbe (Astilbe spp.), sweet woodruff (Galium odoratum), Ozark sundrops (Oenothera macrocarpa), coral bells (Heuchera spp.), cranesbill (Geranium spp.). All doing just fine.
And 2009 below, in the spring. Irises (Iris spp.) lemon lilies (Hemerocallis lilioasphodelus), lungwort (Pulmonaria spp.), poppies (Papaver rhoeas), ditch lilies (Hemerocallis fulva), variegated solomon’s seal (Polygonatum odoratum ‘Variegatum’), bracken (Pteridium aquilinum), bleeding hearts (Dicentra spectabilis), daylilies (Hemerocallis spp.).

Certainly, planting in general under walnuts is challenging – they cast dense shade and have extensive, water hungry root systems. Watering after establishment and for the first season is critical. We also had our walnut tree pruned professionally (it needed it) so it actually gets decent sunlight in the latter part of the afternoon. Like any fruit or nut tree they are messy, from their spring pollen to their leaves and nuts…oh those nuts.. 2017 was a crazy year – buckets of walnuts (I even had to engage my neighbours’ lovely children from across the street to help collect them) to 2018, with almost no walnuts. My trees are old too – although well pruned, their leaves drop at that first hard frost. 
In Defence of Walnut Trees
Black walnuts are not all bad, and I will continue to treasure them in my yard. They are an amazing shade tree, are highly valued for their fine grained dark wood (for furniture), a great food source for wildlife and birds, and my white breasted nuthatches’ favourite spot to hide their seeds.
We have definitely had our challenges with our walnut trees, and I’ve learned a great deal over the past 20 years. But one thing I know – I can garden with them around. You can too.
Note: Black walnuts are not the only tree that produce juglone – other members of the Juglandaceae also produce it as well as hickory trees. Butternut, English walnut, bitternut hickory, pignut hickory, pecan, shagbark hickory, mockernut hickory are in the same family.