By Chris Freeburn, Master Gardener
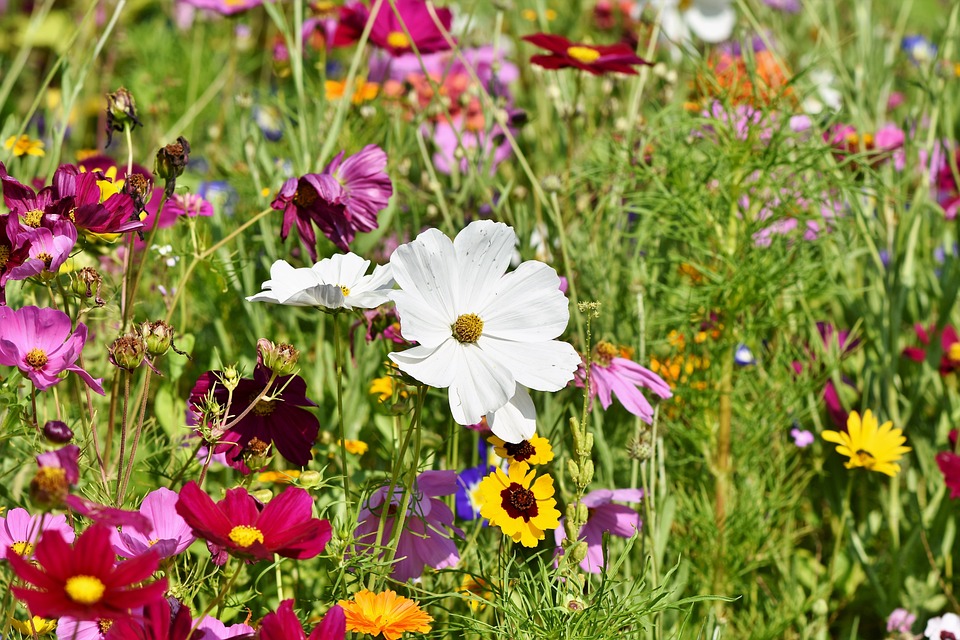
When spring finally arrives, gardeners are outside daily looking for signs of life in our flower beds. Snowdrops, crocus, tulips and daffodils along with many other spring bulbs give us that pop of colour we have missed. Hellebores, primula, magnolia, Iris reticulata, lungwort are all beginning to bloom. Spring perennials like ground phlox, poppies, pasque flowers, daylilies are showing their green shoots and will soon be flowering. Bleeding Hearts, trilliums, lupins and salvia are all growing in leaps and bounds.

This past April, we experienced a week of abnormally hot weather that encouraged plants like peonies to jump up. Note to self – get peony rings up. The return to “normal” temperatures is better for all the plants. And it reminds us that spring is an unpredictable season and we can’t rush it.
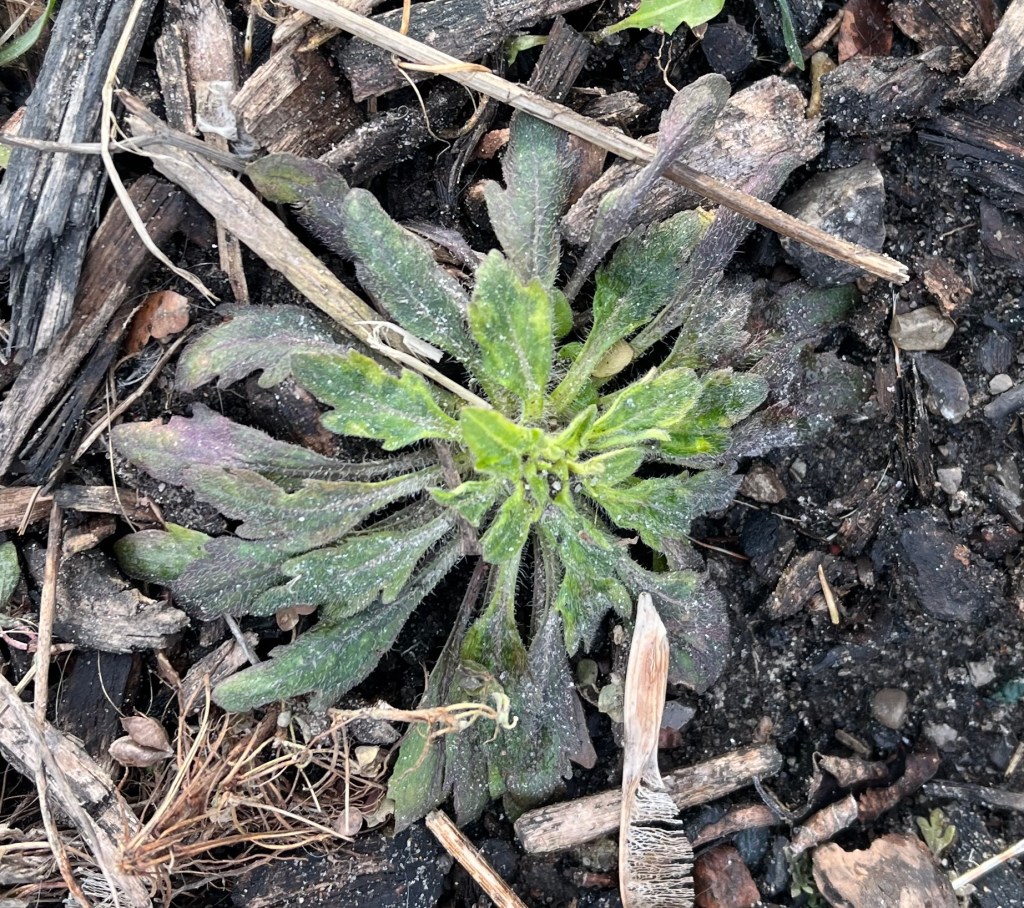
As gardeners, we need to practice a bit of patience. We need to leave our gardens to thaw, give the soil time to warm up and give the overwintering insects time to awaken from the garden litter we are so excited to “clear up”. We also need to be aware that not all perennials show life at the same time.
Hostas show their poking dark shoots just as we are getting into the flower beds, so we need to watch when stepping around or moving mulch in those gardens. Perennial Hibiscus are probably one of the the later showing perennials that will look dead until mid June. Be patient! When Hibiscus decide to begin growing, they grow quickly, inches in a day. Lilacs are making buds and maples are leafing out, but hydrangeas are still looking asleep. Although early flowering clematis like Blue Bird and other group 1 types will be popping up, later bloomers with still be sleeping. Don’t despair. Be patient!

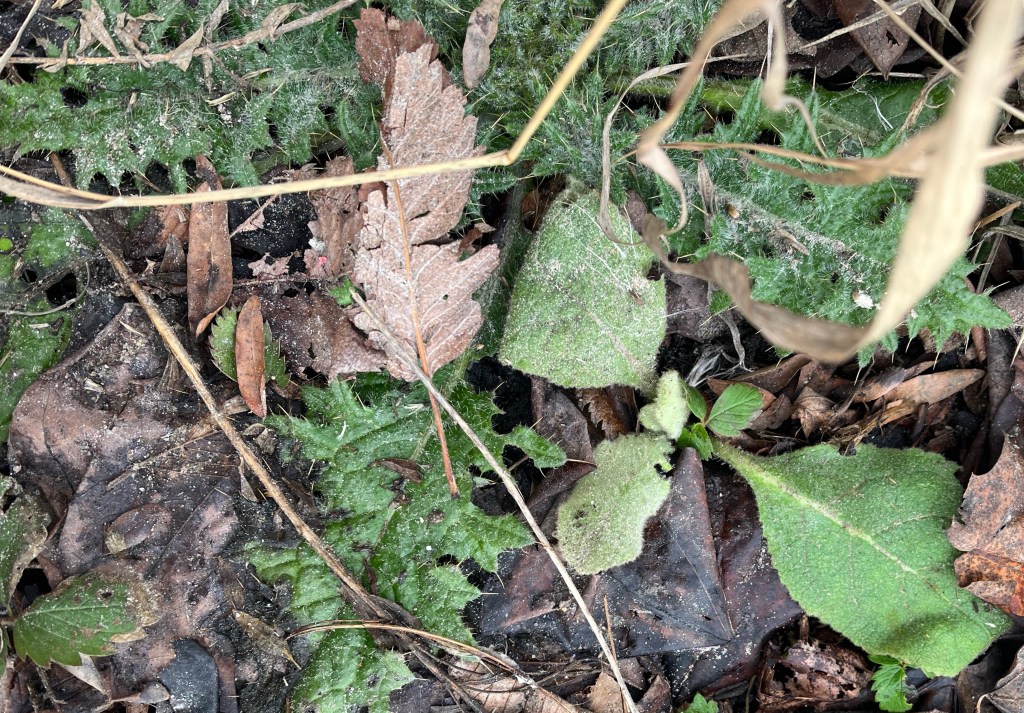
Grasses can also be deceptive. Cool season grasses begin to grow in early spring and have reached their best by mid summer. Karl Foerster, which is a Calamagrostis or feather reed grass is a well known cool season, zone 5 grass that grows 5′- 6′ tall. It likes sun, will take it wet or dry and tolerates poor soil. Overdam and Avalanche are two other feather reed grasses that will be showing green now.
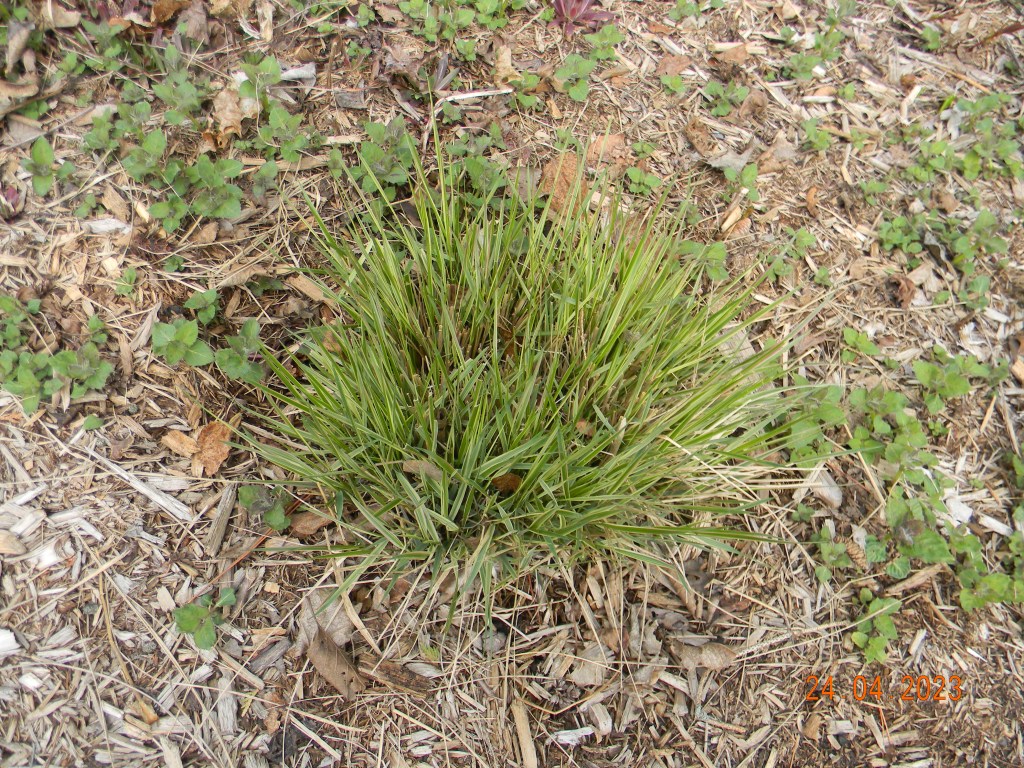
Warm season grasses do not come up until June and are at their best in fall. They will look dead until the weather warms up. Patience! Because they will not show green until later in the spring, you can plant warm season grasses behind other earlier growing perennials to hide their brown bottoms.
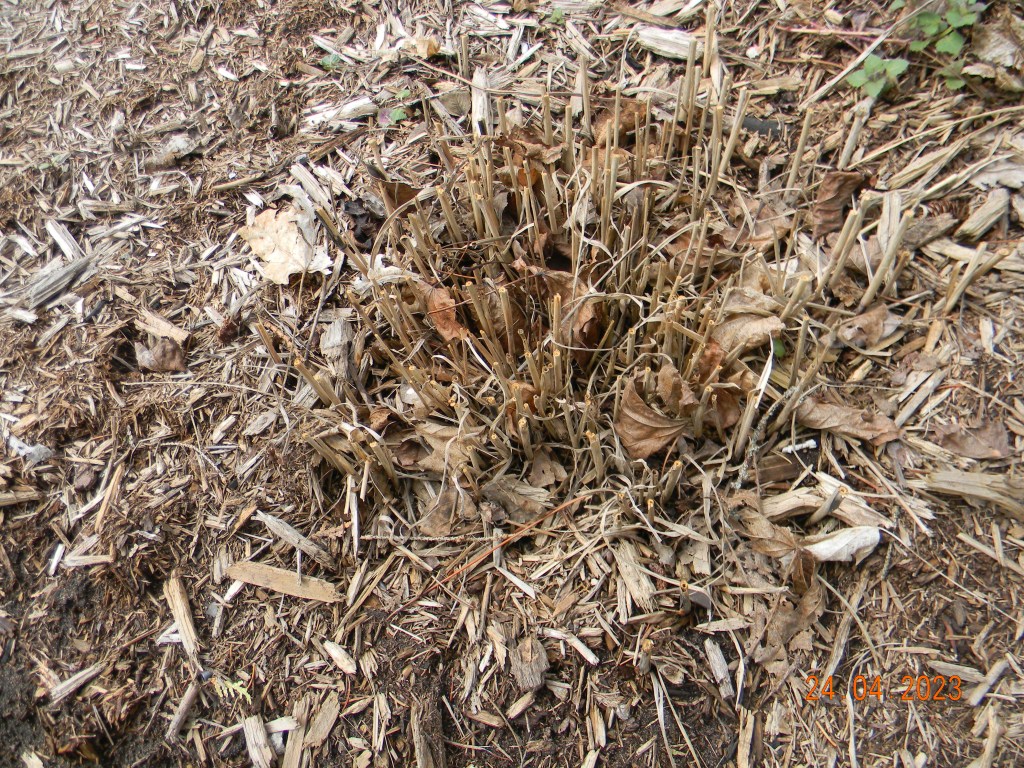
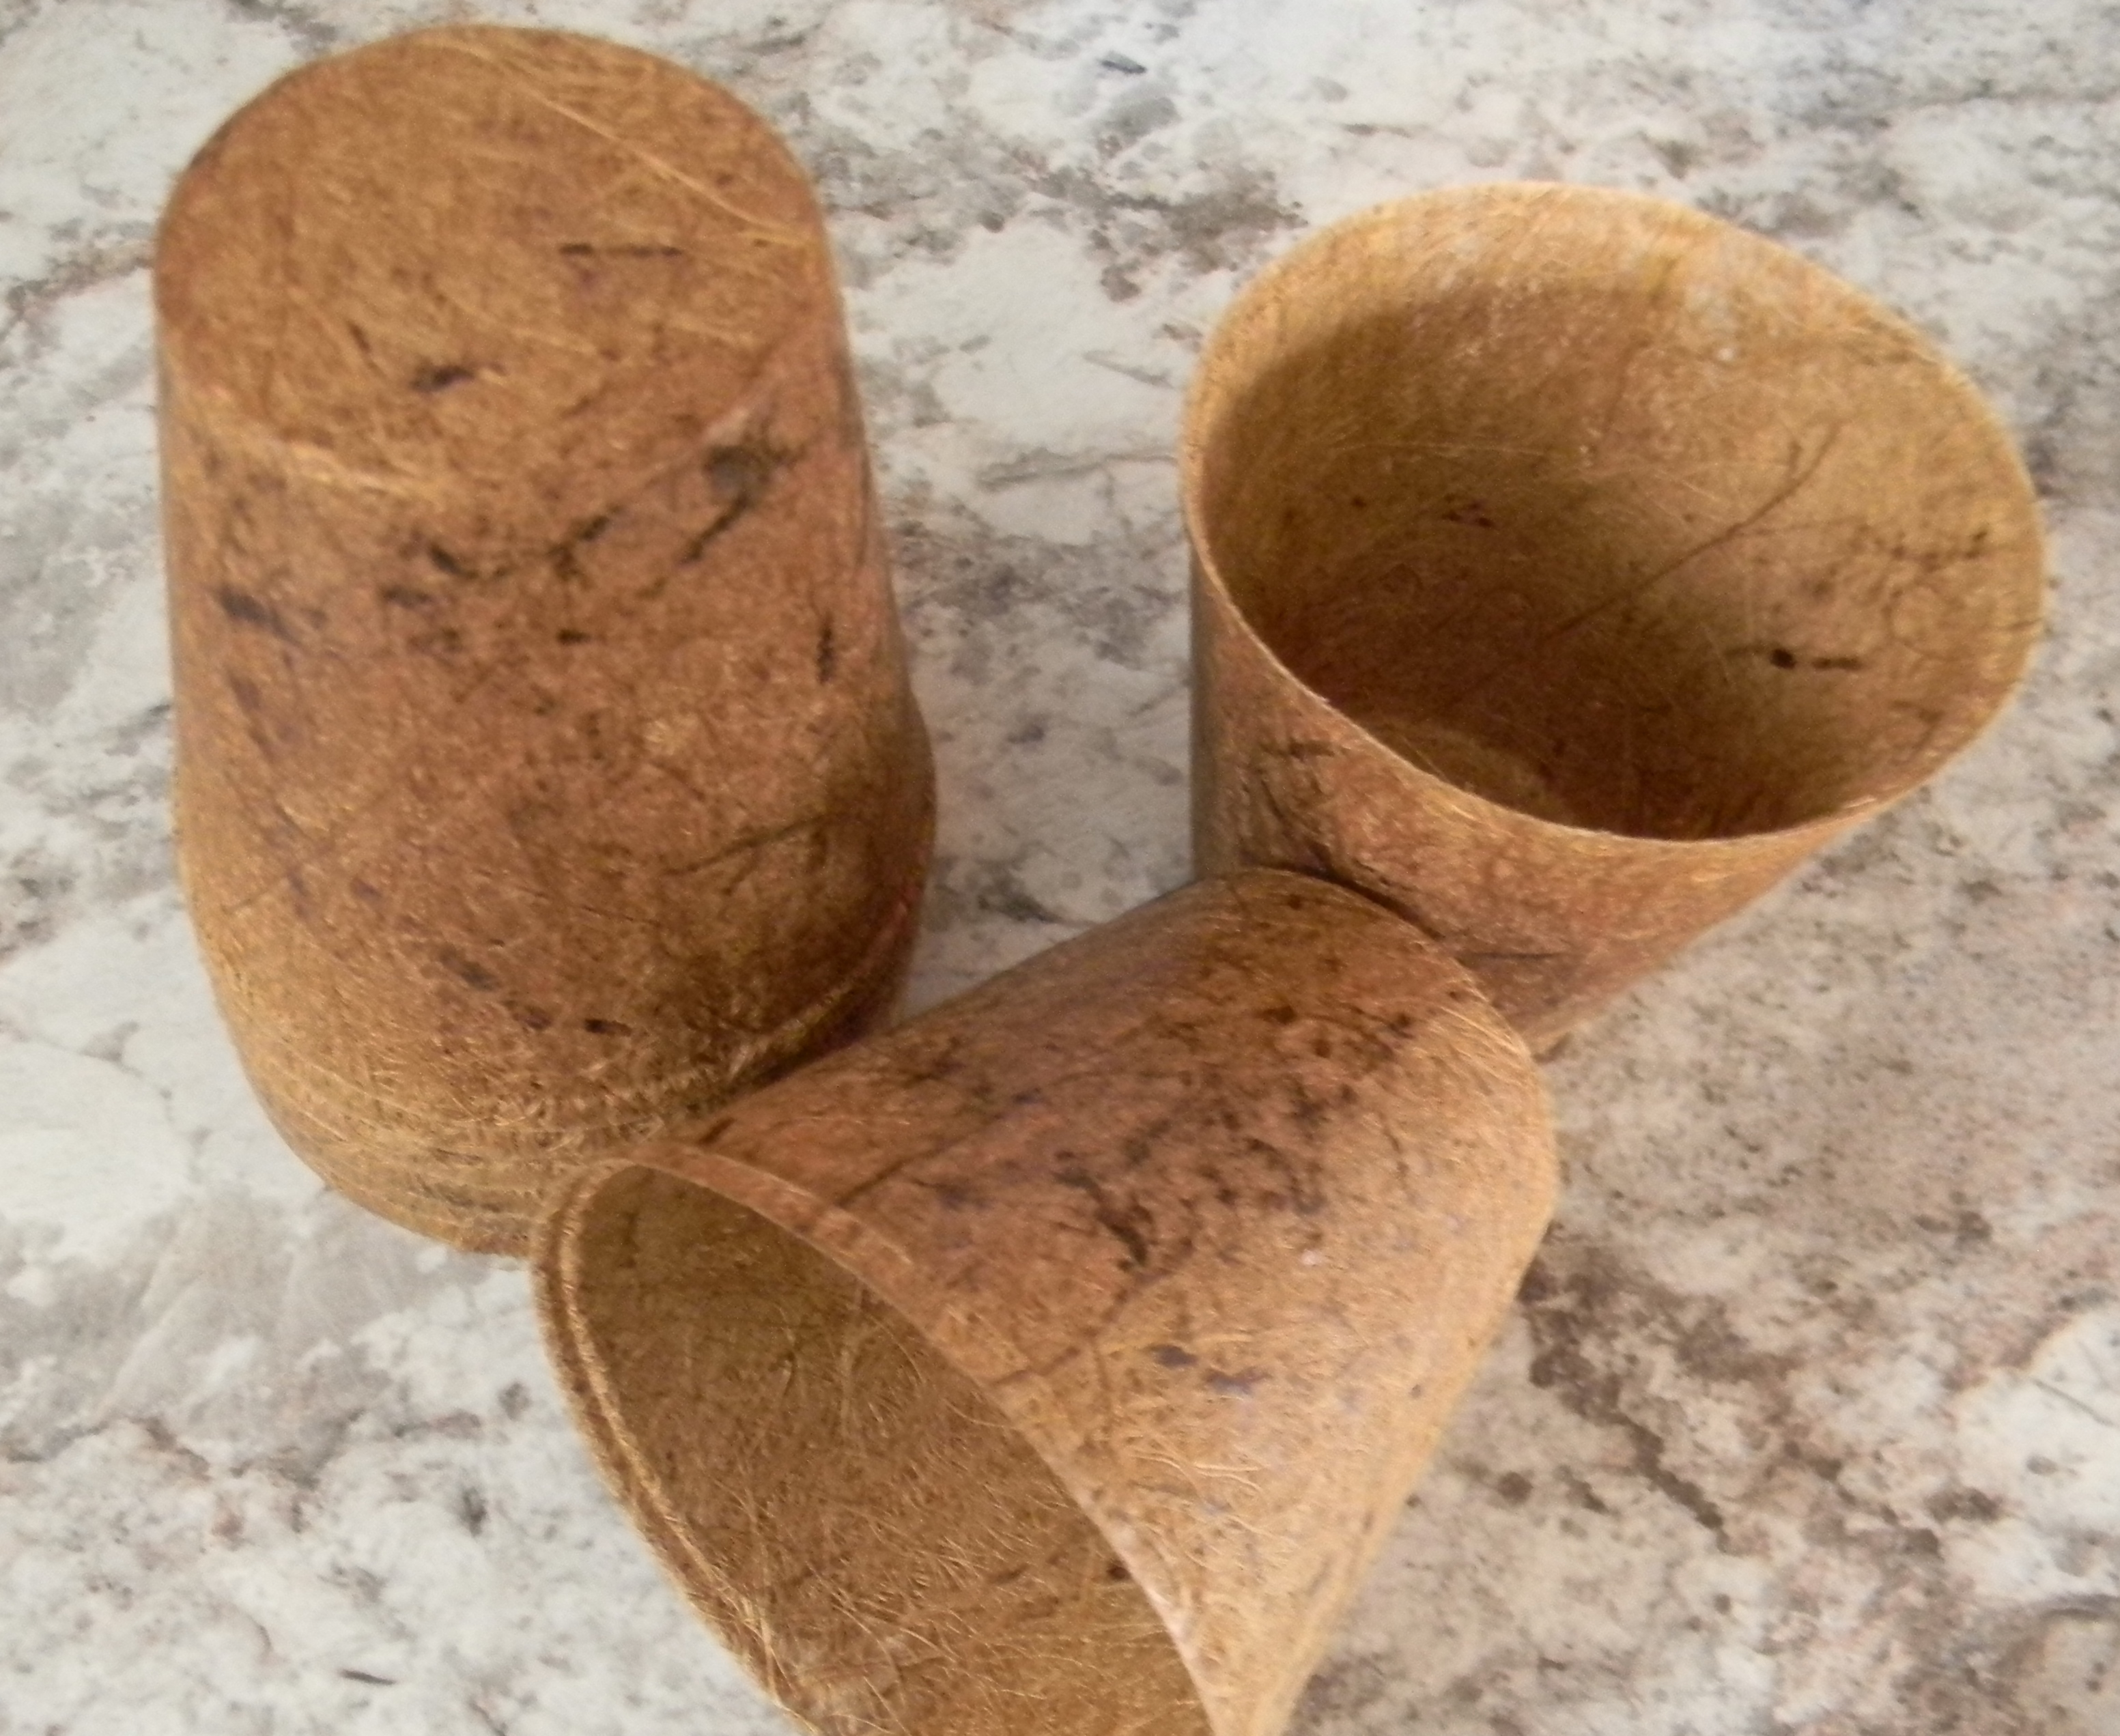
Miscanthus grasses are warm season types and are available in different heights from 3′ to 8′ tall. Miscanthus sinensis & M. Sacchariflorus are classed as invasives, spreading by rhizomes and seeds. Other warm season grasses include Japanese Forest Grass or Hakonechloa, Japanese Blood Grass and Sedges. Panicum or switch grass is a warm season grass with many varieties native to North America. ‘Northwind’ is the most commonly know variety and it is drought resistant, will grow in any type soil and likes full sun.
Native grasses like Little Bluestem (Schizachyrium scoparium), Big Blue Stem (Andropogon gerardii) and Indian Grass (Sorghastrum nutans) are warm season grasses. These are beautiful additions to your garden, but will not green up until the weather warms.
May is the most active month in the garden. Sometimes we forget to enjoy the moments, slow down, breath deeply and have patience. New wonders will be happening for many days ahead. Enjoy them!
https://landscapeontario.com/perennials-in-bloom-month-by-month