By Marilyn Homewood, Master Gardener
At times, these blogs seem a little like an Instagram Post. We show our successes in the hope of inspiring you and in turn, provide something of value to you. However, that can be a little intimidating to less experienced gardeners. Today, I thought I would showcase some of my 2025 failures (so far).

Lisianthus
This one is a heartbreaker! In January, I had almost 100% germination of my lisianthus. A couple weeks after germination, they looked like this.
What happened? After reading somewhere that cinnamon prevents growth of algae, this grower overzealously applied cinnamon (I had purchased a large bottle at Costco). The covering of spice initially smothered some of the young seedlings. I then tried to rectify the situation by wetting the plants (cinnamon is extremely hard to wet).
The overwatering led to a slow decline, killing more seedlings by rotting the roots. All was not lost however, I potted up the remaining seedlings into other containers and they have been growing on. Hopefully they will catch up in size over the long growing season.
As Julia Child was fond of saying “everything in moderation….including moderation”

Bells of Ireland
These seeds are notoriously hard to germinate. They need to be stratified by exposing the seed to cool, moist conditions to help to break dormancy. The seed is placed on moistened paper towel that is then folded and placed into a Ziploc bag. Then placed into the fridge for a couple of weeks. After that, remove to a warm place (I use a heat mat).
After a period of time, the seeds are checked for germination and placed on the surface of prepared soil. The daily checking goes on for a few days and hopefully you get enough germinated seeds. This years’ results speak for themselves. Hard to know what went wrong but it may be the seed source. My usual source (that does germination testing on every lot) was out of seed so I purchased from another.

Dahlia Splitting
Last fall I used a new method of splitting dahlias that saved time. I use flagging tape to identify the plants dug up and the tubers being stored. As the dahlia afternoon wore on, some of the tubers seem to get mixed up and the quality of the labeling seemed to decrease. This tuber might be a Ferncliff Copper and then again, it might not be. Note to self – Take a little more care with the labelling.

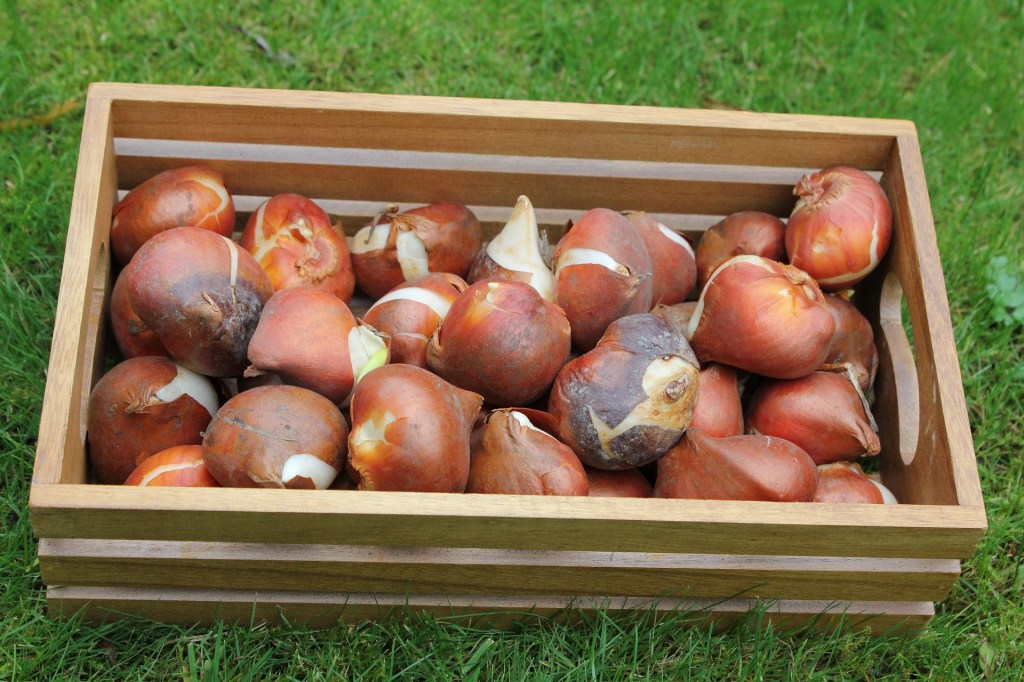
Forcing Tulips in Bulb Crates
Seemed like a great idea last October. I do not have a cool place that does not freeze so I opted to chill my bulbs in the refrigerator. Bulbs in paper bags went into the crispers of the fridge for over 14 weeks. During that time ethylene producing produce could not be kept in the fridge as ethylene can negatively affect bulbs and their bloom.
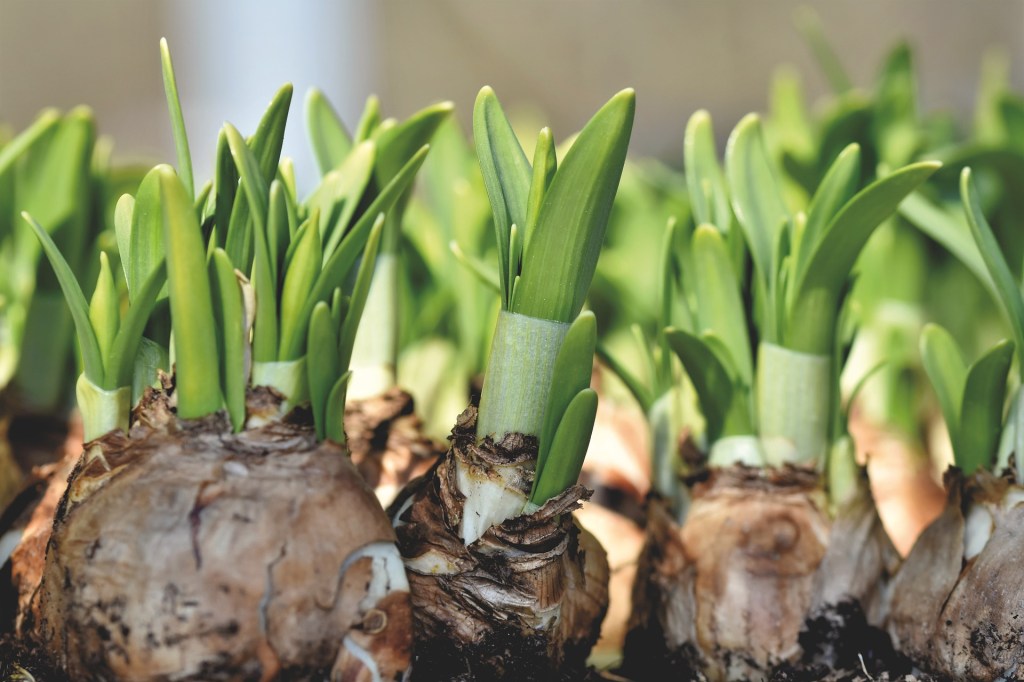
After the chill period, bulbs were planted in soiless mix in bulb crates and kept dark for a couple of weeks to develop roots. The crates were then placed in a sunroom to grow.
I got a total of 20 lovely tulips from about 150 bulbs. Other bulbs did grow leaves but produced no flowers, some did not grow at all. When I removed the bulbs from the soil, I did notice reduced root growth on many of the bulbs. This may be from inadequate chilling.
The crate method is clearly more successful when you can plant the bulbs up in the fall and place in a very cool spot that does not freeze (or a cooler like the flower farmer). Bulb crates full of soil is messy in the house even if they are on tarps!
Despite these hiccups, I have a roomful of healthy seedlings and large landscape beds awaiting more garden gaffes.
In the words of Janet Kilburn Phillips “There are no gardening mistakes, only experiments.”