By Lois Scott, Master Gardener
It’s that wonderful time of year when the seed catalogues are arriving in the mail. The many seed choices may be both enticing and overwhelming and for some, possibly confusing. Terms like F-1 hybrid, heritage, and open pollinated may accompany tantalizing names like Red Ace F-1 hybrid beets or Brandywine Heirloom tomatoes. What do these designations mean for a gardener?
Let’s start with the term F1 hybrid. This term is used for first generation seed that follows the successful pollination of one genetically uniform plant variety with another specific genetically uniform variety. From the University of California, see “What does “F1 Hybrid mean?” It potentially takes years to develop the parent plants for these seeds which is why hybrid seeds are usually more expensive. The benefits of growing hybrid seed include a more vigorous plant, higher yield, improved disease resistance, shorter time to fruit maturation and consistent performance. This is known as hybrid vigor. If you grow a plant from hybrid seed, the seeds produced by your plant will not be ideal for saving as the offspring from these seeds will have unpredictable characteristics.
Open-pollinated seeds are from plants that get pollinated naturally by insects, the wind, birds, or people. These plants are more genetically diverse which is considered beneficial as plants adapt from year to year to local growing conditions. Some consider the flowers or fruit from open-pollinated seeds to have superior beauty or flavor. Of importance to seed collectors is the fact that seed from open-pollinated plants will grow plants very similar (true-to-type) from year to year and are ideal for saving. There are some details to know about seed saving which could be discussed in another blog but this link explains some of them: University of Minnesota Extension: Saving vegetable seeds.

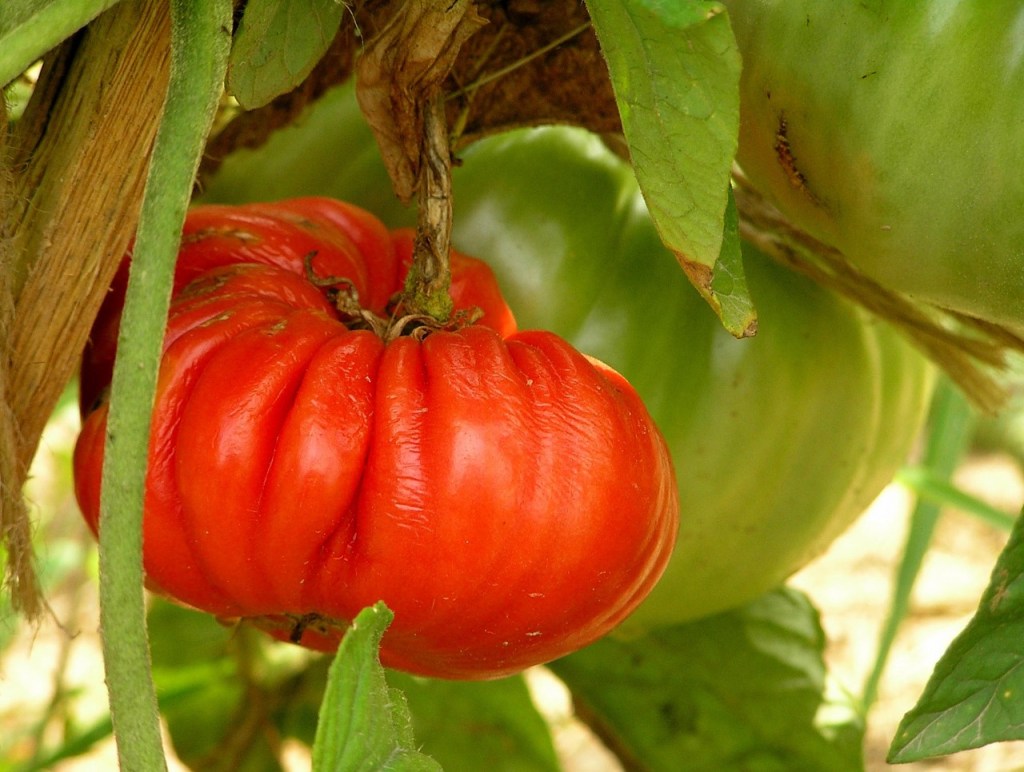
Heirloom (sometimes referred to as Heritage) seeds are always open-pollinated and have a history of being passed down within a family or community for a number of years, with 50 years being the minimum for some seed companies.
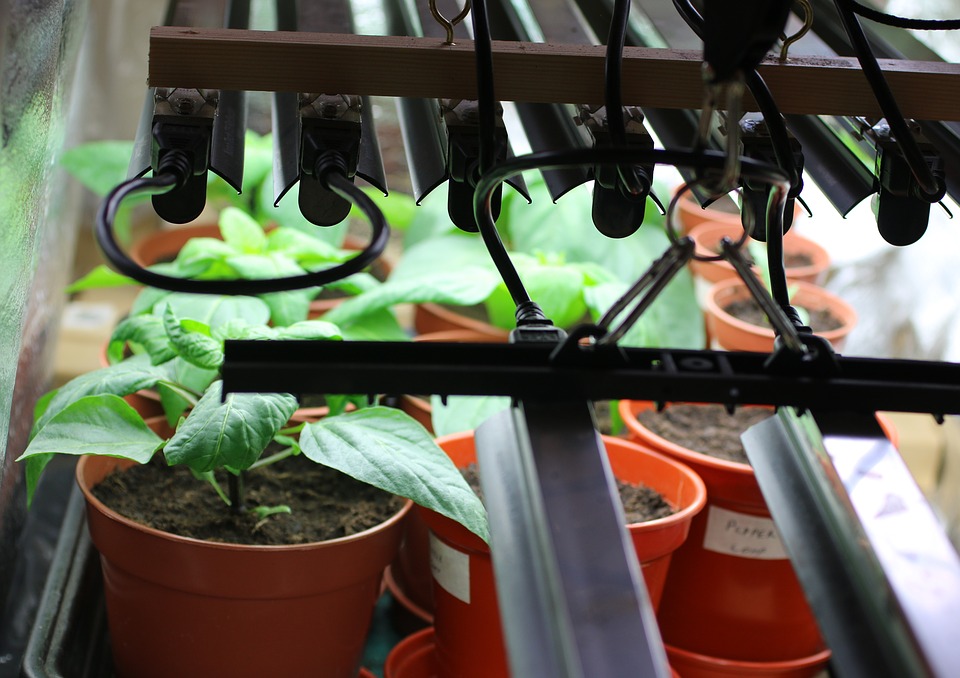
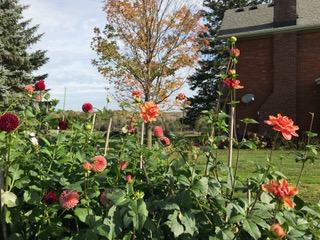
In my garden I grow both hybrid and open-pollinated seeds, including some heirlooms. For a few reasons, I like growing mini cucumbers which are a hybrid variety, but I also enjoy growing heirloom greens, tomatoes, and open-pollinated annual flowers, and saving seed. Having all options allows gardeners to choose the seeds that are best for their needs.
Resources
https://blog.seedsavers.org/blog/open-pollinated-heirloom-and-hybrid-seeds
https://www.growveg.com/guides/which-are-better-hybrid-or-open-pollinated-seeds/