
By Cheryl Harrison, Master Gardener
The idea of growing and caring for orchids may be daunting, but perhaps you would like to try something new. Don’t be afraid! A few years ago, I was seduced by a beautiful, exotic bloom and bought my first orchid. I was very happy to discover that even I could successfully grow orchids!
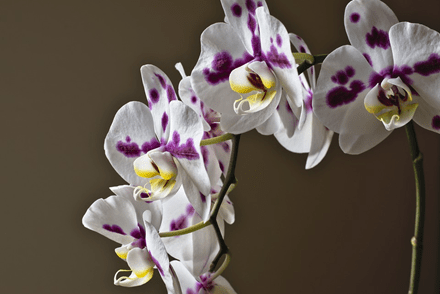
All of my orchids are Phalaenopsis orchids; these are the easiest ones to grow. I love the airy sound of the Latin name and it suits the common name perfectly which is “moth orchid”. These orchids bloom in many different gorgeous colours and have shiny, thick and leathery green leaves. Their aerial roots are part of what makes them look so exotic. They like the average home’s indoor temperatures and light levels so make great indoor plants.

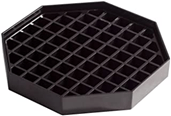
Phalaenopsis orchids are epiphytes, or air plants, which means that they grow on rocks or trees in their natural, usually tropical or subtropical, habitat. They get much of their water and nutrients from the air. As indoor plants, these orchids will need to be potted in a special potting mix. Orchid potting mix often contains bark, vermiculite, perlite and moss. Regular potting soil retains too much water which will rot the roots of your Phalaenopsis orchid. Orchid pots often have holes in the sides of the pot in order to keep the roots well aerated. This inner orchid pot is then often placed in an outer more decorative pot as shown in the picture above. Orchids need to be repotted every 2-3 years as the bark in the potting mix breaks down. Orchid potting mix is available from many of our local nurseries.
Phalaenopsis orchids do not like direct sun but will do well in indirect light close to an east or west window. You may put them outdoors during the warm summer months but not in direct sunlight. They like high humidity and may benefit from sitting on a drip tray.
I water my orchids once a week. I flood the surface of the potting medium with room temperature, non-chlorinated water until it runs through the bottom of the orchid’s pot. I allow the excess water to drip from the bottom of the orchid pot before placing it back into its outer pot. I have also used ice cubes to water my orchids. Place 2-3 ice cubes on the surface of the potting media, not on the plant, once a week, and let them melt. I know, I know, ice to water a tropical plant??!! The Ohio State University and the University of Georgia did some experimenting to prove that ice cubes will not harm your orchid. Check out the results here (Watering Phalaenopsis orchids with ice cubes) . I do not fertilize my orchids but if you wish to do so here is a link (How do I feed my orchid).
When you purchase your orchid, it may be in full bloom. Don’t just look at that beautiful bloom! Check the plant for signs of poor health, disease and/or pests. The plant’s leaves should be firm, shiny and green not pale and floppy, wrinkled, cracked or missing pieces. There should be no insects living on your plant. If you can, look at the roots in the pot, make sure that they are white/cream coloured. Black/brown roots indicate root rot. The best place to purchase your orchid is from a reputable local nursery. Big box stores may have what appear to be lovely plants but you may bring home more than you bargained for…perhaps pests or disease that will kill your orchid and infect your other indoor plants.
The gorgeous blooms on your orchid will eventually die and drop off. Cut the flower stem back to the node closest to the where the bottom flower was located. The stem may die then you will cut it off close to the parent plant or it may develop into a new flower or a baby plant called a keiki. Cooler night temperatures may encourage reblooming. I move my plants to my cooler basement to encourage them to rebloom. Note that they are still exposed to lots of indirect light during the day in my basement.
Don’t be afraid. Give Phalaenopsis orchids a try. They are well behaved indoor house plants and their blooms are spectacular!


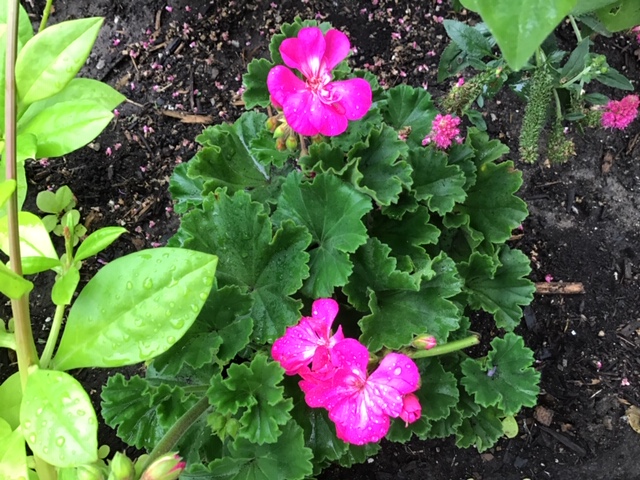 Geraniums, which are part of the Pelargonium family are perennials in their native region of South Africa, but here in Peterborough they are treated as annuals, although you can overwinter them in the fall. You could try the ‘pot it up and put it in the window’ method or the ‘bare-root’ method. This
 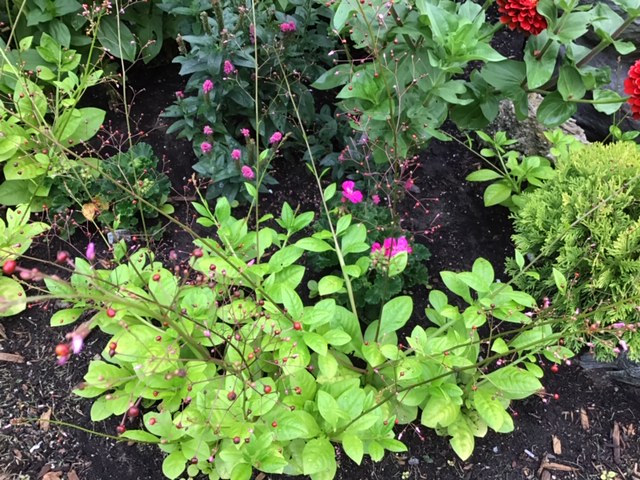 Talinum has fleshy lime green leaves with delicate, wiry flower stalks. The flowers are hot pink followed by carmine-colored seed pods that are showier than the flowers. It is related to Portulaca and has a tuberous rootstock.
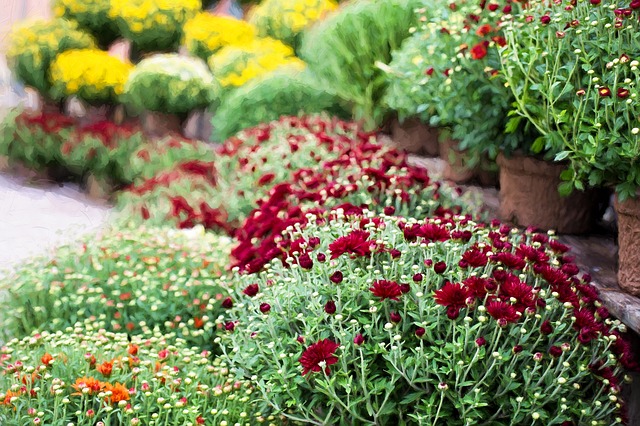
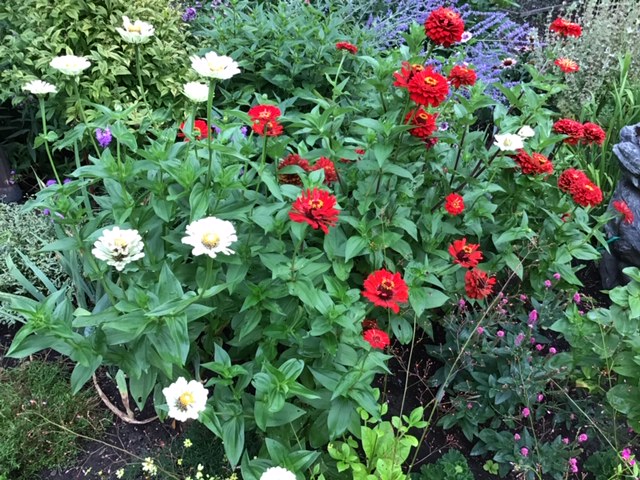 Zinnias grow in a variety of brilliant shades and come in various types, such as single, double, ruffles and pompoms. They are a reliable annual that are, without a doubt, one of the best cut flowers you will ever grow in your garden! They attract many bees and butterflies and are easy to grown from seed. They also come in a variety of sizes, from 8” to 36”. Each flower blossom is just as perfect as the next, delightfully supported on attractive green stems with stunning colours that are ideal in any fresh bouquet.