By Christine Freeburn, Master Gardener
Solanum lycopersicum are one of the easiest and most popular vegetables to grow. Tomatoes are in the Solanaceae or nightshade family which includes potatoes, eggplants, and peppers. Nightshade plants contain small amounts of alkaloids which are chemicals that affect the human body from a medicinal perspective. Botanically, tomatoes are a fruit and originated in Peru before being introduced into Europe.

Tomatoes need well drained, evenly moist, slightly acidic soil and full sun. They can be grown from seed indoors started in late March, or you can buy seedlings in May. Varieties available to purchase used to be limited, but many garden centres now stock a wide selection. There are hundreds of varieties available including heritage and open pollinating types. William Dam Seeds has 57 varieties listed in their catalogue including bush, cluster, patio, round, cherry, oval and paste types in reds, oranges, purples, large, medium and small. So many choices!

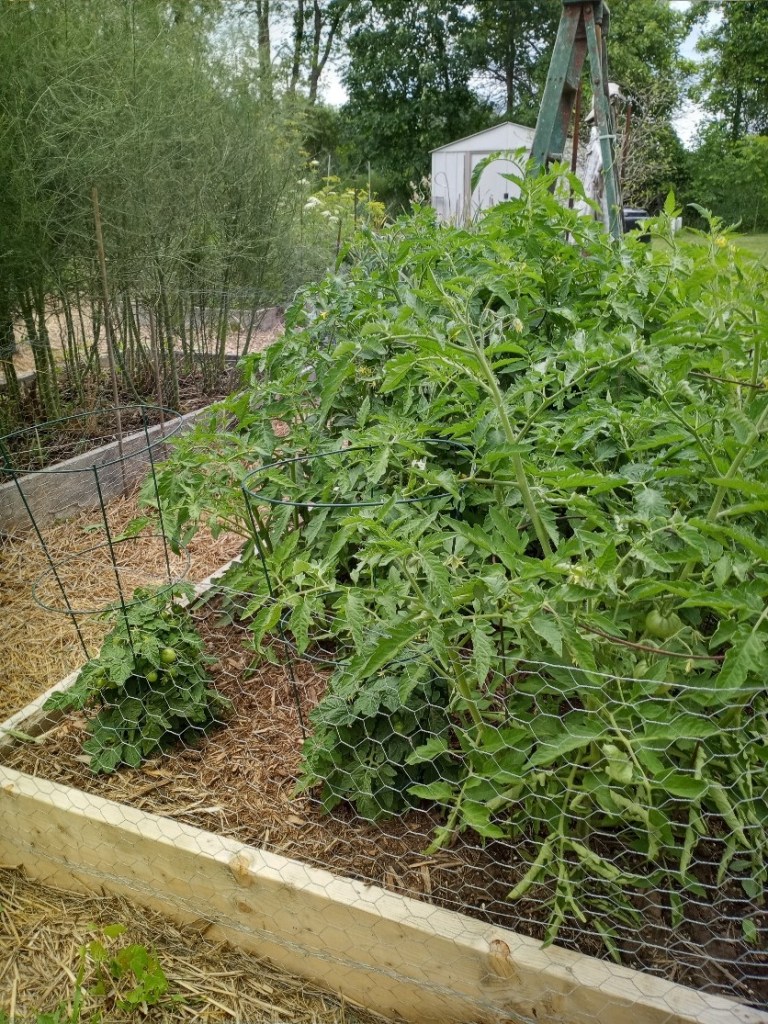
Plant seedlings when all danger of frost has past. If plants are leggy, plant deeper in the soil as roots will form on the hairy stems. Planting deeper makes the plant more robust. Staking is needed as most tomatoes are indeterminate which means they will continue to grow (some up to 6′ or 8′) until frost kills them. When planting in the garden, place your tomato cage over the small plant before it begins to grow. Encourage branches to stay inside the cage or tie up with garden tape or cloth ties to keep fruit off the ground. Using leaf mulch or straw helps to keep moisture in the ground, reduces weed growth and also eliminates water splashing soil born pathogens on leaves. Proper watering means never letting soil dry out, and watering the soil, not the leaves. Water from rain barrels rather than cold tap water is also better. Tomatoes are heavy feeders, so it is important to fertilize with organic fertilizers such as fish emulsion, kelp or a slow release tomato fertilizer. You can grow tomatoes in containers but it is best to grow determinate varieties. Ensure the pot is big enough (at least 12” in diameter and 12” to 16” tall) to balance the plant as it grows. Use good organic soil and make sure there is drainage.
Removing bottom leaves as the plant grows can help minimize early blight. For more on growing healthy tomatoes and preventing diseases, go to https://savvygardening.com/tomato-plant-disease
Blossom End Rot is a common disease where the bottom of the tomato turns black. Scientifically, studies are still being done on this phenomenon, however many studies show this happens because calcium cannot be absorbed by the plant. Researchers suggest crop rotation, fertilizing, proper watering and purchasing varieties that are not as susceptible to the disease as ways to avoid.

Major pests include Manduca quinquemaculata or Tomato Hornworm. You will know you have them when your healthy tomato plant is suddenly missing leaves. The best way to rid your plants is by hand picking. Check out this site – https://extension.umn.edu/yard-and-garden-insects/tomato-hornworms

It is a myth that removing leaves so the sun can shine on fruit will ripen them quicker. If you still have fruit on your plants when frost is imminent, you can pick and bring indoors to ripen. Some people place them in paper bags, but I have found that laying them on newspaper works just as well.
Seed saving from heritage or open pollinated plants is done through fermentation. If you try to save seeds from hybridized plants, they may not come true. Begin with very ripe tomatoes. Cut open the fruit, scoop out the seeds, along with the pulp they are covered in. Place in a jar, add enough water so seeds can float to the top, and put lid on. Keep in a warm place for up to a week. The pulp will begin to ferment and the seeds will drop to the bottom of the container. Once this happens, add more water and pour off the pulp. Using a fine mesh strainer, rinse the seeds off with more water, then lay them to dry completely before storing in a paper envelope. Remember to label!
If you grow only one vegetable, I recommend the tasty tomato. On my way out to pick one for my lunch right now! Yum!