By Emma Murphy, Master Gardener
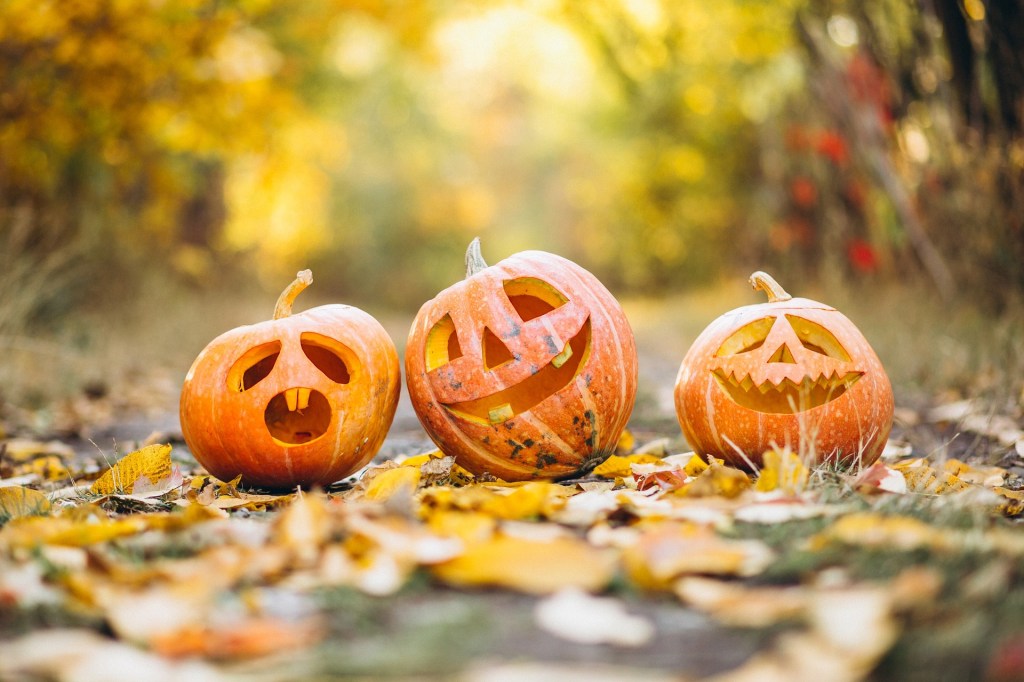
What says fall or October more than the iconic pumpkin? But how much do you really know about them?

Here’s 10 things about pumpkins that might surprise you.
- They’re technically a fruit, not a vegetable. Pumpkins are a winter squash in the family Cucurbitaceae (which includes cucumbers, melons, and gourds.) Pumpkins, along with cucumbers, tomatoes, and avocados, grow from the flowers of their plants. So yes, all squashes are technically fruits as well. It is the official State Fruit of New Hampshire.
- They’re native to the Americas. Scientists believe that pumpkins originated in the Americas about 9000 years ago. The oldest pumpkin seeds were found in Mexico and date to somewhere between 7000-5550 B.C.. Originally small and bitter, they were selectively bred by native peoples to be bigger, sweeter, and have more flesh.
- They weren’t originally called pumpkins. The word “pumpkin” originates from “pepon” – which means “large melon” in Greek. Then it evolved to “pompon” (in French) and “pumpion” (in Britain). The evolution in North America was to “pumpkin,” what we use today.
- Every single part of a pumpkin is edible. That means the skin, leaves, flowers, pulp, seeds, and stems. And they’re 92 percent water. Pumpkin and other squash blossoms can be eaten raw or I’m told they are tasty when lightly battered and fried. Pumpkin pie is a traditional part of Thanksgiving meals in Canada and the United States.
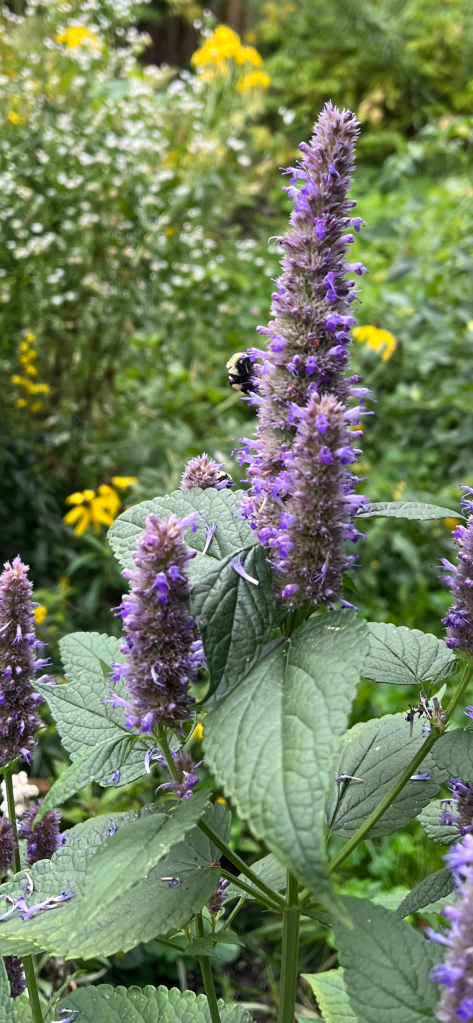
- Bumble bees and squash bees are the primary pollinators of the cucurbit family of plants. They help transfer pollen from the male flower to the female flower by visiting each flower to drink the nectar located in the flower. As the bee drinks nectar it vibrates and moves its body around and in doing so, collects grains of pollen on the fine hairs of its body and in pollen baskets located in some species on their legs.
- Pumpkins (along with other squash) were a historically important food staple among Native Americans. Using the “Three Sisters Method,” three crops (squash, maize, beans) were grown together – usually near riverbanks – so they could sustain each other. Corn is the trellis upon which the beans climb; beans keep the corn stalks stable on windy days, while also nourishing their soil; and pumpkins/squash shelter the corn’s shallow roots and prevent weeds from forming.
- They’re a great source of beta carotene (which is what gives it the orange colour). It turns into vitamin A after you eat it, so it’s excellent for your eye and skin health.
- They can get REALLY big. The heaviest pumpkin ever recorded was a staggering 1,226 kg (2,702 lb 13.9 oz), grown by Stefano Cutrupi (Italy) in Tuscany, Italy in 2021.
- How long do they last? After a pumpkin is cut, it will usually last about seven to 10 days. Find out how to pick the perfect pumpkin.
- Each pumpkin contains about 500 seeds. Once they sprout, pumpkins take between 90 and 120 days to reach maturity, which is why it’s recommended to plant them between May and July.
A LAST NOTE: Just a reminder that you’ll see lots of social media posts after Halloween about giving your pumpkins a second life by putting them out for wildlife. In your own garden, break the pumpkin into small pieces and monitor and remove the pieces when they rot, mold, or aren’t eaten.
Check and see whether local zoos or wildlife rehabilitation centres are interested in donations for animal enrichment. NOTE: they must still be fresh – carved pumpkins break down quickly and whole pumpkins that have been sitting in the sun for weeks can quickly become contaminated and shouldn’t be given to animals to eat. Some municipalities also offer a drop-off program.
Please don’t put them on the side of the road or in natural areas, as this creates problems because if they are near ditches or roadsides, animals will be drawn in close to traffic where they may get hit.
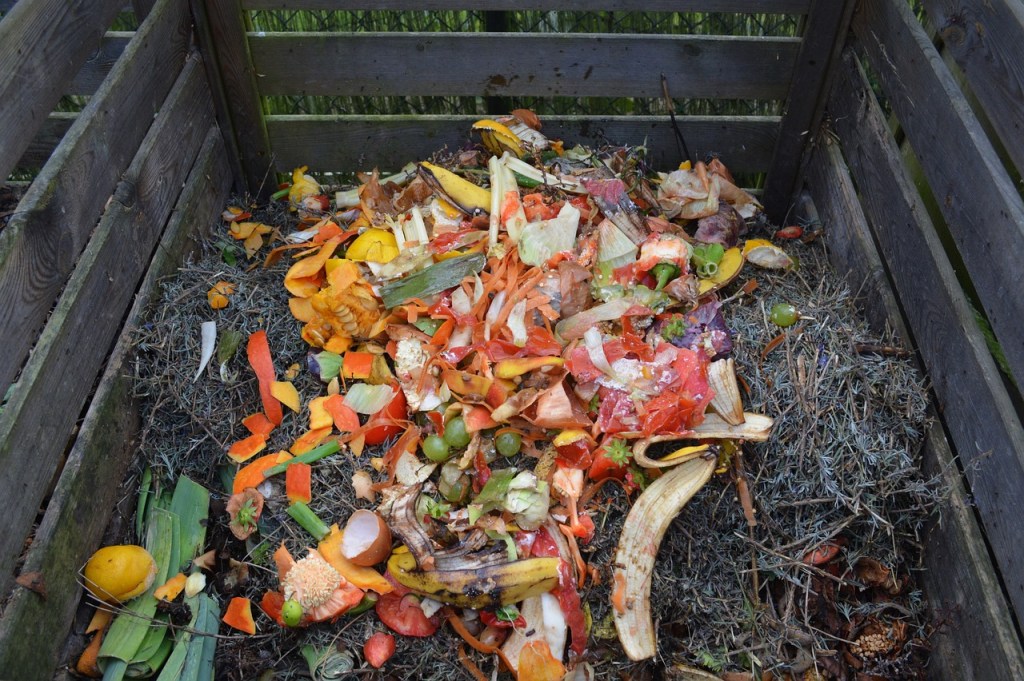
Last but not least, if a pumpkin is starting to decompose, turn it into compost! Chop it up to speed up the process.