by Emma Murphy, Master Gardener
“To plant a garden is to believe in tomorrow.” Audrey Hepburn
If you’re like me, you love to garden. Time in my garden provides me with joy on so many levels — emotional, physical, social, creative — and connects me with the outdoors and the environment. And while the COVID-19 pandemic has turned our lives upside down, one of the silver linings is that we’ve seen a renewed interest in gardening and its benefits, whether you’re working in a large garden or a few containers on your balcony. So I thought I would explore some of the top reasons I think we garden.
Physical and Emotional Health
Gardening is physical. As a low to medium impact exercise that requires both strength and stretching, you’ll see increased muscle strength and cardiovascular fitness over time, as well as improved sleep and diet (if you grow your own produce). On the emotional side, gardening reduces stress, anxiety, and depression and improves self esteem.
It’s good for the mind — gardening calms me down and helps me be more patient with myself and those I interact with on a daily basis. It gives me time to contemplate as I go about my tasks, up to my elbows in soil. Even weeding is cathartic, pulling out those little terrors by the root!
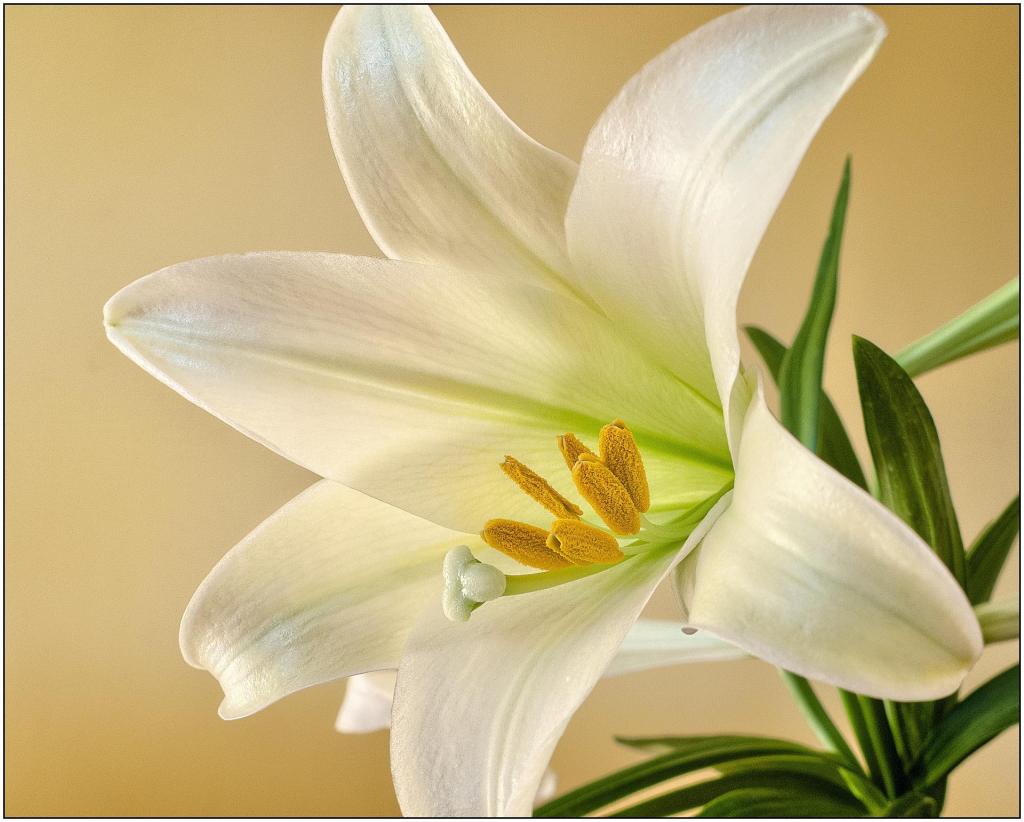
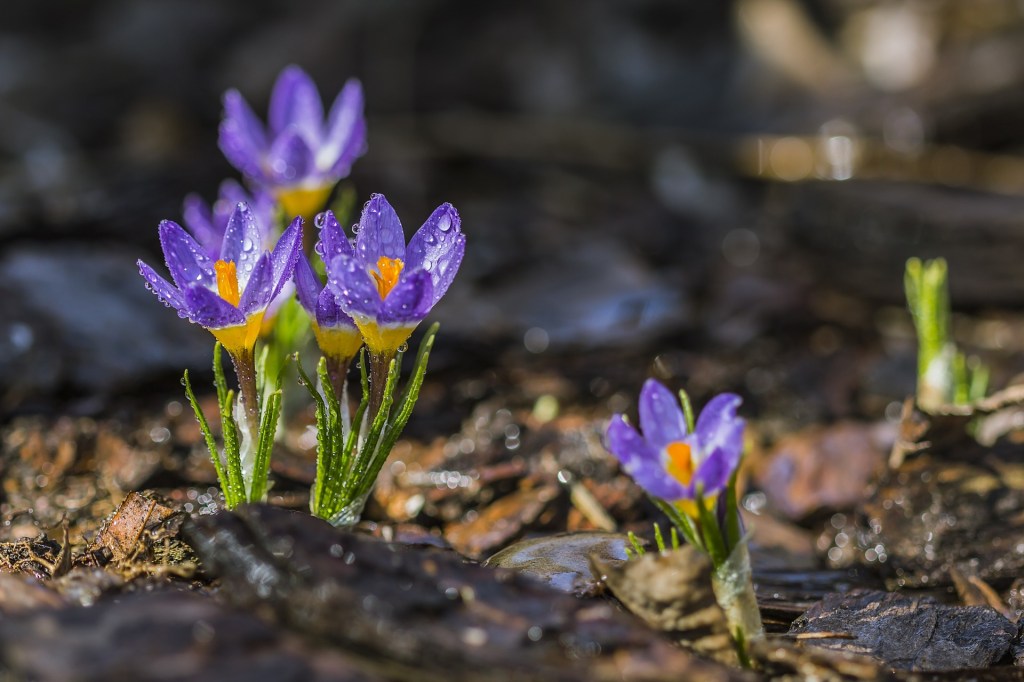
Just visiting gardens helps to calm the mind, bringing a sense of contentment and tranquility from looking at beautiful landscapes, flowers, or just colour and texture.
Building Relationships
While gardening can be a solo activity (some of my favourite moments are just by myself in my green oasis), it’s also a fabulous way to connect with people, whether they be family or strangers!
Teaching people how to nurture a living thing and to be responsible for a little bit of the environment is a lesson and gift we can share with others. Gardening knowledge is shared through generations — I love hearing about plants handed down from grandparents, or children working with their parents to grow seeds for the first time. It’s a great way to pass on critical life lessons — about patience as plants and vegetables grow, responsibility as they look after their care, and loss when flowers die at the end of a season.
Beyond family, gardening helps us connect with the broader community. Whether you plant too many tomatoes or zucchinis and end up giving them away to neighbours, or participate in a community garden plot, gardening can be a very social activity and a chance to learn from, and share your bounty, with others.
Learning Life Values
Gardening teaches you important life values like patience, determination, caring, and hard work. It also makes you very humble as you realize that there is always something new to learn. You need to observe the seasons and the weather, and this puts you in contact with the natural world. I love that I can get dirty and do this very physical activity, working with seeds and plants and seeing growth in all I do.
Growing Your Own Food
Gardening provides benefits for your wallet, your nutrition, and reduces your environmental footprint. By growing your own food (either from seeds or small plants), your food is automatically more sustainable simply because you are doing it onsite or in a community garden. If you control the ‘inputs’ and do it well, you can save a lot of money.
But ultimately there is nothing more rewarding than planting and maintaining your own vegetable garden and harvesting (and sharing) your results. And we all know how much better homegrown produce tastes versus conventional produce at the grocery store. If you have too much produce, then you can just share the love with others!
Connecting With Nature
I think this is one of the best reasons why people have a garden — the sunshine on your face, hands in the dirt, and feeling connected to nature. The garden is so much more than just plants and flowers — it’s the birds, the bugs, the bees, the spiders, the snakes and all the small mammals. I feel like I am establishing a little ecosystem in my own garden and that I am trying to give back for all the benefits that I receive.
Working in the garden also gives you that sense of wonder, accomplishment, and reward. To grow plants is to give life. It keeps you busy but reminds you to be one with the earth. To see the results of something growing from seed to six feet tall is just incredible.
Exploring Creativity
I find gardening to be an incredibly creative activity. Finding the right plant for the right spot, mixing colours, and making sure there is interest for every season — these are real challenges. I’ve spent much of the past few years learning about new plants to consider in my garden, especially natives.
Helping The Environment
Finally, gardening is so important for our planet. Even though we create our gardens (so they are human made) they do represent natural environments, with trees and shrubs and plants that are all taking in carbon and releasing oxygen. The plant roots stabilize the soil and filter water, and the plants themselves support our pollinators.
We live in a symbiotic relationship with our gardens. We give back by planting and maintaining them, but we receive so much more from them than we give.
Why do you garden?