by Emma Murphy, Master Gardener
The burst of bright yellow in our late summer gardens and surrounding countryside heralds the blooming of our iconic native goldenrods. Although there are more than 25 goldenrods native to Ontario, most people are familiar with Canada Goldenrod (Solidago canadensis), which is likely the tall one you see as you are out driving.
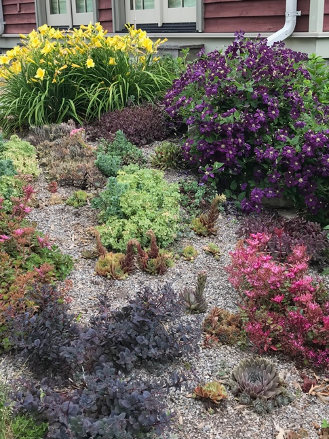
I have lots of Canada Goldenrod in the naturalized back of my garden, but I also call it my garden thug, because it’s very happy there and trying to take over the world (or at least my backyard). First it outcompeted my New England Asters, and then started crowding out my newer planted trees.
So I started exploring other, more well-behaved goldenrods to add to my garden that still bring all the benefits of this lovely plant, including acting as important nectar and pollen sources for many specialist pollinators and host plants for many moth and butterfly caterpillars. Goldenrods are important late season fuel for migrating butterflies (like monarchs) and our bumblebees.
Here are 3 goldenrods that you should be able to find at native plant nurseries (and maybe eventually in our regular nurseries) that I am experimenting with in my garden.
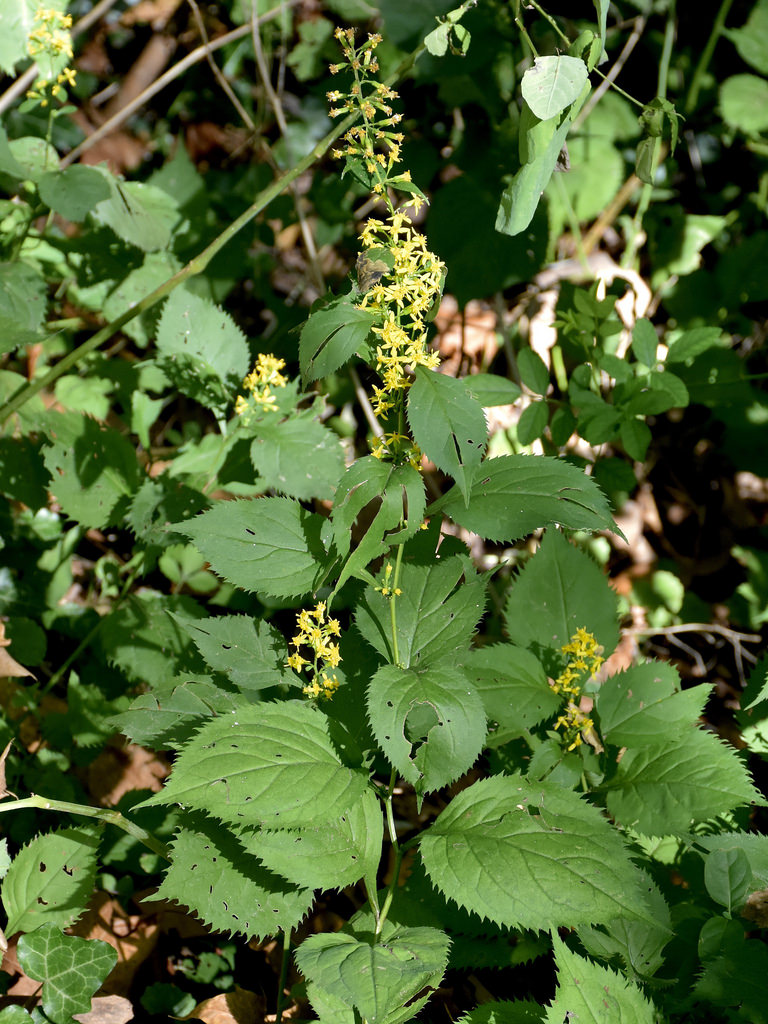
Zigzag Goldenrod (Solidago flexicaulis)
I first saw this goldenrod in a local provincial park and fell in love with it because it thrives in shade/part shade! It can take fairly dry conditions and will grow up to 3 feet high. I’m told if it’s happy it will spread nicely by rhizomes and seed. The name refers to the “zigzaggy” form of the stems. Added bonus? It’s fragrant.
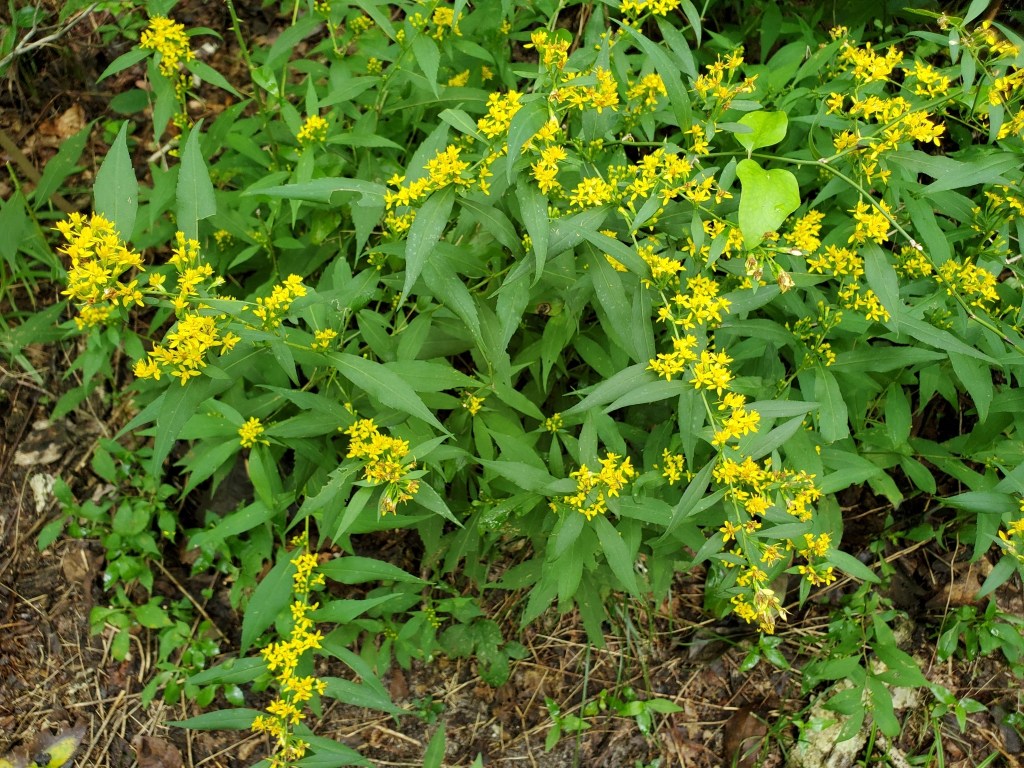
Bluestem Goldenrod (Solidago caesia)
Another winner in my book (before it’s even flowered) because it also brightens up shade gardens, although this one prefers moister soils. Bluestem Goldenrod has graceful, arching stems and bright yellow flowers and can reach 3 feet tall – the name comes from the purplish stems. It will colonize over time by self seeding. Also known as Wreath Goldenrod.
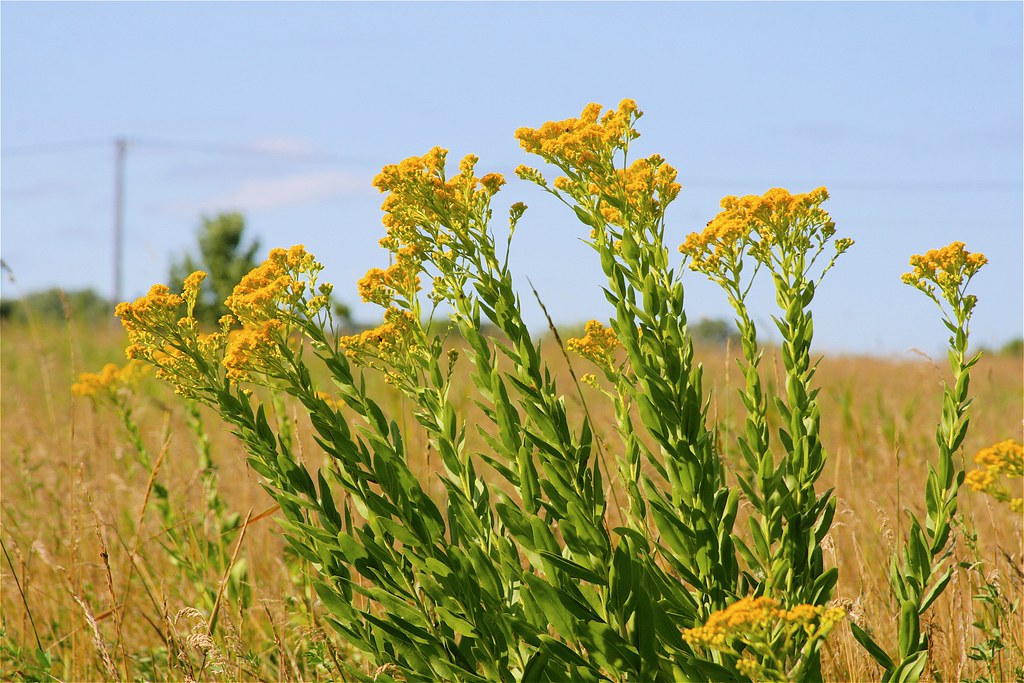
Stiff Goldenrod (Solidago rigida)
This one’s a sun lover and can reach 5 feet; I’m trying it in my front garden bed with my New England Asters (Symphyotrichum novae-angliae), cup plant (Silphium perfoliatum) and false sunflowers (Heliopsis helianthoides) because it needs similar height plants to avoid floppiness. Unlike the bluestem goldenrod, this one is upright and has large oval leaves and a cluster of yellow flowers at the top of the stems.
The City of Toronto’s LiveGreen initiative has some excellent additional information on various other goldenrods here. There is one to meet whatever garden conditions (sun/shade; dry/wet etc) you might have. You can also grow some in containers!
For those interested in more information on identifying and learning about goldenrods here are a few resources:
Ontario Wildflowers – Goldenrods Group
Ontario Wildflowers – Learn the Goldenrods
Native Goldenrods for Ontario Gardens
So what new goldenrods will you try in YOUR garden?
Do Goldenrods Cause Hay Fever?
And finally (because we’re always asked this question as soon as fall hay fever starts) no, goldenrods do not cause hay fever. Their pollen is far too heavy to be blown around in the wind – the real culprit is Common Ragweed (Ambrosia artemisiifolia) which is easily blown around by the wind and while native, will never find a place in our garden (my husband gets hay fever). NOTE: yes I acknowledge that some people are allergic to goldenrod but they have to literally stand beside them to get the pollen on them). I love what Horticulture Magazine has to say
So why do we blame goldenrod instead of ragweed? Probably because goldenrod flowers are so showy. Ragweed’s green flowers are inconspicuous. It makes sense that people suffering from allergies suspect the plant that they can see is in full, abundant bloom.
Horticulture Magazine