by Emma Murphy, Master Gardener
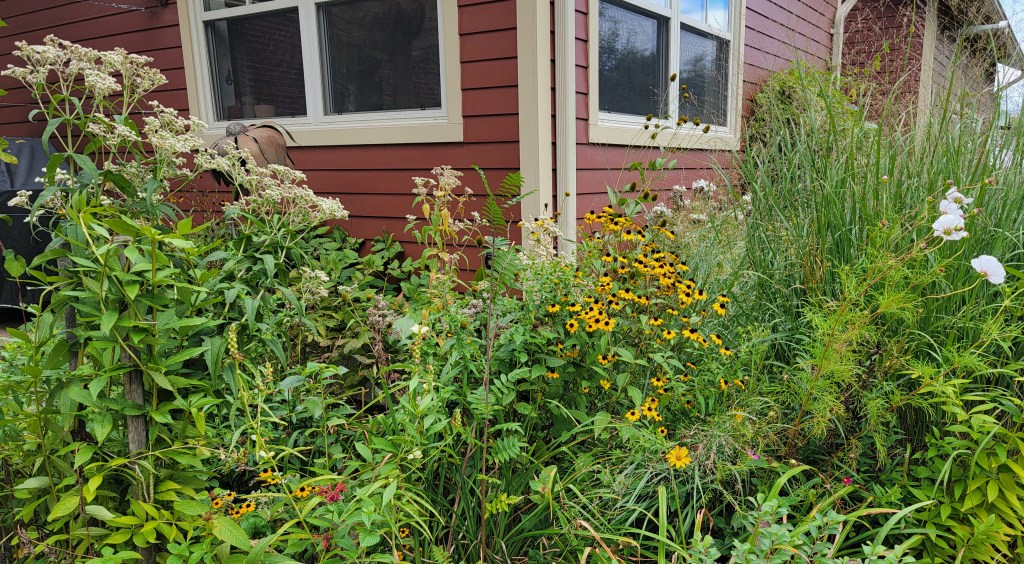
I confess to LOVING this time of year. The heat and humidity of the summer is gone, and our gardens are still looking lovely. Although my established gardens are beginning the slow process of fading and getting settled in for their winter sleep, fall is a wonderful time to plant for so many reasons.

You Have Time
Unlike your annuals or tender perennials, most perennials (and native plants in particular) can be planted in September and well into October (depending on where you live in Ontario).
Smaller trees and shrubs in particular are fine to plant once they have gone dormant and leaves have dropped, as long as they are well watered until freeze up.
I love the fall as it seems less frenzied than the spring gardening season, with time to reflect on the summer that has passed. Unlike spring and summer, temperatures moderate during fall, not only for the plants but also for us! It’s terrific working weather – you start with your sweatshirt on in the morning, but by the afternoon the temperatures have warmed up considerably and you might be in a t-shirt. During July and August I can only work in my gardens in the early morning or late evening due to the heat. Your plants don’t like to be planted in the heat of summer either. So fall is my happy time.
Assessing and Dividing
Fall is the perfect time to look around your garden – do you have holes, bad-looking spots, poorly performing plants? Are there places that need something new or something moved?
Fall is a great time to divide overgrown perennials, especially those that bloom in the spring. I just dug up all of my fragrant hostas the other day and moved them to a new location so that I can expand my shade native plant garden. Next up – planting a hedgerow.

Warmer Soil Temperatures
During fall, soil temperatures remain warm from the summer sun, so conditions are ideal for root growth.
Cooler Air Temperatures
Gone is the humidity and heat of the summer and the unpredictability of spring weather (and worries about frost). Daytime high temperatures are nice and there is less water evaporation from leaves.
More Rain, Less Work
With fall also comes more frequent rainfall and less need to water new plantings. There aren’t crazy swings in moisture levels – fall rains are warm and welcome and moisture levels are perfectly balanced, encouraging root growth.
When you plant in spring and early summer, the weather can be very variable, especially with regard to temperatures and rainfall. The soil is still cool, and plants take a while to get established.

Some Challenges
It can be challenging to plant new perennials in the fall – stock and selections at nurseries may be less (however the prices may be better!) and some plants have been sitting in plastic pots for months and look less than perfect. Be sure to purchase new plants at a nursery that takes good care of their plants over the gardening season (that generally does not include big box stores – shop local where you can) and pull the plant out and check for a healthy root mass in the pot.
Ideally, give your plants at least 6 weeks of optimal growing weather of fall before the colder winds start blowing in.
One Last Note
It’s a really good idea to add mulch to your fall gardening – it helps insulate the ground and maintains warm soil temperatures even during early winters. So, you are providing a nice warm area for young plants to establish their root systems before the frost.
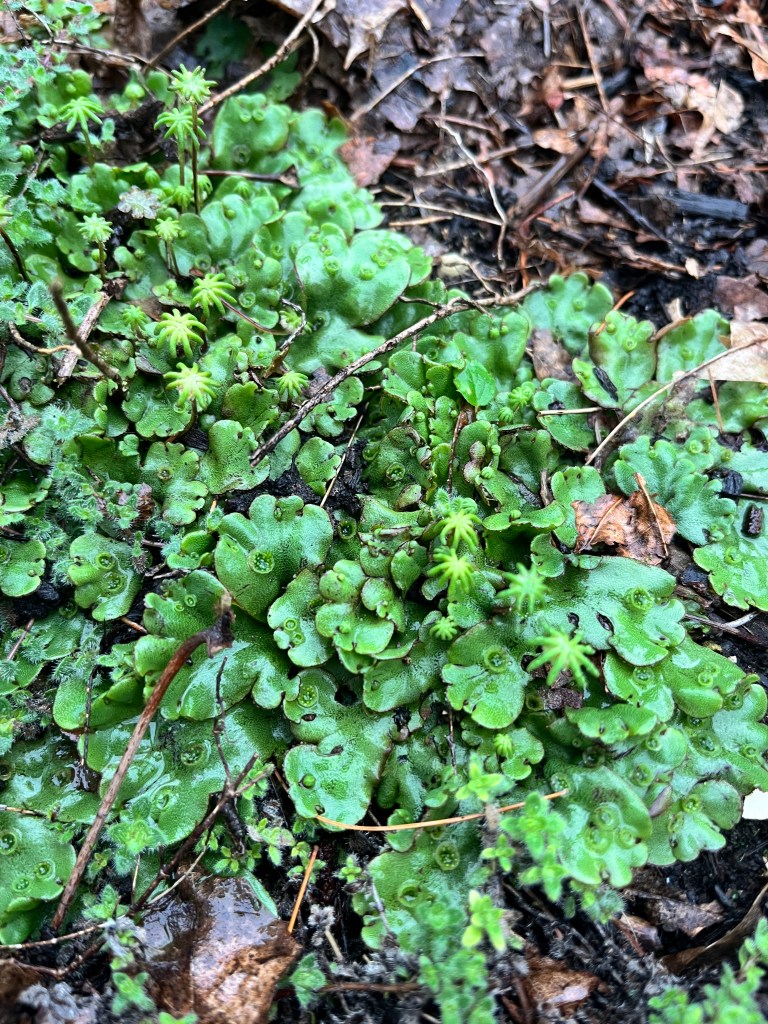
A Special Note on Native Plants
They might look a little sad in the nursery, with not much top growth and it may be browning. However, under that soil are roots, lots of roots, and that is what you are buying when you purchase a native plant.

just ready for a new home.
So when you see a small three inch plant with roots coming out the bottom, recognize that it’s the perfect size to plant, and don’t worry about its ability to survive the winter.
Sleep, Creep, Leap
You may have heard the phrase “sleep, creep, leap” with respect to many plants, and especially native plants. Unlike most perennials, native plants just want to get their roots established during the first year (which is why they appear to ‘sleep’).
So if you plant in the fall, the roots are growing furiously, pushing south to grab moisture and nutrients to sustain them through the heat of summer next year. In the second year native plants creep, with more top growth and maybe even flowering. Watch out in the third year! They leap to their full size and blooming capacity.
So, if you can plant in the fall, the sooner your native plants can put down their roots in their new home, and be ready to grow in the spring season.
Bottom line? Fall weather is optimal for growth.
The perfect combo of warm soil temperatures near the root and cooler air temperatures on the top offer the ideal growing conditions for any new plantings or dividing existing perennials.
So get out in your gardens! (It’s also time to think about planting your spring flowering bulbs. Check out Master Gardener Cheryl Harrison’s excellent blog on how to do this.