By Christine Freeburn, Master Gardener
As we celebrate Thanksgiving this year, we should think about what we are thankful for in our gardens. I recently asked my Master Gardener friends to share what they are thankful for.
Rainfall – Everyone was happy with the amount of rain we received this year. According to the Canada Weather Stats website (peterborough.weatherstats.ca), our rainfall for the period from July 2023 to June 2024 was over 100mm more than the same months in the previous year. And we seemed to have it at the right times. Although rain is great, it is important to remember that watering still needs to be done, especially containers of annuals and vegetables and hanging pots. When plants get big and fill the pots, the rain may not get down into the soil which is where you want the moisture to go.
Good educational information – As Master Gardeners, we use scientifically-based resources for answering gardening-related questions. Use the extension “.edu” or “.sci” in the search box when you are googling. There is so much information out there, but we need to be sure it is the correct information. Master Gardeners are always asking questions, learning and sharing their knowledge.
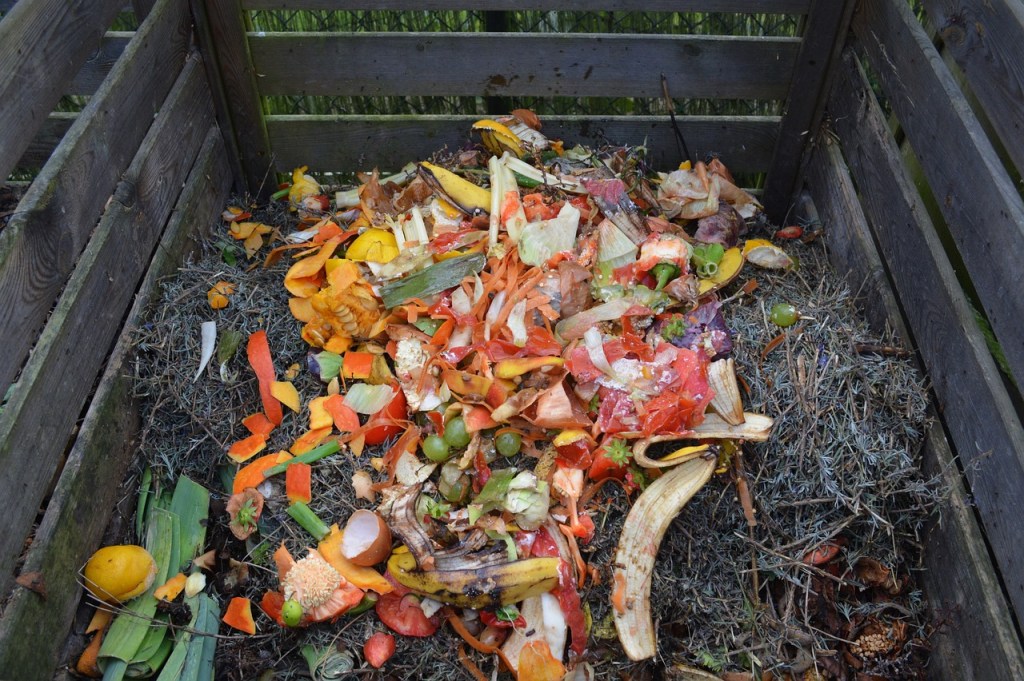
Healthy Gardens – Feeding the soil is a big part of having a healthy garden. Putting good quality topsoil in a new garden area, and adding organic compost annually will help your soil. Mulching holds the moisture and suppresses weeds. Leaves are great for mulching on your perennial beds. Free local wood chips supplied by Ontario Hydro were a great mulch for one gardener.

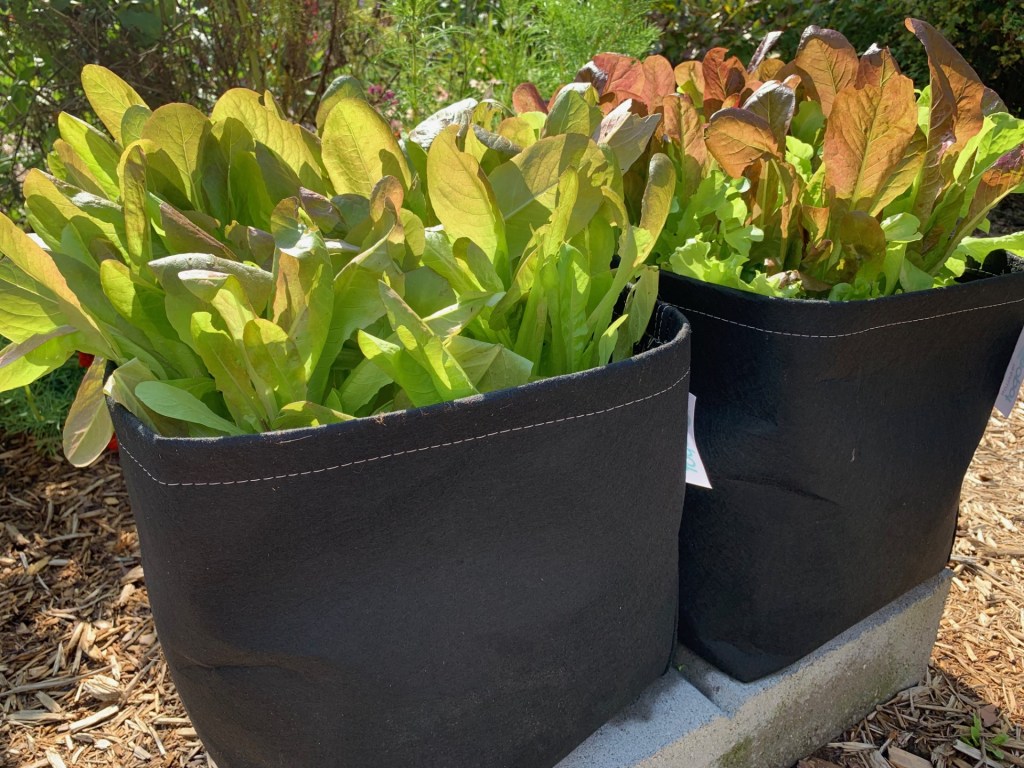
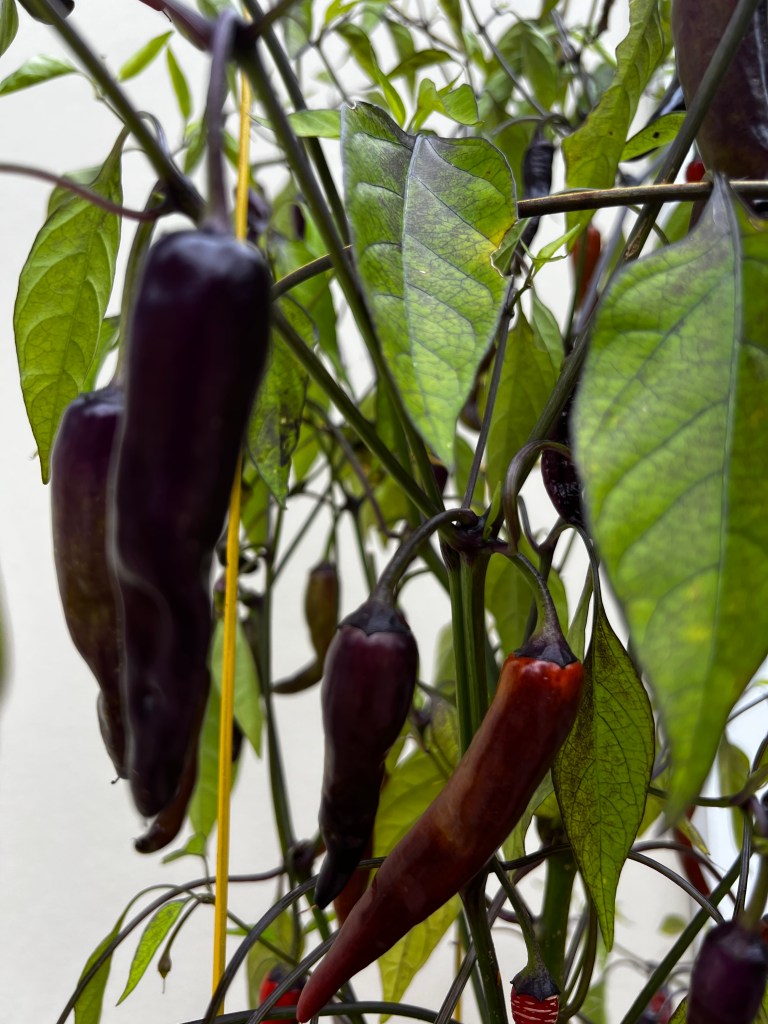
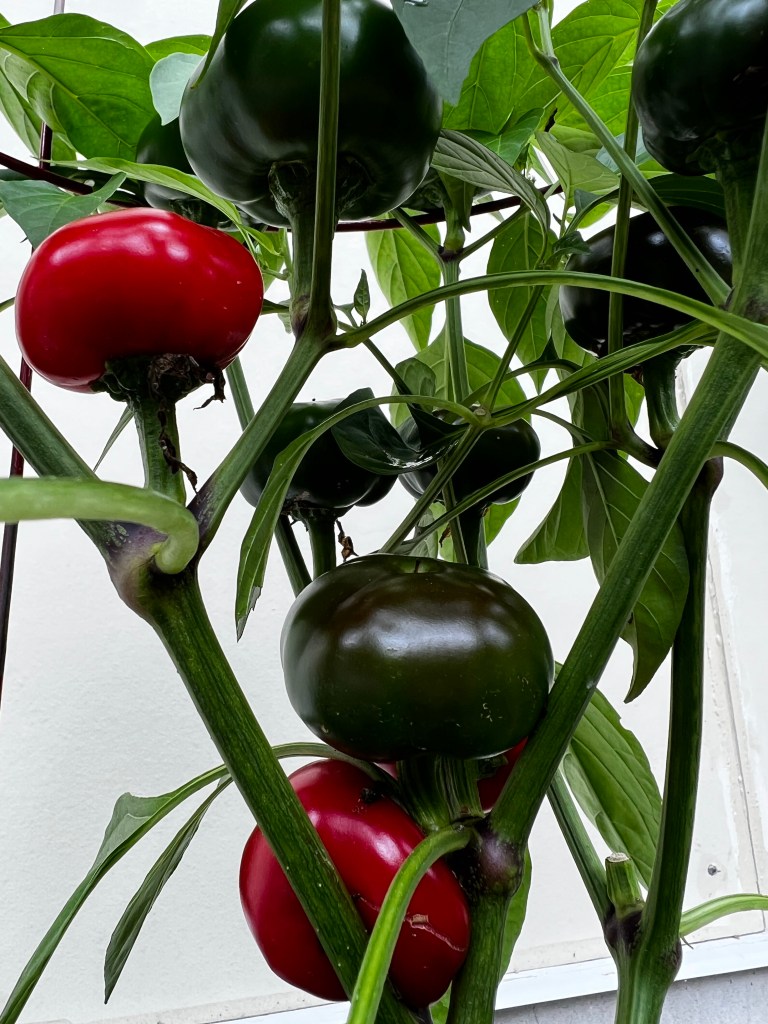
Good Harvests – Vegetable gardens were bountiful this year. Thanks to an exceptional harvest of peppers, tomatoes and beets, there are stuffed peppers in the freezer, tomato sauce and salsa and pickled beets in the cupboard. Carrots and brussel sprouts grew well and herbs like parsley and rosemary were huge and healthy. One gardener reported two butternut squash plants produced 20 squash!
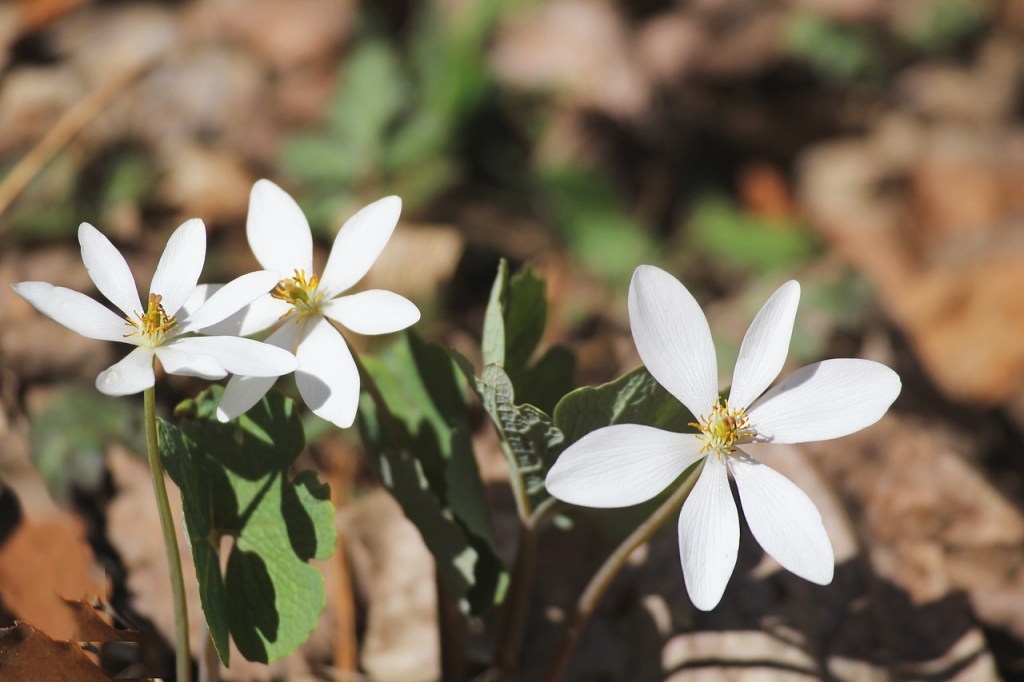
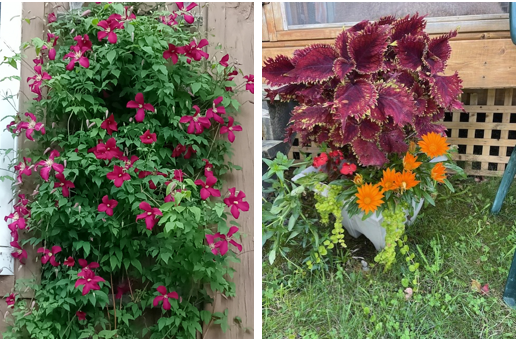
Beautiful Flowers – With all the rain and heat, hostas were huge, sunflowers towering, clematis bloomed long and luscious. Everything seemed to be big and beautiful and most bloomed earlier and longer than normal. Container annuals like coleus grew huge and healthy.
Nature in the Garden – Master Gardeners actively promote native plants in the garden to encourage more pollinators. Integrating natives amongst your cultivars works well if you don’t want that ‘wild’ appearance many natives provide. Several gardeners reported visits from birds like Chickadees, American Robins and House Wrens that made their nests and raised their babies in their gardens. Cedar Waxwings, White-Throated Sparrows, Song Sparrows, Dark-Eyed Juncos, American Goldfinches, Northern Cardinals, Hairy Woodpecker, and a Common Yellowthroat came to visit and forage. Birds are great for the garden as they will eat many pests. And they give us enjoyment.
I am trying to be thankful for the skunk who has been visiting my yard and digging grubs. My yard looks like a minefield, but it is healthier!
What are you thankful for in your garden?
Happy Thanksgiving!
And thank you to MJ, Gladys, Carol, Laura, Chris, Jenn, Silvia, Cheryl, Deb, Grant, & Mary Kathleen.