Marilyn Homewood, Master Gardener
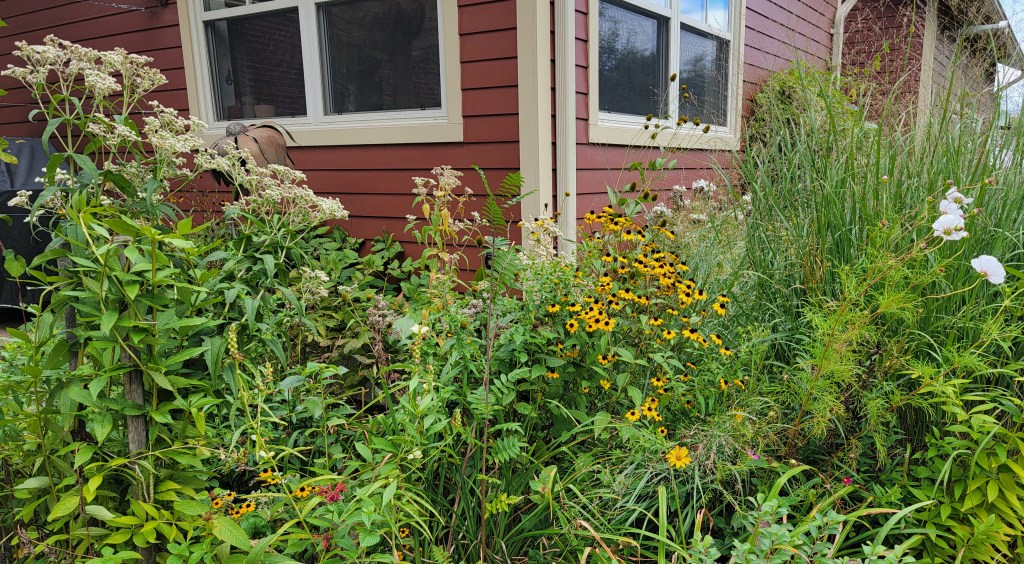
Having fresh cut flowers in your home is something that many gardeners enjoy. They do not however, want the extra work of a dedicated cut flower garden. There is a growing trend towards incorporating cut flower varieties (annuals for the most part) as a block of colour in one’s ornamental garden. Even small numbers of plants can provide an abundance of blooms to enjoy. Most of us have “holes” in our gardens. These blank spots develop for any number of reasons; perhaps some of our other plantings have not reached their mature size; the space is present early in the season and will later be filled in by slower growing species; plants that did not overwinter. Whatever the reason, cut flower varieties can fill the gap providing blooms, texture and colour. The list of potential varieties is endless (consult a good seed resource to see). This blog will attempt to cover a few of the most favorite.
Orlya (Orlya grandiflora)
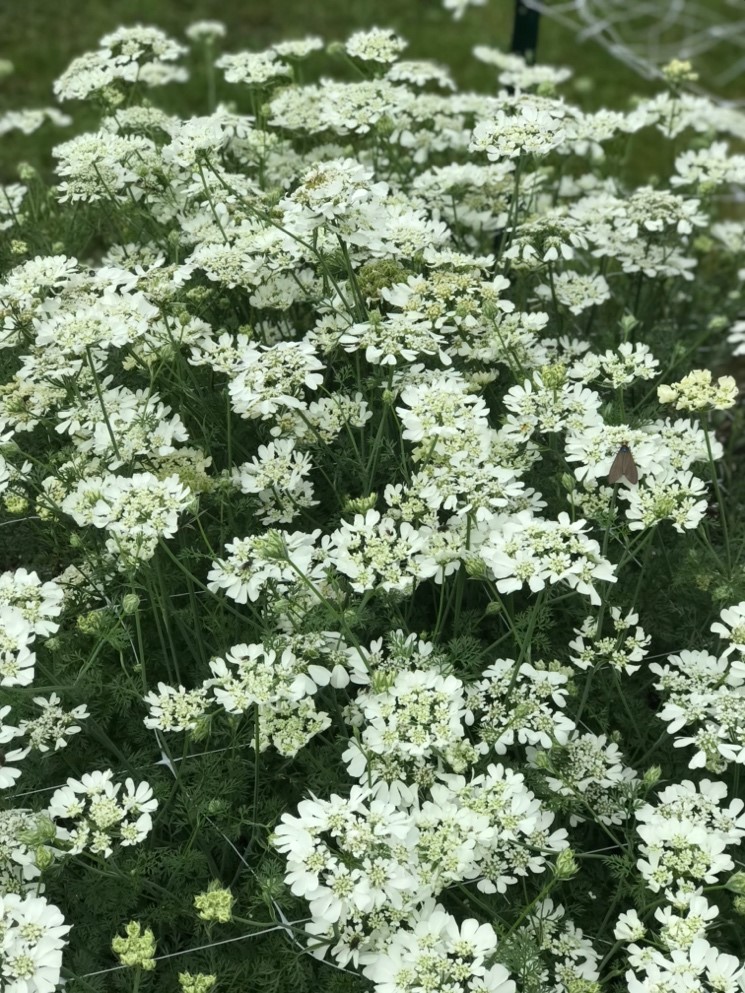
One of the prettiest, most delicate fillers for late spring and early summer, these dainty bloomers are smothered in a mass of lacy white umbrels. As the flowers fade, the plant forms interesting star shaped seed heads. This plant is a workhorse, the more it is cut, the more it blooms.
I use this plant as an early spring space filler. It is attractive both in the garden as well as the vase. If you permit some go to seed, it self sows and volunteer plants will appear early the following spring that can be grown in place or moved to where you need them.
Amaranthus (A. cruentus and A. caudatus)
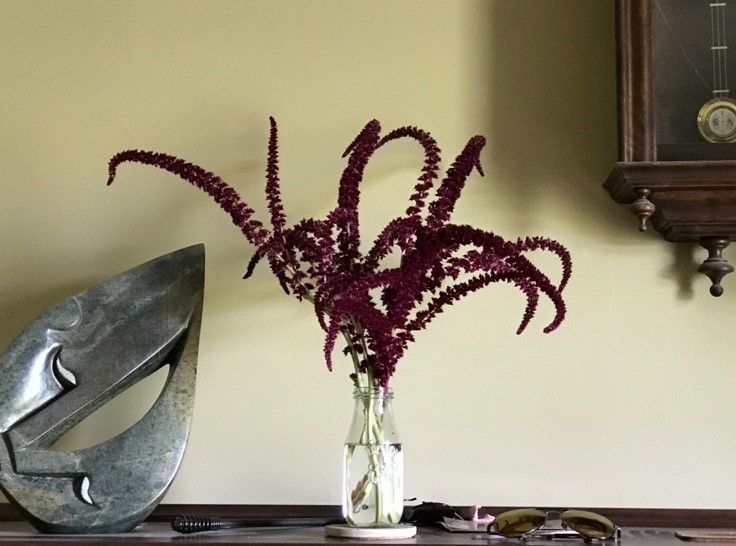
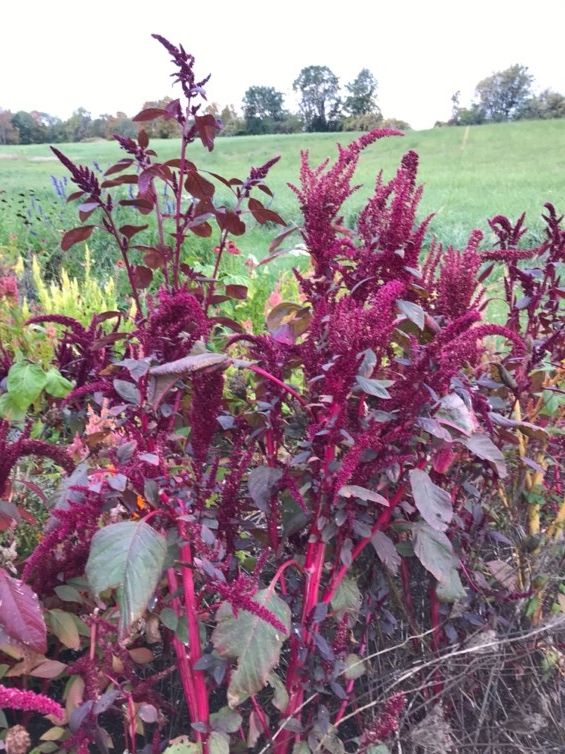
Tall and dramatic, coming in many colours and spike types, this plant is remarkably easy to grow. Not surprising as it is a member of the pigweed family!!! There are varieties that grow long colourful tassels (trailing) and varieties that have more upright forms (spike). The tassels/spikes have a velvety texture. Colours can be light brown, green, burgundy and there are even a few mixes. These are warm season annuals that can be started inside 5 weeks before planting out around the same time your dahlias go into the ground.
Cosmos (Cosmos bipinnatus)
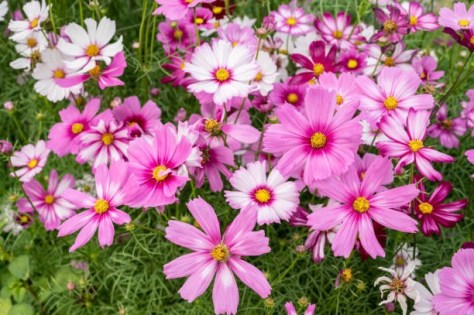
Cosmos is one of the most rewarding and easiest cut and come flowers to grow. It has daisy-like blossoms in single or double forms. It is a relatively large plant (36-48″ high) and can be direct sown or started indoors 4 weeks before planting out. This is another warm seasonal annual so take care to plant out well after all threat of frost is past. Cosmos should be pinched (removal of growing tip above third set of true leaves) in order to create a bushier, more floriferous plant.
Pincushion Flower (Scabiosa atropurpurea)
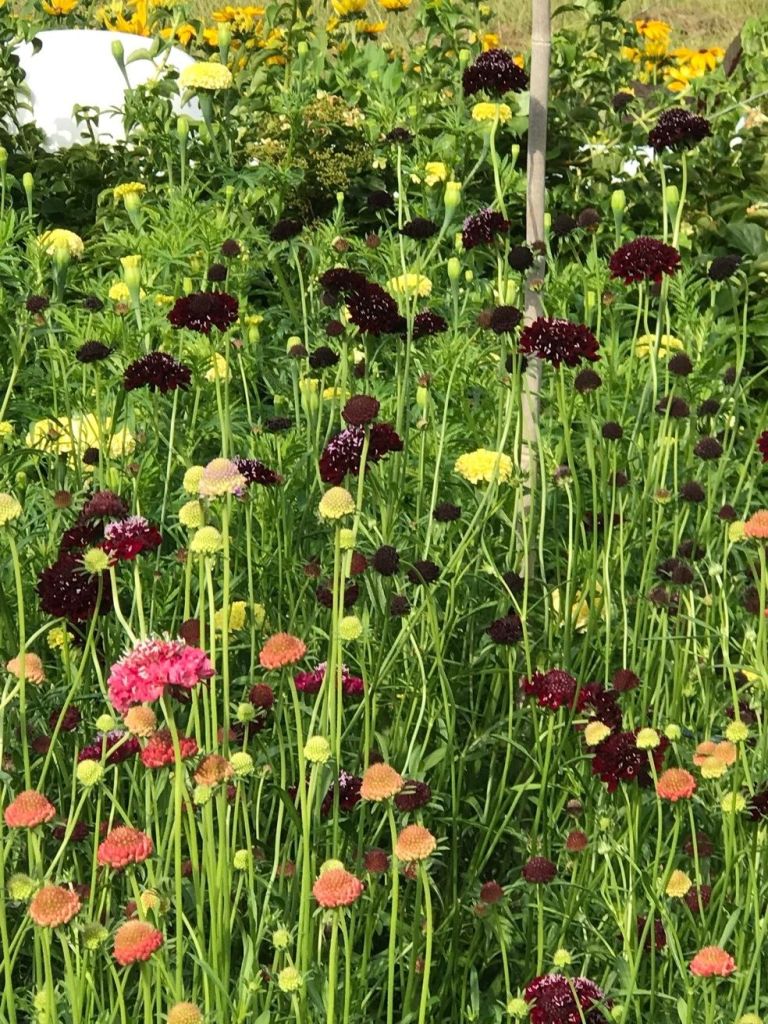
A delightful flower with a horrible name. This is another annual that is equally attractive left in the garden or cut for the vase. A cut and come again plant with an abundance of bloom and a lengthy bloom season. The plant is about 2 ft-3 ft. in height. These flowers last for a very long time in the vase when harvested at the correct stage. Many colours are available. These are cool season annuals that can be started indoors 6 weeks before planting out.
Zinnia (Zinnia elegans)
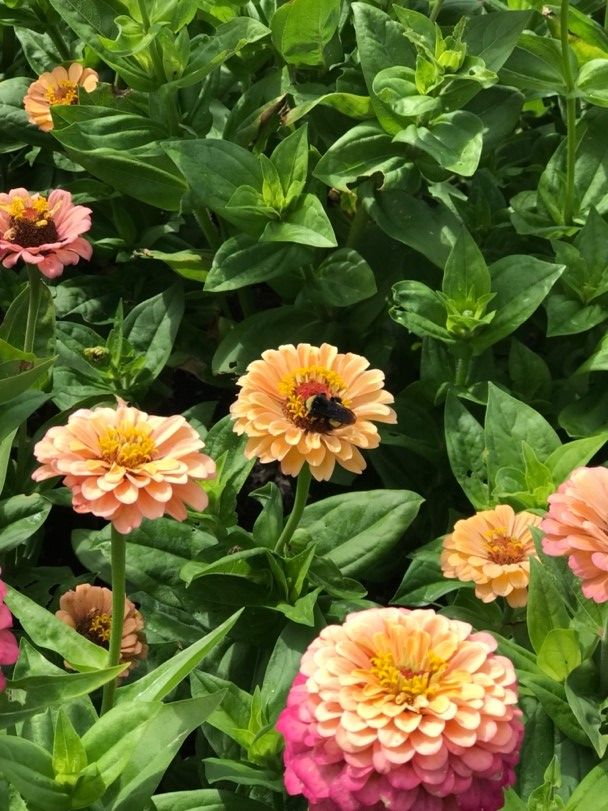
Everyone’s summertime favorite! Zinnias are a warm seasonal annual that come in many colours and forms. A trend today is towards pastel, ombre effects or green varieties. The big and bright ones are still very popular. The flower itself can be single or double and the plant is quite heat tolerant (a plus in our changing climate). Zinnias are another cut and come again flower with a long vase life. Or if you prefer, an oasis of colour in your late summer garden to which the bees and butterflies come for nectar. Zinnia can be direct sown into the garden or started indoors 4 weeks before planting out.
Spend a little time perusing the seed company sites and try it out.