by Emma Murphy, Master Gardener
Full confession – I have never kept a garden journal. I have been given one from time to time as a gift, but I’ve never got round to using them.
This winter I’m thinking about finally using one (because my memory isn’t getting any better with age!) and because I’d like to record my gardening experiments in our main perennial beds year over year, as well as my experiences with native plants in my small native plant nursery in Lakefield, Ontario.
Keeping a garden journal is a valuable practice for both novice and experienced gardeners. It helps you document your gardening journey, learn from your experiences, and plan for the future.
So Why Keep a Garden Journal?
To Track Progress – A journal can help document plant growth, flowering times, and harvest yields to see how your garden evolves over time.
Record Weather Conditions – Noting temperature, rainfall, and seasonal changes that affect your plants will help you understand their influence on growth.
For Inspiration – A journal is a great place to document ideas, designs, and observations that inspire your gardening, serving as a creative outlet.
For Improved Planning – Use your past experiences to inform future planting decisions, such as choosing the right plants for specific locations.
Pest and Disease Management – It’s great to keep a record of any pest issues or diseases, along with effective treatments, to reference in the future.
For Budgeting Purposes – Keeping track of expenses related to your gardening supplies and plants allows you to manage your gardening budget effectively.
Some Thoughts on Creating a Garden Journal
I found some great ideas on how to have a successful garden journal.
Choose the Right Format – Decide between a physical notebook, a binder, or a digital platform that suits your preferences. You might want to keep several different journals – one for your vegetable garden, one for seeds etc. It’s up to you.
Include Essential Information – Record planting dates, plant names, care instructions, and observations on growth and health. This allows you to compare information year to year.
Photos – Incorporate photos of your garden at various stages, including bloom times and harvests.
Be Descriptive – Use descriptive language to capture your feelings and thoughts about your garden’s progress and challenges. Think about how your garden makes you feel during different times of the seasons.
Create Seasonal Sections – Consider organizing your journal by seasons or gardening phases (preparation, planting, maintenance, and harvesting) for easier reference.
Set Goals and Then Reflect – Write down your gardening goals for each season and include reflections on what worked well and what didn’t.
Add Design Elements – Include sketches or diagrams of your garden layout. Use colour, stickers, or drawings to make it visually engaging.
Maintain Regular Updates – Set a schedule to update your journal regularly, such as weekly or monthly, to maintain consistency. This is one thing I will have to do in order to successfully use a journal.
Experimentation Section – Dedicate a space to document any new gardening techniques, experiments, or plant varieties you try.
Review and Revise – Regularly review your entries to spot trends and adjust for future growing seasons.
Resources and Inspiration
Toronto & Golden Horseshoe Gardener’s Journal (now Canada Gardener’s Journal)
This journal has been reimagined for gardeners across Canada, providing tools, resources, and tips for successful gardening. Started by Margaret Bennet-Alder to aid Toronto area gardeners, in 2017 she transferred ownership to Helen and Sarah Battersby and now it’s run by Steven Biggs of Food Garden Life. (might make a great Christmas gift?)
Garden Therapy
This site has several articles about the importance of keeping a gardening journal and shares tips.
How to Start Keeping a Garden Journal (and Why You’ll Thank Me)
Keeping a Gardening Journal: Reflecting on Growth and Healing
Lee Valley 10 Year Gardening Journal
A very detailed 10 year perpetual diary, where each diary page is for one day of the year, and each page is divided into 10 sections. There is a diary, a section on gardening techniques, reference material, many charts, and places to record your inventory of perennials, a place to sketch etc.
DIY Garden Journal and Planner
Discusses the importance of a garden journal and provides printable pages and organizing tips.
Purdue University – County Extension
Consider a garden journal – discusses the benefits of keeping a garden journal and what to include.
Penn State University – County Extension
Offers insights into Keeping a Garden Journal.
The Garden Continuum
Why a Journal is a Gardener’s Best Friend – explains the benefits of and tips for choosing the right format. This last link I found interesting as it explained the benefits of a digital vs hard copy journal.
“A digital journal can offer several advantages. First, it’s easily searchable so you can quickly find information on specific plants, techniques or projects. Second, you can easily add photos and other digital media to your entries, which can help you document your garden’s progress visually. Third, a digital journal can be accessed anywhere and from multiple devices so you can update it from your computer, tablet or phone.
Writing by hand, however, can be a meditative and reflective experience, and it may help you to connect more deeply with your garden. Additionally, a handwritten journal can serve as a keepsake or heirloom that can be passed down through generations or to the future owners of your home.”
What I learned from my research on starting a garden journal (for this blog) is that you have to think about what YOU want to get out of your journal – inspiration, documentation, templates, a diary…whatever that is. So find a journal (or create your own journal) that meets your needs. If you find a great resource, please share it in the comments!
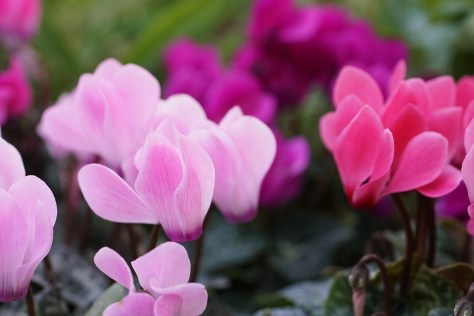
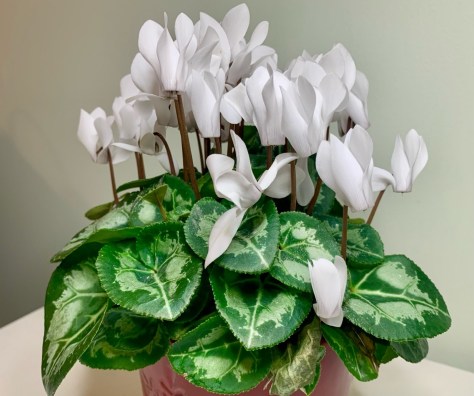
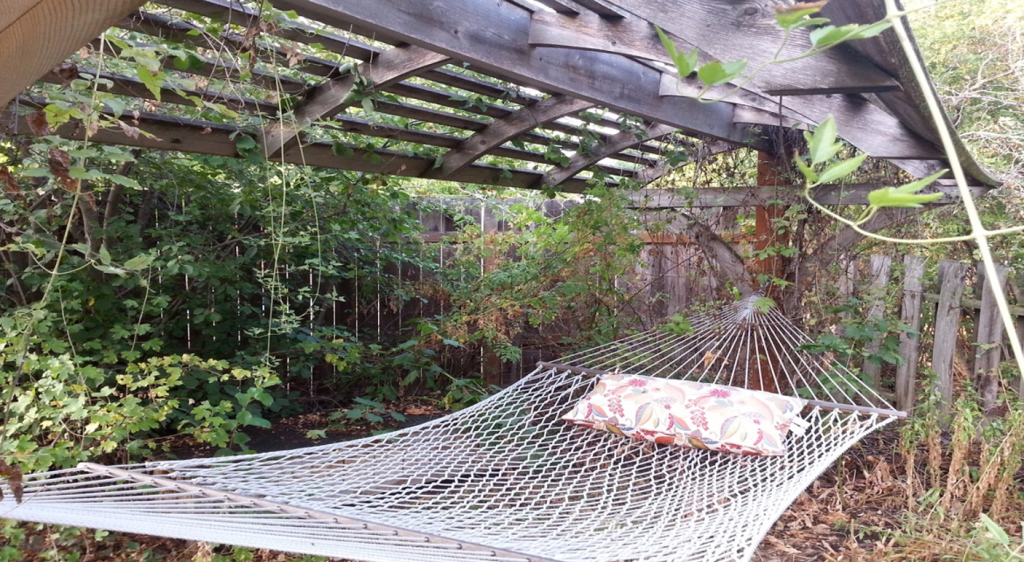
For now our garden in asleep for the winter, but it doesn’t mean we can’t start our journal and dream of springtime!