
By Rachel Foebel, Master Gardener in Training
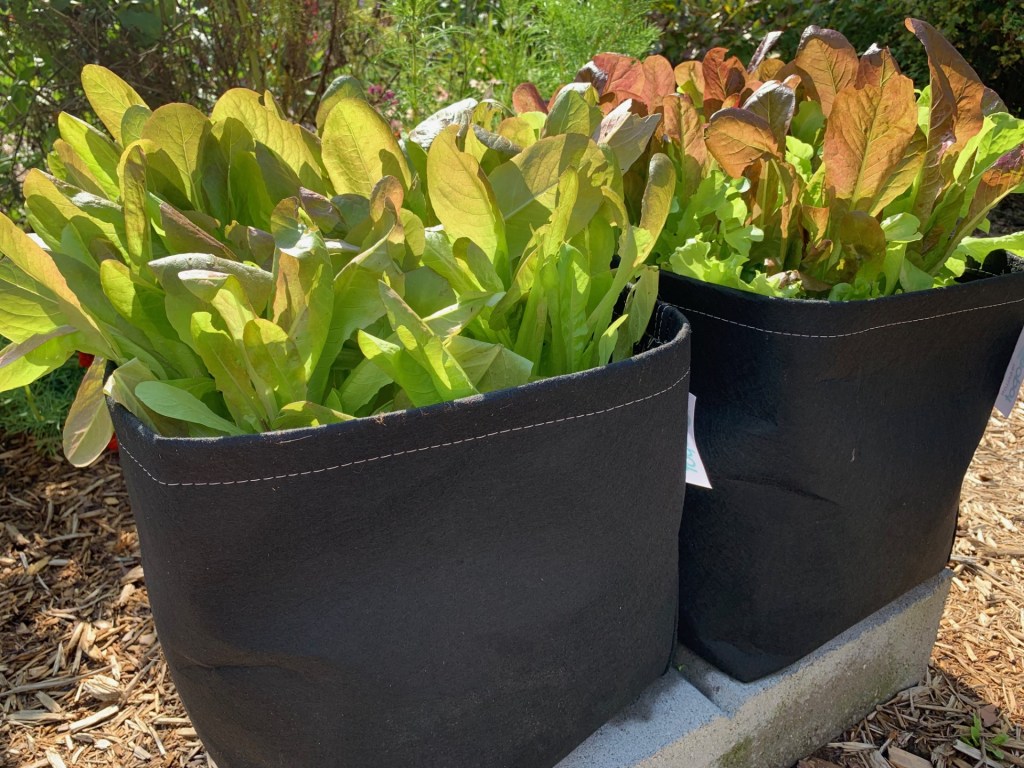
Last year I grew salad greens and herbs in my basement to supplement our supply of fresh food throughout the winter while I was missing my veggie garden. It was a rewarding (and tasty) experience but at the end of the season I felt I didn’t get enough food to be worth the time and effort required to grow those greens inside my house (on a budget, with limited space, and no sunny windows available).

This year I tried something different. I purchased some sprouting seeds and am trying to supplement my greens in smaller quantities but with a more consistent output and lots of bang for my buck in terms of nutrition. I am pleasantly surprised by how easy the process is and how little of my brain space (and time) it is requiring so far.
What are Sprouts & Microgreens?
Sprouts – A germinated seed, about 3-5 days old, with a long pale root and the beginnings of their first leaves (cotyledons) emerging. It is a baby plant that has not started photosynthesizing yet and is only utilizing the energy stored in the seed for its growth so far. You eat the entire thing, including the seed and root. It is mild in taste with a high water content but the nutrients from the seed have been unlocked.

Microgreens – A sprouted seed, about 7-14 days old, with cotyledons and its first true leaves emerging. The leaves have turned green, the plant is photosynthesizing and beginning to draw nutrients from its growing medium. When ready, you cut them at the bottom of the stem and eat the top. It has a high nutritional density and begins to develop its own unique flavour at this point. Allowing the plant to grow past this stage will turn it into a ‘baby green’ if space, moisture and nutrition allow.

How do you grow them?
Here are some supplies you can use to get started:
You can germinate a seed into sprouts in any container that can hold moisture and provide drainage to the seeds. A mason jar or ‘sprouter’ can be used.
Sprouting lids – a mason-jar compatible lid that allows for easy addition and drainage of water when inverted and minimal loss of seeds. You could also use fabric, cheesecloth or some type of mesh.

Sprouting trays – Perforated trays with a dish underneath and a lid to hold in moisture. These trays can be used with the seeds directly in them for sprouts or with a small layer of soil or growing medium for microgreens. You could also use a recycled berry container with a tray or plate underneath.


Left: Tray for microgreens or sprouts
Right: Growing microgreens in a berry container
Seeds – There is a wide variety available. Alfalfa, sunflowers, brassicas, peas and beans are some of the most common. Radish, beets, and herbs can also be used. You could also buy regular seed packets but sprouting seeds are sold with more in each bag, more suitable for sprouting quantities.

Most sprouting seed packets will include simple instructions. They usually direct you to cover the seeds with water and soak them (about 1-2 tbsp per litre mason jar) for 6-12 hours, then drain them and proceed to rinse and drain them twice per day until the sprouts are ready (3-5 days).


Left: Getting started with simple directions on the packet.
Right: Draining the water from the seeds after they have been soaked. The jar will stay inverted like this until the next time I need to rinse and drain the seeds.

Microgreens are grown more like baby plants grown in a tray with soil or other growing medium underneath. The seeds are usually soaked in water first, then spread on top of a thin layer of soil and sprayed with water. They are then covered to keep it dark and moist around the seeds until they germinate, uncovered and then ideally bottom watered as needed until they are ready (7-14 days). A grow light or sunny window is required once they germinate.


Here are some instructional resources:
https://extension.psu.edu/a-step-by-step-guide-for-growing-microgreens-at-home
https://sprouting.com/how-to-grow-sprouts/
https://www.westcoastseeds.com/blogs/wcs-academy/grow-microgreens?srsltid=AfmBOooMV2efSOJH4N603pvHsixfsGDMq6bZCa50ms-Y83RnsKnCGQfu
Why grow sprouts or microgreens?
NUTRITION – They are known to be an excellent source of many vitamins and minerals but are also beginning to be known for their ability to improve digestion and gut health (Wright, 2022). Not only that, but they are also high in phytochemicals and antioxidants, proving themselves to be able to prevent and/or improve conditions such as Type 2 diabetes, cancer, heart disease, anemia, Alzheimer’s, and macular degeneration (Cleveland Clinic, 2023).
FRESH, YEAR-ROUND – Since you don’t need a lot of space for this, it is easy to grow these year-round.
INEXPENSIVE – Jars – $1.50 ea. Sprouting Lids – $4 ea, Seeds – $4/ bag (price varies based on type of seed)
QUICK & REWARDING – The time to harvest is so quick, which makes the experience of eating them just so rewarding. They are also very versatile. You can use them on sandwiches, in salads, as a soup garnish, or however you like! I even put them on my eggs in the morning.

Here is a list of Canadian companies that sell sprouting seeds and supplies:
The Sprouting Company – Ontario – https://www.thesproutingcompany.com/
Mumm’s Sprouting Seed – Saskatchewan – https://sprouting.com/Rainbow Seeds – New Brunswick – https://www.rainbowseeds.ca/store/c1/Featured_Products.html
The Seed Company – Newfoundland – https://theseedcompany.ca/collections/all-seeds
Sprout Club – Alberta – https://www.sproutclub.ca/
West Coast Seeds – BC – https://www.westcoastseeds.com/
OM Foods – BC – https://www.omfoods.com/
ENJOY!
References:
Cleveland Clinic (July 2023). Why you should eat microgreens. Healthessentials. https://health.clevelandclinic.org/benefits-of-microgreens
Wright, KC. (June 2022). Tiny sprouts provide big nutrition. American Heart Association News. https://www.heart.org/en/news/2022/06/07/tiny-sprouts-provide-big-nutrition


