
by Christine Freeburn, Master Gardener
In this day and age, we spend so much time on our computers, googling all the information we want and need. But there is something about sitting by a sunny window on a cold winter’s day with a good book.
The winter months are a great time to pull out an old gardening book or invest in a new one. The days are now getting longer and spring is coming, but actual gardening is a few months away. Time to learn something new to help you improve your gardening skills. There are many good Canadian and zone appropriate books that can help you.
Below, I have listed a few of my favourite books on my bookshelf. I have also asked my fellow Master Gardeners to share their favourites. Some of the books are out of print, but check your local library, used book stores or online sites. Enjoy!
For the Houseplant Gardener
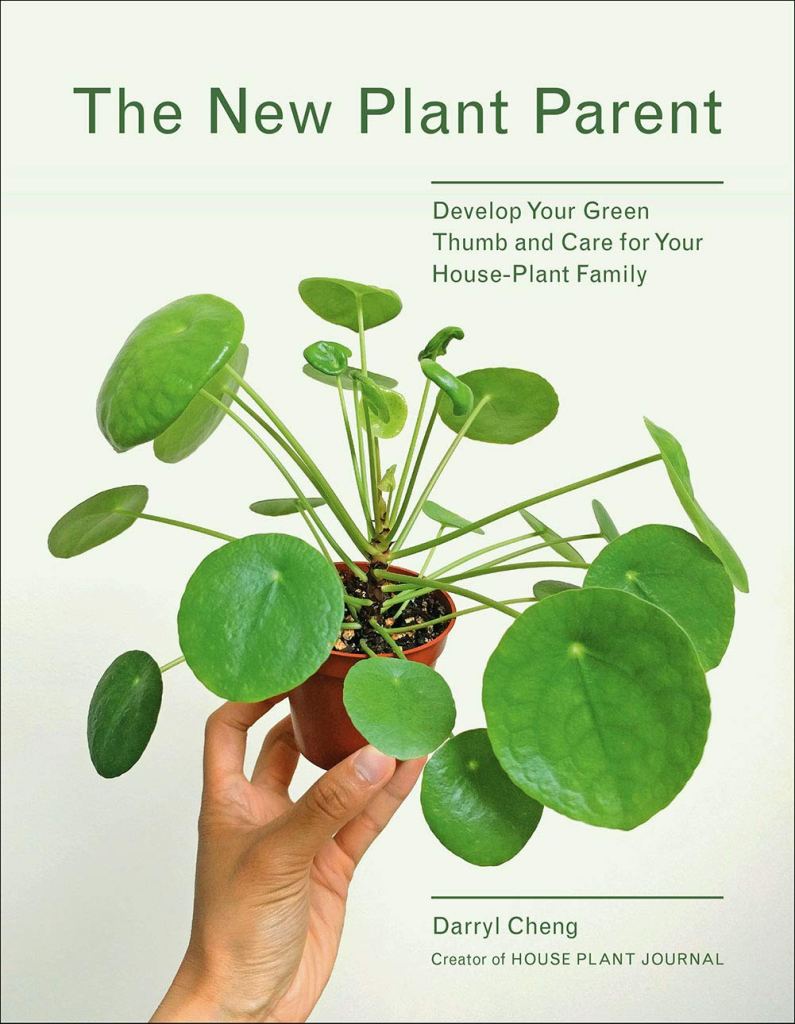
The New Plant Parent
Darryl Cheng gives advice that is full of common sense. He explains that leaves do die and plant care should be enjoyable, not a chore. He discusses basic requirements for healthy plants including the right light, soil care and proper watering. Great illustrations and nineteen plant varieties are listed in detail. Look for his newer books also.
For the Vegetable Gardener

Plant Partners
Companion planting has been around for years. Jessica Walliser gives us “science-based companion planting strategies” that help with disease and pests, improves soil and supports pollinators. Lovely illustrations throughout will have you dreaming of your next vegetable garden.
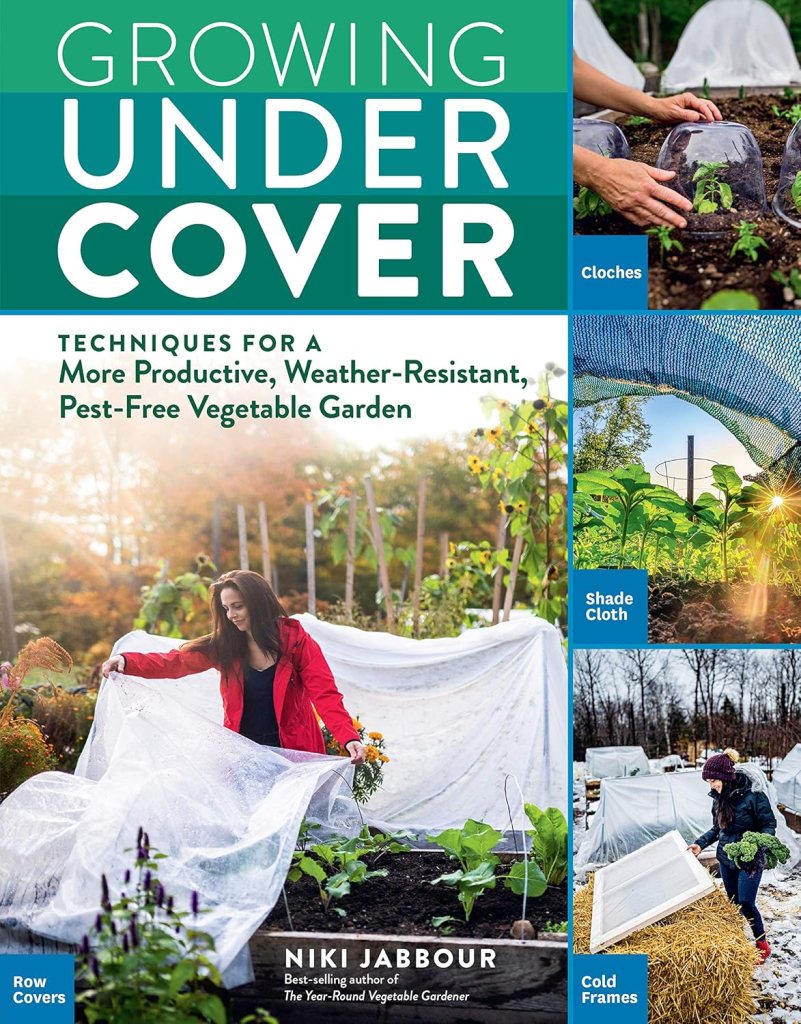
Growing Under Cover
Niki Jabbour is the Canadian half of the popular website Savvy Gardening (along with Jessica Walliser). She has several books out, but this one gives great information about how to reduce pests with row covers. Niki has several books out, so check them out.
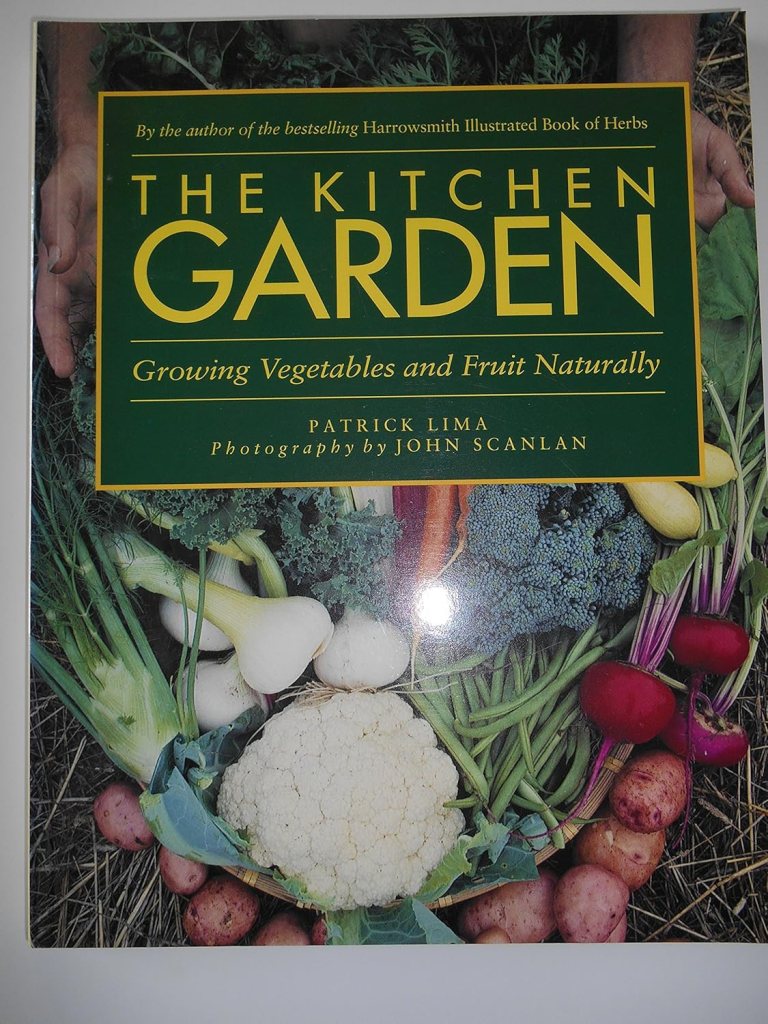
The Kitchen Garden
Peterborough MG Silvia Strobl first toured Patrick Lima and John Scanlan’s garden on the Bruce Peninsula over 40 years ago and was inspired by both their colourful perennial and productive vegetable gardens. Each spring, she still refers to this book’s excellent information to refresh her memory on time to sow, spacing, thinning, harvesting, etc. for the vegetable crops she grows! Unfortunately, this book is out of print, but you may find a used copy online.
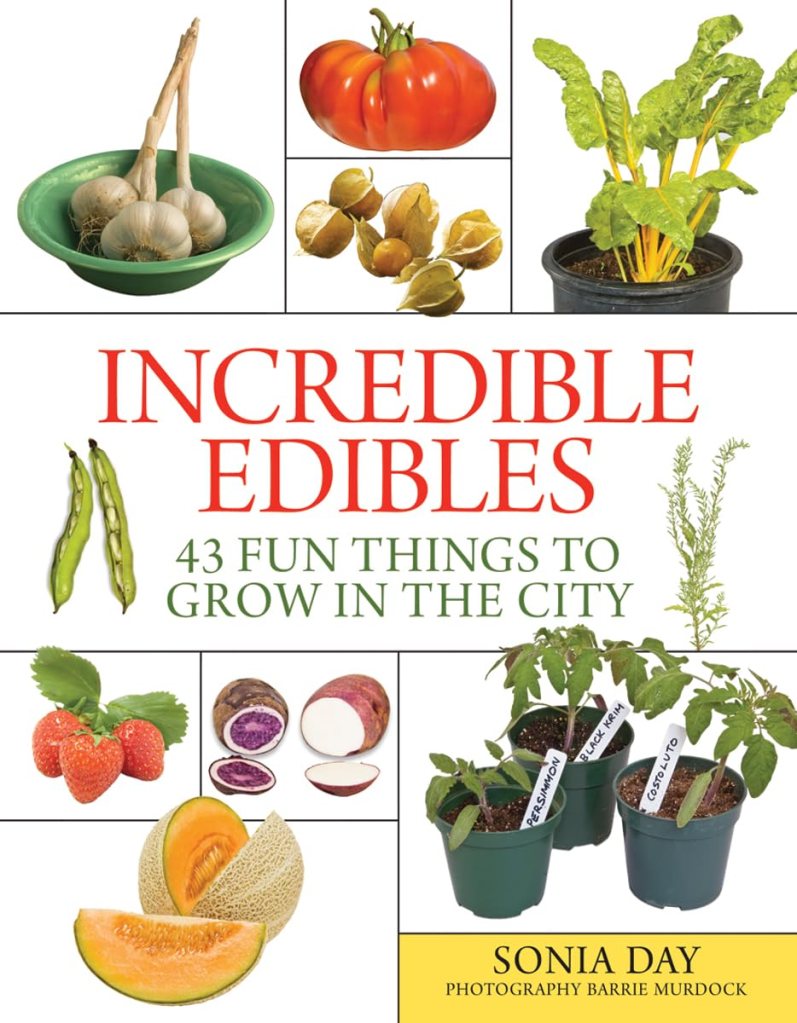
Incredible Edibles
This book by Sonia Day is recommended by Peterborough MG Deb Fraser. It is very basic for the beginner gardener. It answers when, where, how, as well as other questions for herbs and vegetables. She even gives a recipe for each plant. Another book that is out of print. Try used book sites.
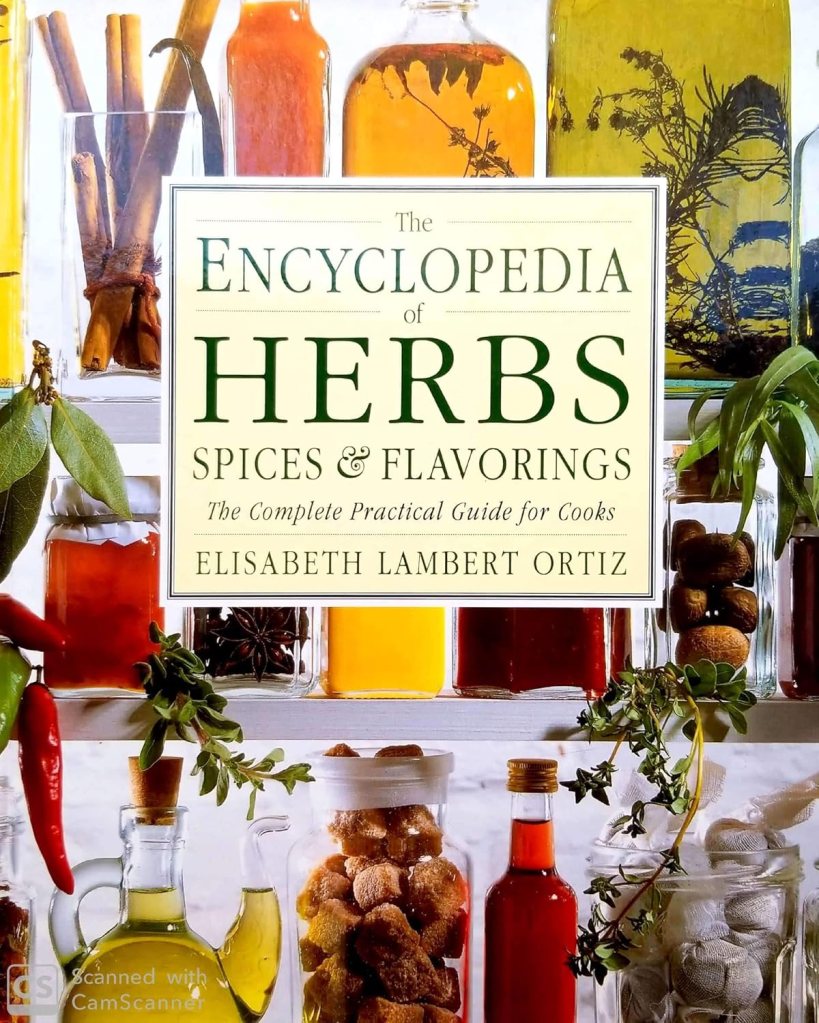
Encyclopedia of Herbs, Spices & Flavorings
Deb also suggests the Encyclopedia of Herbs, Spices & Flavorings, a cook’s compendium by Elisabeth Lambert Ortiz. Originally British but published in Canada by Readers Digest, 1992. It is beautifully illustrated and very detailed about the origin of herbs, spices, oils, sauces, coffees and teas around the world. She details the origin of these, how to cook with them and a recipe. When the weather is frightful with a nice warm drink in hand it makes for interesting reading, perhaps planning to add a few herbs to your garden next spring.
For the Perennial Gardener
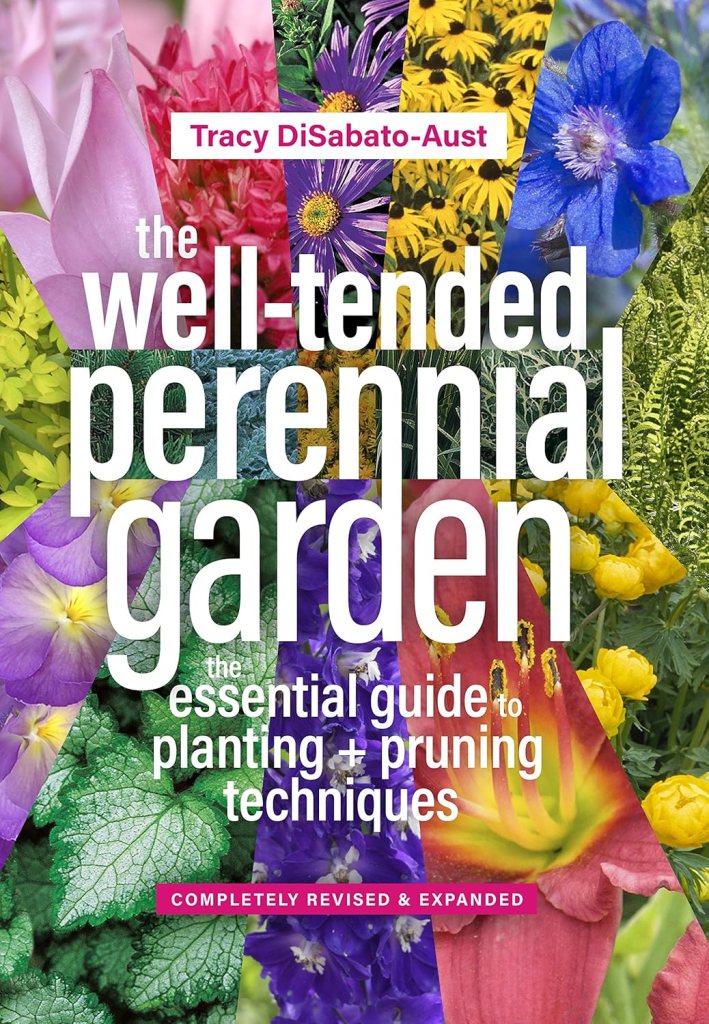
The Well-Tended Perennial Garden
Peterborough MG Gladys Fowler’s favourite book is the Well Tended Perennial Garden. Tracy DiSabato-Aust’s book has an extensive encyclopedia of perennial species and cultivars and she explains the maintenance and pruning needs of each plant. The explanations and illustrations are excellent.
For the Native Plant Enthusiast
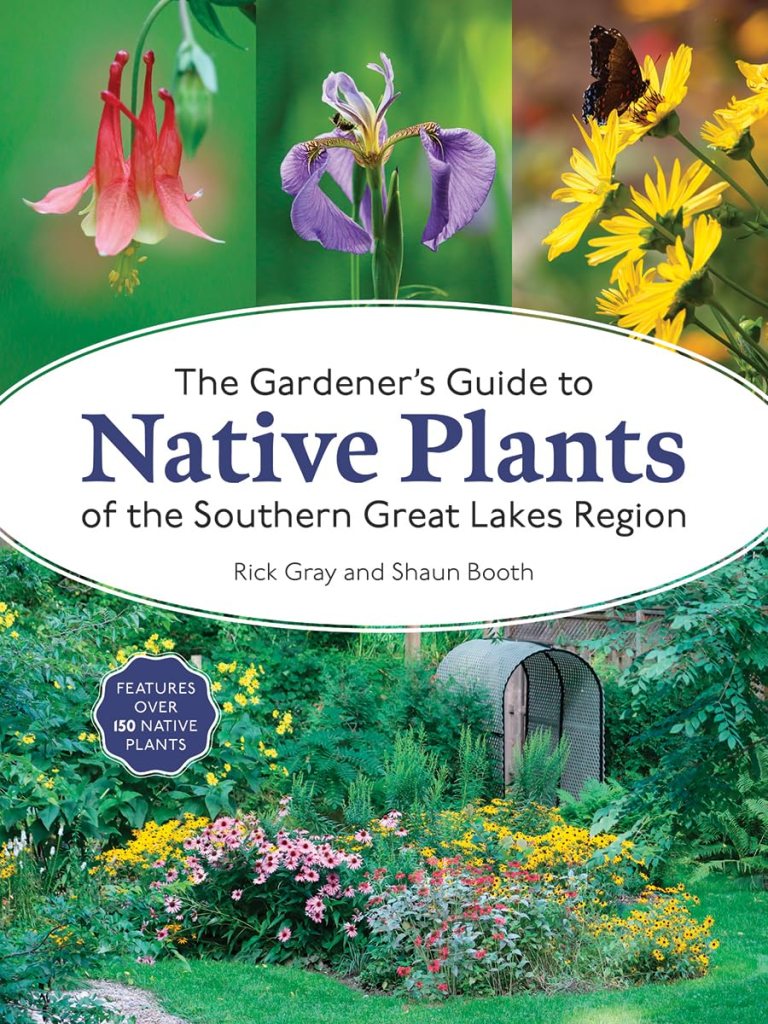
The Gardener’s Guide to Native Plants of the Southern Great Lakes Region
For Peterborough MG Emma Murphy, definitely this one on native plant gardening – for our region, gives everything you need to know about growing the plant, including propagation, wildlife value and what butterflies and moths it is a larva host for. For a full book review she did on Rick Gray and Shaun Booth’s book when it was published in 2024 click here.
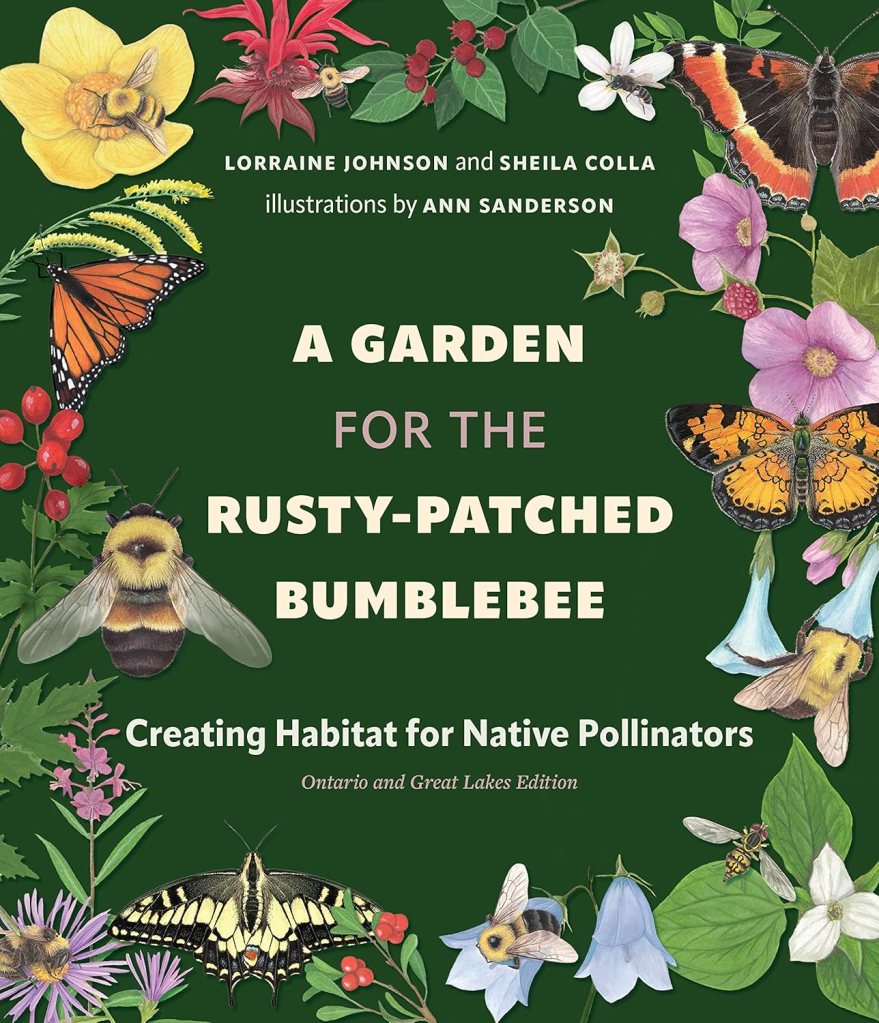
A Garden for the Rusty-Patched Bumblebee
Peterborough MG Sharleen Pratt says this book by Lorraine Johnson and Sheila Colla not only goes into great detail about Ontario native plants, vines, shrubs and trees, but it also encourages us all to think about the spaces we create so that pollinators can thrive.
For the Environmentalist
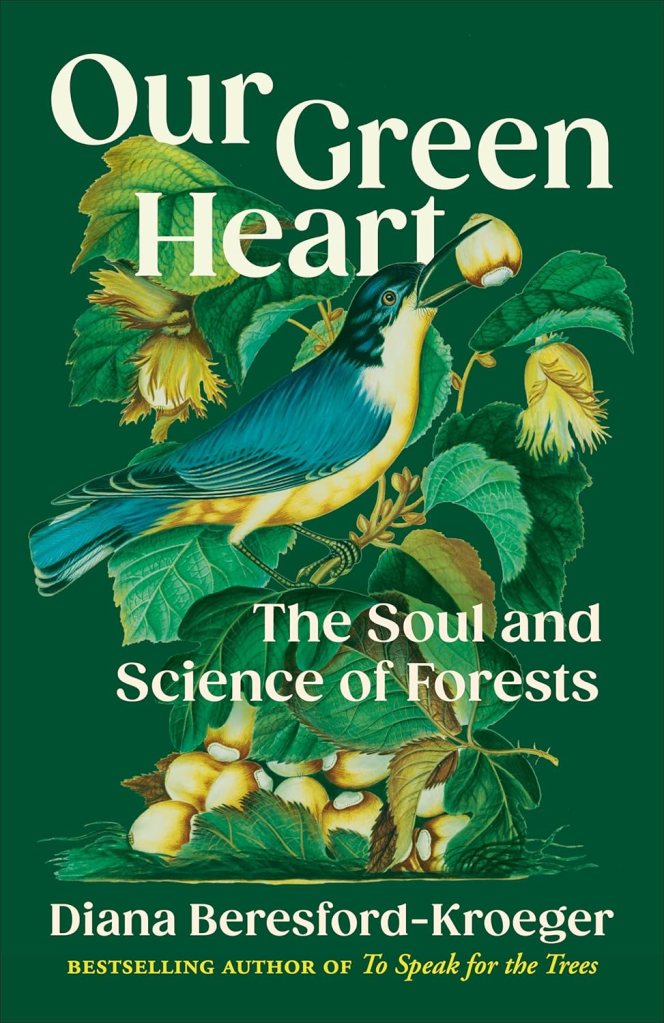
Our Green Heart
Peterborough MG Carol Ireland says it feels good to sit down and read something that requires absolute attention while at the same time causes you to make all the connections between what you are reading and the place trees have in the survival of our planet. This one by Diana Beresford-Kroeger is also on my reading list!
What is your favourite gardening book? What do you have on your list to find and read next? Eleven more weeks till spring!
Check out previous reviews on our website


