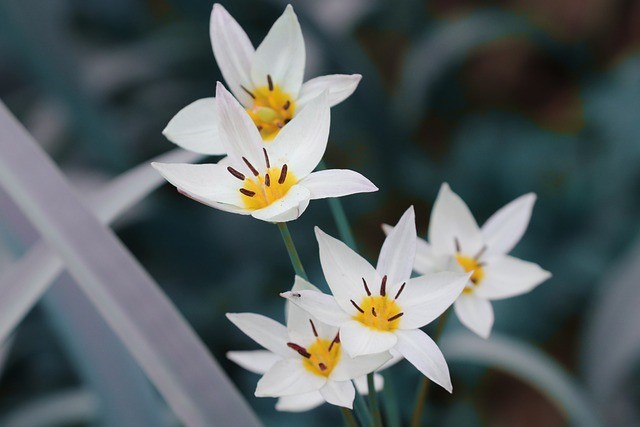
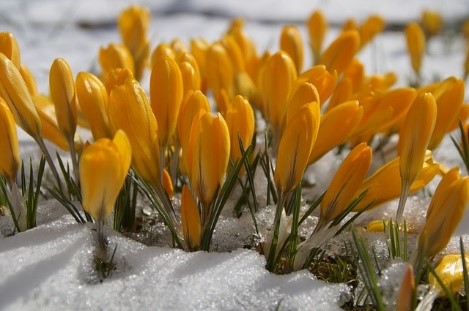
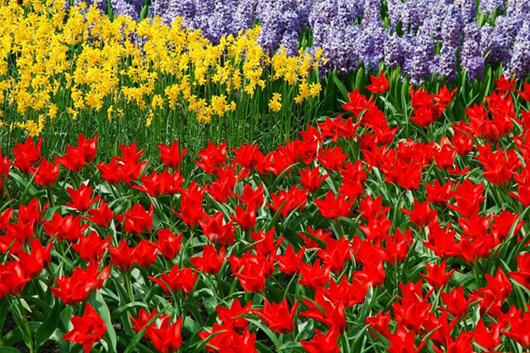
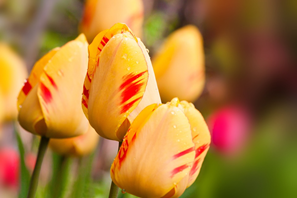
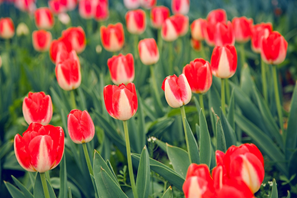
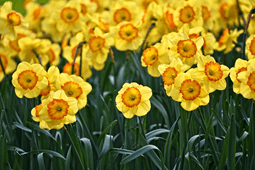
Spring bulbs are hardy plants that are adapted to survive even in cold and unpredictable weather conditions. While a late frost or spring snow may cause damage to the leaves and flowers of spring bulbs, it is unlikely to kill them altogether.
One of the main reasons why spring bulbs can survive a late frost or spring snow is their ability to go dormant during periods of extreme cold or drought. During dormancy, the bulbs store energy and nutrients in their underground structures, allowing them to survive until conditions improve.
Spring bulbs have a unique growth habit that enables them to emerge from the soil before the last frost date. They grow and develop quickly, taking advantage of the early spring sun and warmth to build up their energy reserves. By the time a late frost or spring snow arrives, most of the growth and development has already taken place, minimizing the impact of the cold on the plant. You may lose any blooms at the time of the adverse weather, but new blooms will likely wait until the weather changes again, and it will!
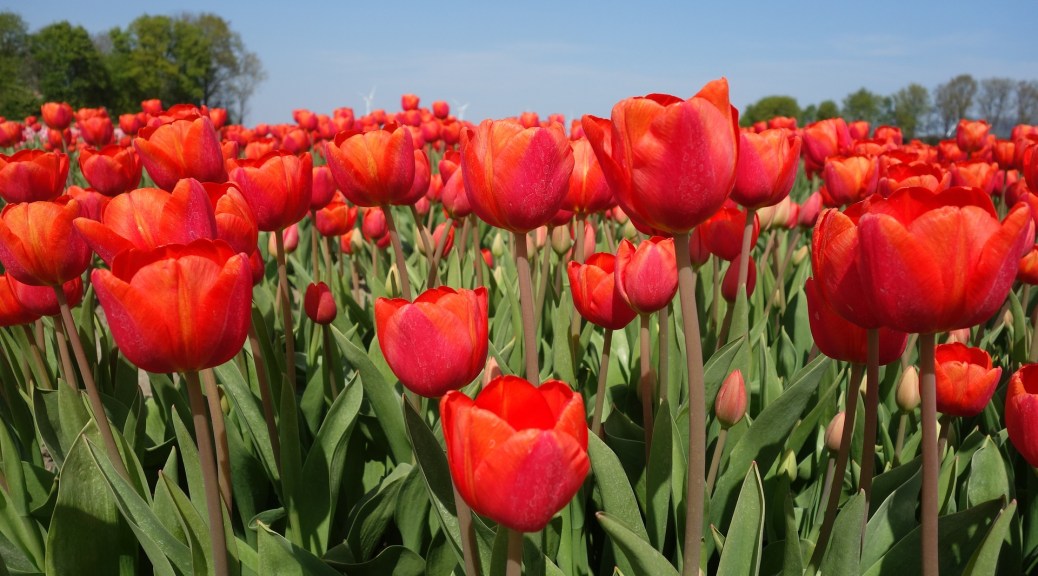
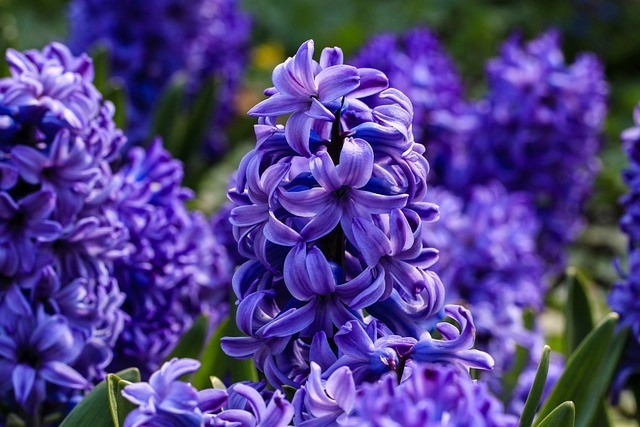
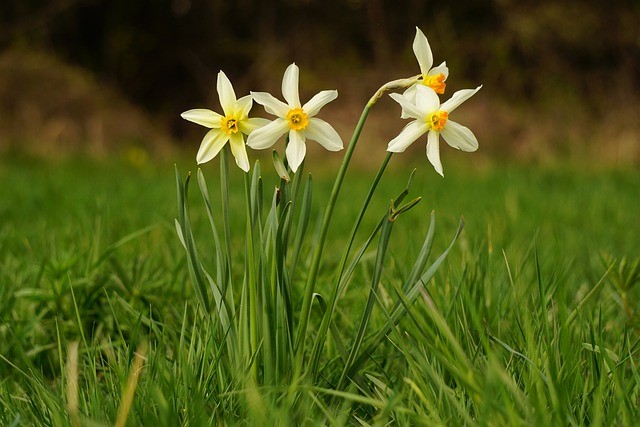
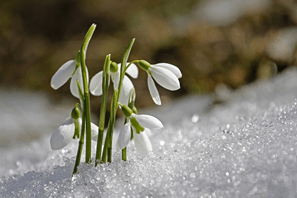
Snowdrops, hyacinths and some daffodils seem to be particularly resistant to cold, wet spring precipitation. Tulips and lilies are a little more prone to damage once they’ve formed buds or blooms. If a hard freeze or extended cold period is in the forecast, it may be wise to cover budding or flowering tulips and lilies to ensure that you get to enjoy their blooms this year. Make sure that you uncover them if daytime temps rise above freezing. If they’re not budding or blooming, no covering is necessary as the foliage is quite robust.
When planting spring bulbs in the fall, make sure that they are planted deep enough in the soil to avoid the worst effects of a late frost or spring snow. This means that even if the surface of the soil is frozen or covered in snow, the bulbs remain insulated and protected underground.
If frost damage does occur, don’t cut off the leaves as bulbs need even damaged foliage to feed the bulb for next year’s blooms!
In conclusion, while a late frost or spring snow may cause some damage to spring bulbs, they are unlikely to be killed off completely. These hardy plants have developed a range of adaptations to cope with the unpredictable and often harsh conditions of spring, allowing them to survive and thrive year after year.
Can spring bulbs be planted in late winter/early spring and still bloom? The answer is yes!
Perhaps you forgot to plant your spring bulbs in the fall (as is customary and recommended), it is better to take your chances now (late winter) and plant the bulbs rather than waiting for next fall as bulbs may not survive out of the ground this long.
Regardless of your circumstance, if you have “stray” bulbs still in your possession and they have been stored properly…you can “force” (or “trick”) your spring bulbs into blooming.
Bulbs can be divided into two groups, those that require a chill period, and those that don’t. For those that do require chilling, this chill period is less than what the bulbs would experience in the ground in a typical Ontario winter.
To force cold hardy bulbs into bloom you must first encourage them to produce new roots. This is accomplished by keeping them cool and moist for a period of time. Dropping the temperature during the cooling period to mimic the shift in soil temperatures that occurs naturally during the winter is a very effective method to encourage rooting, but can only be accomplished if you have the right set up (separate refrigerator, etc…).
Regardless, a proper cooling period that is around 40 degrees F (4.5 degrees C) throughout should be satisfactory to stimulate rooting and subsequent flowering.
Here is what you need to do:
Step
Notes
Ensure that those forgotten bulbs are still good.
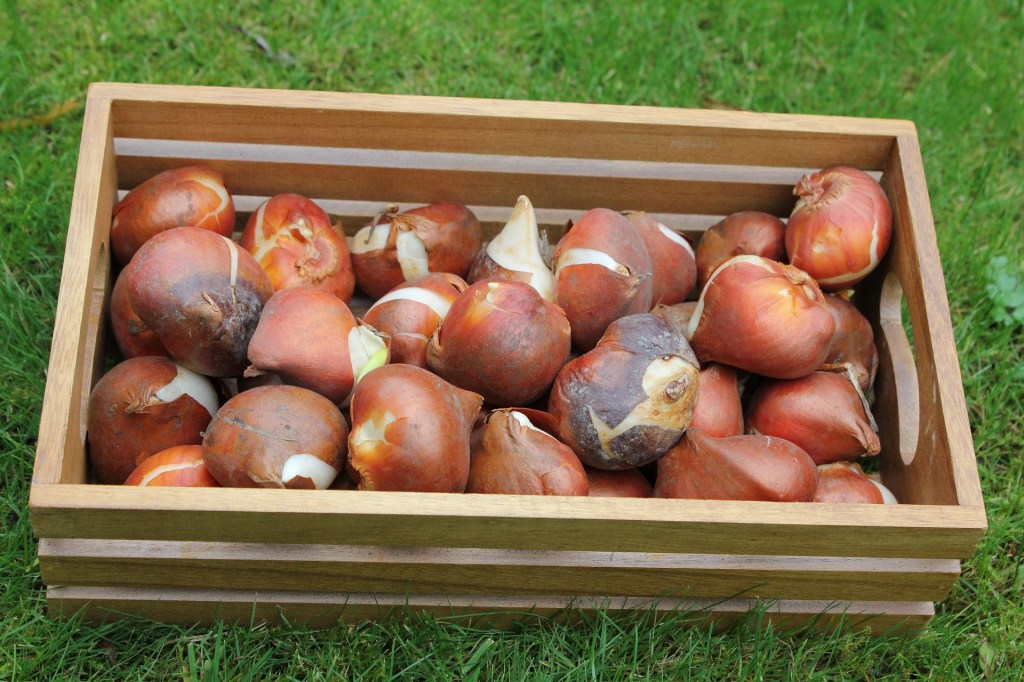
If they have been stored in a cool, dry and dark location (and even better in a paper bag) they should be okay. Bulbs should be plump, firm and dry. Any sign of softness or evidence of mould signals that they are likely better in the trash can.
Pot the bulbs in a well-drained potting mix according to depth requirements for that bulb. Space the bulbs much more closely than you otherwise would have (almost touching).
Any pot can be used as long as there is 3-4” of soil under the bulb for rooting. It is recommended that “soil-less” potting mix is used as this allows excess moisture to drain away preventing potential growth of pathogens.
Water well and place in a cool dark spot (not freezing) for the required cooling period (see Table 1 below). Check moisture levels during this period and water if top is dry to the touch.
Although the ideal rooting temperature varies, most bulbs do best if stored at 40-60 degrees F for 3-4 weeks after potting, and then 32-40 degrees for the balance of the cooling period, mimicking the actual change in seasons. However, most bulbs will do well if the temperature is maintained close to 40 degrees F for the duration of the chilling period.
Check for rooting after the recommended chilling time.
Look for fleshy white roots in the bottom of the pots. Pots can stay in the cool zone until you are ready to bring them in of pot outside.
Bring the pots into the warmth/light in the house.
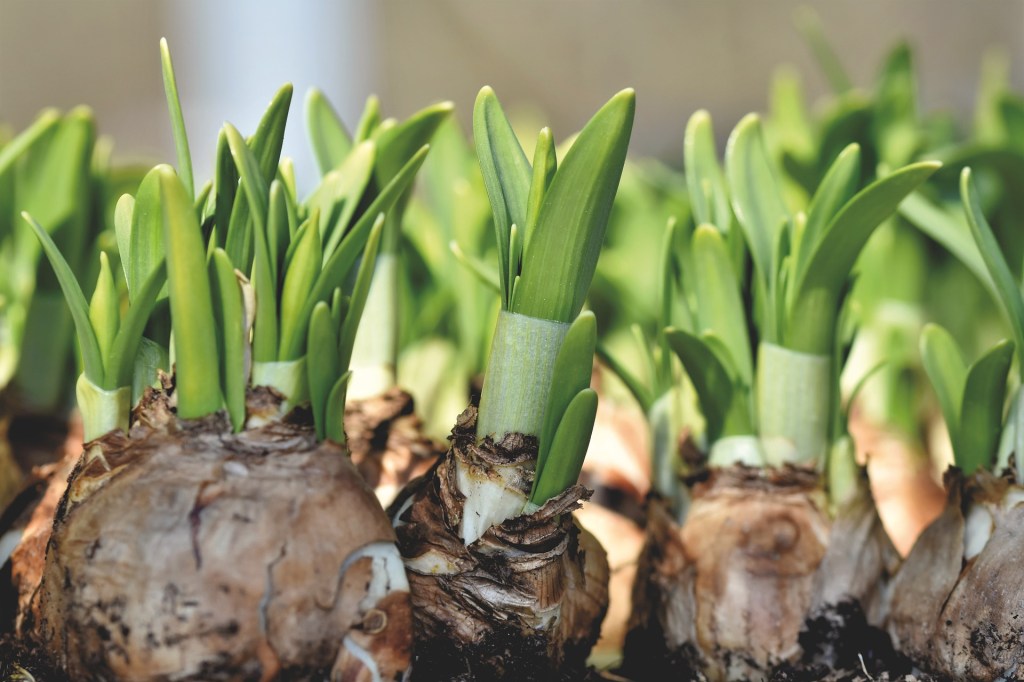
Ideally a sunny window in a cooler room (~65 degrees F). The bulbs think that spring has arrived and will sprout and ultimately flower in ~ 2-5 weeks.
Once the bulbs sprout and flower, they can be transplanted into larger outdoor containers outside.
They can also be transplanted into the garden directly at this point, maintaining the same depth
If grown in containers outside, remember that just like bulbs in the garden, allow them to completely die back (including the foliage).
Bulbs need all of the energy from the stems in order to replenish and store energy in the bulb for next years growth/bloom.
Note: Bulbs can also be chilled in a refrigerator where the temperature can be turned down after 3-4 weeks to truly mimic the changing seasons. However, ensure there is no fresh fruit in the same refrigerator as the ethylene gas produced can affect flowering.
Table 1. Recommended Rooting Times by Bulb Type
Bulb Type
Planting Depth
Cooling Period
Anemone
4 inches
8-10 weeks
Crocus
4 inches
8-10 weeks
Hyacinth
6 to 8 inches
12-14 weeks
Narcissus (Daffodil)
6 to 8 inches
14-17 weeks
Snowdrops
3 inches
10-12 weeks
Tulip
6 to 8 inches
14-16 weeks
Keep in mind that forced bulbs planted into the garden may not bloom the subsequent year. However, in the end, it may be better to try and “trick” your spare or forgotten bulbs into blooming this spring and enjoy them rather than take the chance that they are spoiled by next Fall.
Amaryllis (Hippeastrum spp) is a beautiful flowering bulb that is native to South America. In Canada, we have traditionally considered it as “The flower of Christmas/Winter Bloom” and as such it is often given as a gift and sold during and for the holiday season.
Due to our harsh climate, the Amaryllis has been considered largely as an indoor plant that brings beautiful blooms (and great joy) into our homes during the cold and often grey days of winter. However, with some care, patience, and appreciation for the process, you can enjoy your prized Amaryllis for perhaps as long as 25 years (if you are lucky!!).
How to Enjoy Your Amaryllis Year Round
The trick to year-round enjoyment is ensuring that the Amaryllis bulb experiences a “cool period” (~50-55 degrees F) for 8 to10 weeks before attempting to bloom/rebloom. This “rest period” (not a true dormancy) is critical but can be accomplished through careful planning – enabling both a winter and summer blooming period to occur year after year. The Amaryllis can be enjoyed indoors during the winter months or in a spectacular garden display during the summer.
When to Grow Your Amaryllis
You can determine the best timing to plant, depending upon when you would like to enjoy the peak blooming period. The following timeline demonstrates the 3 critical periods and growth patterns for the Amaryllis. Understanding this timeline enables you to plan around when you would like to enjoy the spectacular blooms.
For example, a cool period from September through November, followed by a planting and a growth period from December through January will ensure winter blooms in January – March to bring life and enjoyment in the winter months inside your home.
Following the minimum “cool period”, you can consider when you would like to enjoy the blooms again, remembering that the bulbs require a warm moist growing period of ~ 8 weeks with bright indirect light before they will bloom again. Therefore, if planting outdoors to enjoy summer blooms, the bulbs may need to be started indoors where the temperature is warmer (70-75 degrees F) to stimulate the necessary growth of roots and shoots.
How to Grow Your Amaryllis
Here are some growing tips to ensure success:
Upon purchase or when coming out of the “cool period”, soak the bulb roots for 1-2 hrs in room temperature water to rehydrate the roots before planting.
Depth: Plant the bulb 2/3 under the soil with 1/3 above the soil line ensuring that the bulb is above the pot edge.
Soil: use a good nutritious potting compost that has good drainage (avoid peat to prevent moisture retention that could cause rotting).
Water sparingly until the stems appear, and then regularly
Light: bright indirect light; keep warm with a temperature 70-75 degrees during the growing period (Note: a lower temperature ~ 65 degrees once blooming will prolong the blooming period)
Staking: stems can grow >24 inches and blooms are “top-heavy”. Staking is recommended. Consider using a natural twig/dogwood staking mesh (see below) which can later be covered with evergreen/holy sprigs pinecones and cranberries for a beautiful table display.
Enjoy!!!!
Replanting
The leaves of the Amaryllis are needed to continue photosynthesis and replenish and store the necessary food/sugars in the bulb for future blooming…so remember to keep them intact until they die back. Some tips for replanting…
Remove old flowers right away (so that plant energy is redirected)
Trim stem to the top of the bulb when it begins to sag
Cut back leaves (only when they turn brown) to 1-2” above the bulb tip
Remove the bulb from the soil (new nutritious soil will be needed for regrowth)
Clean bulb of excess soil and store in a 45-55 degree cool, dark area until ready to plant. (Note: a fridge crisper can be used…but not if apples are present due to ethylene gas that could affect blooming).
Summary
Enjoying your Amaryllis blooms both summer and winter is possible for any enthusiast. Although it requires some planning and work, the pay-off can be extraordinary.
A mass planting with 10-12 bulbs (or more) outdoors in summer can be easily converted to beautiful indoor displays throughout your home during the holiday season – bringing joy and the anticipation for spring gardening into our hearts and minds during the deep winter months…
Although this may sound shocking to some and possibly enticing to others, the Naked Ladies in my garden are a welcome arrival at this time of year. It is not so much that they are truly naked, they are just minus their leaves. Naked Ladies, Autumn Crocus and Meadow Saffron are all common names for a bulb-like corm called Colchicum autumnale that produces leaves in the spring and flowers in the fall. Over the summer the plant appears dormant but by late August or early September it starts pushing up beautiful mauve flowers with 6 showy stamens, all atop white stems. Colchicumautumnale likes organically rich, well-drained soil and sun to part shade conditions. https://onrockgarden.com/index.php/plant-of-the-month?view=article&id=92:colchicum-autumnale&catid=22
This is a sentimental plant for me as years ago I dug up the corms from my grandparents’ garden. I remember they were still a mass of blooms at Thanksgiving. But as much as they mean to me, they can be a garden design challenge. The leaves that are produced in spring grow a good 25-30 cm and then go through a bit of a collapse as they die off. At that point you are left with a hole. The flowers grow to be about 15-20 cm tall and could easily be overwhelmed by larger plants around them. I have my most favourite site for them at the base of a Witchhazel shrub which is close to a garden bed edge. There are a few rocks surrounding the area where the plants are sited and otherwise, I leave the area bare. The photo I have included is a previous arrangement but I found the leaves in spring overwhelmed the Heuchera, so the heuchera have been moved out a bit. The other photo shows the leaves in spring.
Colchicum autumnale in fall
You may find corms for sale in the fall or perhaps you know someone who wants to divide up their clump. They can easily be divided every few years and speaking for myself, I am happy to share. The ladies in my garden are trouble free and never disappoint.
At this time of year, it is difficult to get excited about spring when we know what must come first … fall then winter! However, late summer is exactly the time to think about spring bulbs because they must be planted in the fall in order to bloom the following spring.
As with all plants, you need to take into consideration the amount of light needed, soil and moisture requirements. Most bulbs require full sun to part shade, well drained loam soil and watering when dry. Note that bulbs may rot when over-watered.
Some sources suggest adding bone meal to the planting hole. Bone meal adds phosphorus to the soil which may encourage bulb growth but may also harm some of the other beneficial soil constituents. It is prudent to test your soil first.
Plant bulbs with the pointed end up and to a depth of 2-3 times the diameter of the bulb. You may sprinkle blood meal over the planting site or cover with chicken wire to discourage squirrels and chipmunks from digging them up.
Plant your spring flowering bulbs any time between September to December … as long as you are still able to work the ground.
Spring flowering bulbs are lovely in a formal garden as well as in more natural settings. For naturalization of spring bulbs, please see Bulbs for Naturalizing.
Now the really fun part, what to choose! Check at your local nursery to see what they have in stock and/or what they may be ordering in. Choose large, undamaged bulbs. It is also likely that your favourite on-line supplier carries spring flowering bulbs. I would suggest that you do this well before you plan to plant to ensure that you are able to get what you want.
Tulips – We are all familiar with the large colourful, showy tulips. Their blooms may be cup shaped, fringed, double or ruffled. This fall, I plan to plant some, new-to me species tulip bulbs. While species tulips are smaller than the tulips that we are most accustomed to, they are colourful, very hardy and have a more open flower.
Hyacinth – You can not beat the magnificent fragrance of hyacinth blooms in the spring. They come in several colours, single or double and are accompanied by strong, strappy leaves. Hyacinths also produce nectar so provide food for some of our early foraging pollinators.
Narcissus – The spring flowering bulb, in the genus Narcissus, is more commonly called a daffodil. Bloom colours range from bright yellow to cream to white and combinations of these colours. Daffodils are cheerful flowers. I always smile when I see them especially in a natural setting.
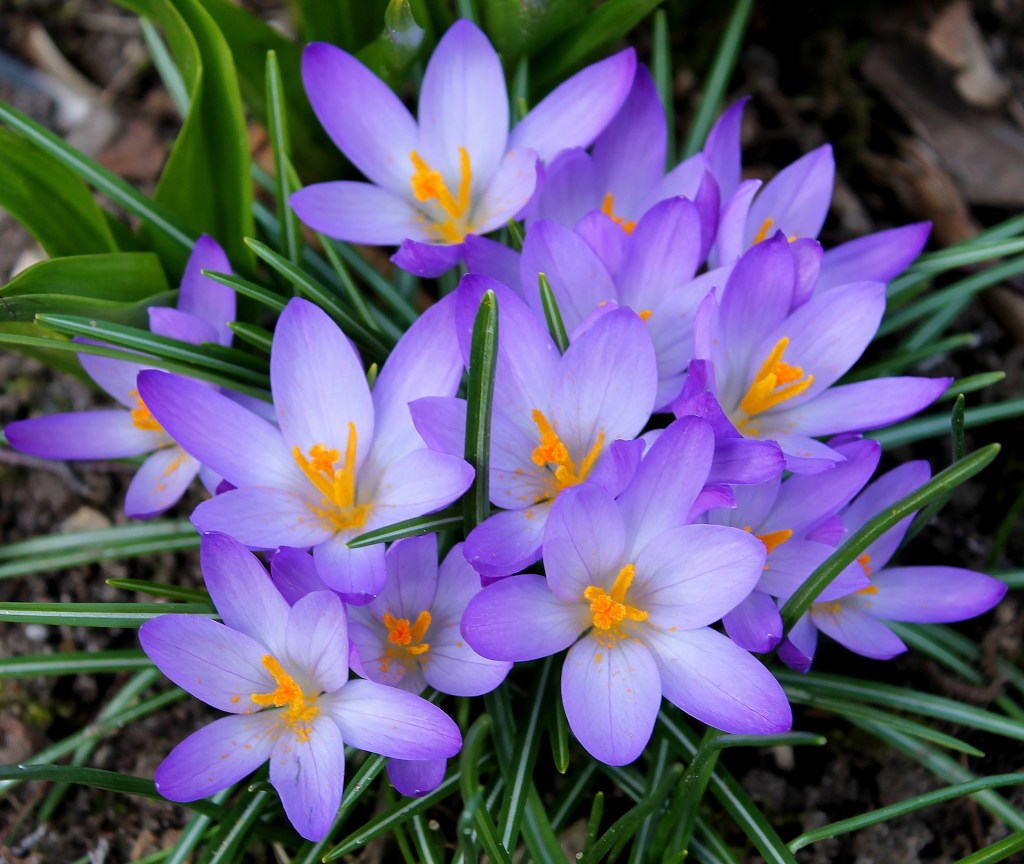
Crocus – Crocus “bulbs” are actually corms. What is the difference??, check here. These are probably the first of the fall plantings that you will see in the spring. Crocus blooms are tube shaped and come in various colours. The plant is low growing and does well when naturalized.
The above are some of the more often seen spring flowering bulbs but there are more. Please see Landscape Ontario for additional suggestions.
A riddle, wrapped in a mystery inside an enigma. Winston Churchill’s famous quotation is the way that I as a novice dahlia grower feel about this subject. So many variations exist. Can they all be correct?? The answer to this mystery seems to be fine tuning a storage method to suit your own situation, which means some trial and error. So, expect some losses at first.
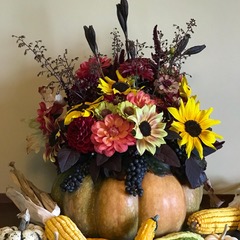
Pumpkin centrepiece with year end flowers
When to dig? Conventional advice says to wait for the frost but this year’s fine weather made other alternatives a consideration. Dahlias originate from the mountains of Mexico where the fall is semi-arid. It is the lack of water that causes the plant to go dormant. Here that happens either with a killing frost or by cutting the plant down. Both cause the onset of dormancy and once begun, the tubers underground start to set “eyes”. Leave the tubers in ground for 1-2 weeks before digging (this also helps the thin skinned tubers to toughen up, which helps them store better).
Divide now or in the spring? This is entirely personal preference. Dahlia are easier to split in the fall as the stalk hardens over winter. However, the eyes are easier to see in the spring. If you choose to split in the fall, tubers will need washing and drying before splitting. For plants being overwintered as a clump, knock off excess soil and let dry before storing. Some sources conjecture that the fine covering of soil helps to protect the tubers from shriveling over the winter.
Successful dahlia storage is a balance between the right temperature range and the relative humidity. Ideally, dahlias should be stored around 45 to 50 F and at a RH of 75-85%. The method you use should try to ameliorate the conditions you are storing in. For example, the dryness of the air in winter in Ontario means that shriveling of tubers is more of a problem than rot. Use of a packing material such as vermiculite or wood shavings can provide a more stable environment, absorbing excess moisture when necessary and giving back when needed.
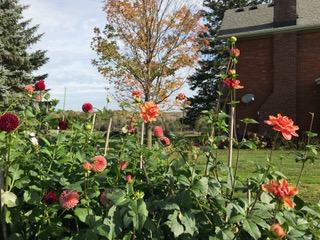
Last of dahlias on a sunny October day
Specifics of various techniques are referenced for your information. I have decided to try 3 methods. I am going to split some this fall and store using the saran wrap method as well as in vermiculite in plastic tubs. I will also leave some in clumps with a slight covering of earth, pack in vermiculite in a large plastic tote. I lean towards the plastic tubs as my basement in quite dry in the winter so am concerned with moisture retention. Don’t forget to check your tubers over the winter and remove any ones with rot or spritz with water if they appear to be shriveling.
Spring bulbs are one of the most rewarding of garden plants. For very little maintenance, they show off their grandeur year after year while announcing the arrival of spring and a strengthening and more powerful sun.
“The more, the merrier” is my motto when it comes to bulbs. From snowdrops to crocus to daffodils to hyacinths to tulips, they all provide a show in the garden for very little effort, and they chase away the late winter browns. You likely have more room for bulbs than you think because you can plant them underneath perennials and shrubs that will hide the bulb foliage while it is dying down in late spring.
Spring bulbs are planted in between September and frozen ground during the year previous, and they spend the winter underground preparing for their showtime when the snow fades away. You’ll find bulbs of all types for sale in that timeframe at your local nursery centre, in supermarkets and in big box stores.
The secret to being able to plant more bulbs each year in the fall is to know what you have growing already and where. This spring: take pictures and more pictures so that you know where these reliable soldiers are and you can then avoid shoveling into an existing clump this summer.
Pictures are also helpful when it comes time to divide those happy but oversized clumps of bulbs. When the flowers begin to decrease, it’s time to divide and replant. The best time to do this is when the foliage has browned in late spring. Dig up the clumps, being careful to dig deep enough so as to not slice them into pieces by mistake. Replant a few immediately and store the rest in a dry place until the fall.
An alternative to pictures is to come up with a “bulb marking system” — I use green metal miniblinds to mark my bulbs. Unfortunately, the miniblinds do travel sometimes so I need to reinstate them in the spring if that has happened. The markers are a visual reminder that although it appears later in the summer that a particular location is bare, it is not and you’ll avoid having to replant those spring beauties.
If you purchased forced bulbs in the supermarket in February (like paperwhites, daffodils or tulips), these can be planted out into the garden that same year. After the greenery has died back, store them in a dry place until the fall and then plant them with other purchased bulbs.
For autumn planting: Choose the site for your new bulbs and prepare the area with compost and bone or blood meal. I usually plant 5 or 6 in a group initially for tulips, daffodils and smaller bulbs like crocus.
If squirrels and chipmunks are bothering your tulips after planting, try cutouts of 1″ chicken wire planted into the soil just above the bulbs. The bulbs will happily grow through the mesh next spring but the critters can’t dig past the wire mesh.
If squirrels are bothering your tulips in the spring, try daffodils instead. You could also try planting allium bulbs with your tulips as they emit an odour that the critters do not like. Other suggestions are some raw onions cut up and scattered around the bulbs or tall chicken wire cylinders, even if they are unsightly. Might be worth a try.
Lastly, you may also choose to embark on a squirrel-feeding program during bloom time to discourage the striped and bushy-tailed rodents from munching on your blooms in favour of yummy peanuts. Be aware, though, that this may actually encourage more squirrels to your buffet!
Exploring gardens around the world makes the winter pass so much faster
By Emma Murphy, Master Gardener
I have the February blahs. Although I am absorbing each minute of our ever increasing daylight (when it’s not cloudy!), I’m craving lush greenery and blooms anywhere I can find them. I spent part of yesterday looking through some trip photos to Florida from 3 years ago where I visited just about every botanical garden and specialty garden I could find – it was heaven!
Clockwise from top left – Flame Vine (Pyrostegia venusta), a bromelaid (Hectia montana), orchids in greenhouse at Selby Gardens – all taken in Florida
So..the solution..virtual garden tours! So many wonderful botanical and famous gardens have adapted to not being able to have guests by launching virtual tours or live broadcasts from their locations since the pandemic. Here’s a few of my favourites.
Time to travel around the world from your living room. (additional links at the end).
Keukenhof, The Netherlands
Built in 1641, the Keukenhof Castle (west of Amsterdam in the Netherlands) and estate is more than 200 hectares. In 1949 a group of 20 leading flower bulb growers and exporters decided to use the estate to exhibit spring-flowering bulbs. 2021 will be the 72th edition of Keukenhof, with A World Of Colours as its theme. Check out their virtual tours and the initial invitation by Managing Director Bart Siemerink in March 2020.
The Keukenhof Gardens in full colour.
Claude Monet’s Garden, Giverny, France
Over 500,000 people visit painter Claude Monet’s famous gardens each year (so glad to be one of them in 2018!). There are two parts to the garden – the Clos Normand flower garden in front of the house and a Japanese inspired water garden on the other side of the road (where he completed his Water Lilies painting series). Enjoy a commentary alongside a video tour of the famous garden, including the wonderful lily pond. More info here.
Monet’s Water Garden
National Trust’s Hidcote Manor Gardens, England
The National Trust site allows you to take a 360-degree tour around the old garden, plant house and spectacular red borders of these Arts and Crafts-inspired gardens in the rolling Cotswold hills in Gloucestershire.
Hidcote Gardens
Scotland’s Garden Scheme
One of my favourites. Established in 1931, it helps garden owners across the country open their private gardens to the public to raise money for charity. The properties range from cottage gardens to stately homes; allotments to therapeutic and physic gardens; and formal gardens to wildlife sanctuaries. There are more than 100 tours to look at here.
A Scottish country garden.
Australia’s Blue Mountains, New South Wales
Further afield in Australia’s Blue Mountains just outside Sydney, artist Trisk Oktober’s steep, cool temperate gardens in Katoomba are transformed into a living artwork. I visited the nearby Mount Tomah Botanic Gardens in 2010 and it was magical. It’s also the only botanic garden within a United Nations World Heritage Area.
The view from Mount Tomah Botanic Gardens of the Blue Mountains
Hawaii Tropical Botanical Garden, Hawaii
Located on Hawaii’s Big Island, the Hawaii Tropical Botanical Garden includes not only a garden but a nature preserve. If you need to zen out and feel like you are on a tropical island, this is the tour for you. And this one.
Plumeria flower
Longwood Gardens, Pennsylvania, USA
Closer to home across the border is Longwood Gardens, consisting of 1,077 acres of gardens, woodlands, and meadows. It is the living legacy of American entrepreneur and businessman Pierre du Pont, inspiring people through excellence in garden design, horticulture, education, and the arts. The Our Gardens, Your Home initiative is their way of keeping gardeners connected.
Longwood Gardens
There are so many more virtual garden tours going on around the world.
Lewis Ginter Botanical Garden, Richmond, Virginia, USA
This botanical garden was one of the first to go virtual when the pandemic started. They have great virtual tours and visits and a terrific Facebook page.
On my bucket list when we can travel again, this video gives you some of the highlights to see. The Royal Botanic Gardens at Kew has 37 acres of woodland, 14,000 trees and 50,000 different plant species.
Wisley Gardens, Surrey, England
The Royal Horticultural Society’s garden at Wisley in Surrey (south of London), is one of five gardens run by the Society, and top of my list of gardens to see. Check out their website, and also they have a great collection of videos on YouTube.
If you’ve found a great virtual garden tour please share it with all of us in the comments! Spring will be here soon!
As I type this, we in central Ontario are in the midst of a burst of spring-like weather, and it’s supposed to continue for a few days yet. It gives us all a second chance to finish fall chores not completed when the snowfall and killing frosts hit in the last few weeks.
Author’s recently received Breck’s bulb order, still in the box!
If, like me, you failed to get all of your tulips and daffodils planted, do not worry. As long as you can get a shovel in the ground it’s OK to plant spring flowering bulbs. Some pros suggest they actually do better if planted when the ground harbors a bit of frost, so take advantage of those late season sales and plant away. Also, by planting later, you may experience fewer issues with squirrels stealing your bulbs. The arrival of snow doesn’t mean you’ve missed your chance, either. If the ground hasn’t completely frozen yet, you’re in luck, even if you have to break through the frozen crust first.
If you regularly find that squirrels munch on your buffet of bulbs, you may wish to purchase some “chicken wire” at your local co-op store. Cut a small round circle about the same size as the hole you’re going to dig. Plant the bulbs at the recommended depth, and then cover with some soil up to about 2″ from the surface. At that height, plant the chicken wire, and cover over with a bit more soil and mulch. The added benefit of the chicken wire is that should you forget where you planted tulips next summer after their foliage has died back, the chicken wire will be a good reminder when you hit it with your shovel. The bulbs will happily grow through the 1″ holes in the wire next spring.
An amazing purchase of mine a few weeks ago is a small cordless drill auger attachment. It works wonders to create just the right size of hole for my bulbs, with very little effort. Mine is only about 6″ tall and makes about a 2″ hole. I move it around a bit to make the hole just big enough for 5-6 bulbs. Worth the $10 investment, for sure.
Remember: Bulbs are not seeds. They are alive and need to be planted in the fall. They will not last in storage — or that sack on a shelf in the garage. They require somewhere between 13-14 weeks of sub-zero temperatures before they’ll bloom next spring.
So what do you do if you find a bag of bulbs in January? There is a method of bulb planting that can work even during the coldest winter. It’s called the “no-dig” method. Simply move the snow away from your chosen location and place your bulbs on the frozen ground. Cover them with a bag or two of garden soil to a depth of three times the height of the bulb, and that’s it! The bonus of this method is that the soil above the bulbs will likely freeze quickly, and squirrels won’t harvest half of your crop. This method also works in areas where there are so many roots that digging a hole for bulbs is challenging. Try it!
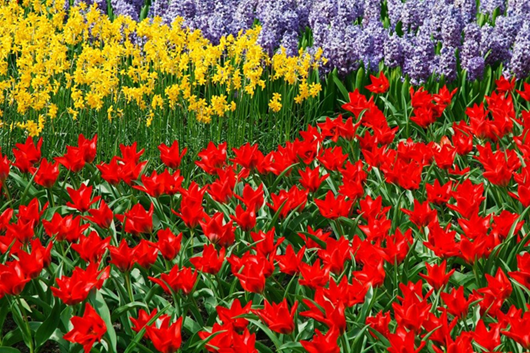
Nothing compares to walking through a garden in spring with the heady scent of hyacinths wafting through the air! Hyacinths not only have an incredible fragrance but they also have beautiful blooms and glossy green strap-like leaves. Their wonderfully scented flowers provide early nectar for pollinators. They bloom in spring (mid-March – early May) and their flowers come in a rainbow of colours. Another great thing about hyacinths, they are deer and rabbit resistant. For more, check here Hyacinth.
We are all familiar with tulips but did you know that there are now so many varieties that you may plant a tulip garden that begins blooming in early spring and may continue into June depending on the planting location and variety. Tulips too come in a multitude of colours and shapes … some are also fragrant. Unfortunately, squirrels and chipmunks appear to love the taste of tulip bulbs so try covering them with chicken wire, or try sprinkling the planting site with bone meal or chicken manure, to keep the little critters away. For more, check here Tulips.
Daffodils, also known by the fancier name narcissus, are long lived often continuing to appear each spring at old homesteads well after the original inhabitants have moved on. They too come in many varieties with different flower shapes and colours including yellow, white, red, orange, green or pink. Daffodils will grow in sun or shade and naturalize amazingly well. Also good to know that daffodils are not of interest to squirrels or chipmunks and, when planted interspersed among other more susceptible bulbs, may help to keep rodents away. For more, check here Daffodils.
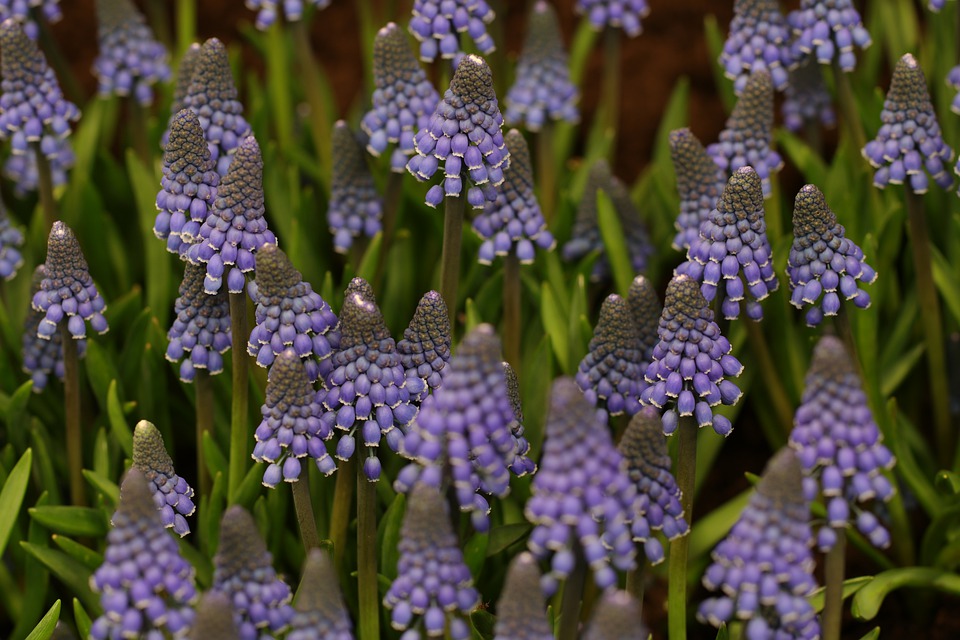
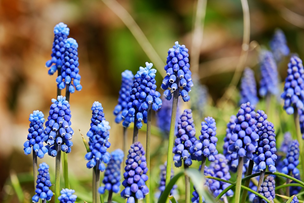
The diminutive Muscari, or grape hyacinth, are not a variety of hyacinth although they are in the same family. Muscari also readily naturalize. Because of their small size, plant lots for the best spring show. For more, check here Muscari.
Snowdrops are another diminutive plant that will be the first bulb to bloom in your garden perhaps even through the snow as their name suggests. For more, check here Snowdrops.
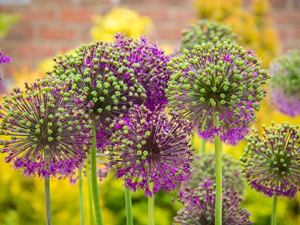
Alliums bloom late spring to early summer so a bit later than many of the bulbs already discussed. Their unusual flowers can be quite striking as their globe shapes nod in the breeze. Don’t be surprised if you purchase an allium to find that they are usually sold singly and may be more expensive than many other bulbs. For more, check here Alliums.
Bulb Care
Most spring flowering bulbs are planted in the fall (September or October) before the ground freezes.
Purchase the largest, best quality bulbs that you can find. Large bulbs have lots of food energy for the emerging plant which will result in strong stems and large flowers. Avoid bulbs that appear to be soft, damaged or discoloured. Check on the product package to make sure that you have chosen bulbs that will grow in your zone. If you don’t know your gardening zone, find it here Canadian Gardening Zones
Plant bulbs in full sun (6-8 hours/day) to produce the largest blooms and strong straight stems. However, many will flower in light shade … blooms may not be as large and stems may not be as strong.
Follow the package directions for planting your bulbs.
Bulbs need time after blooming to store energy for the next year. To remove the dead leaves, either snip them off at the base, or twist the leaves while pulling gently.
Some bulbs will not flower as robustly the second year eg. hyacinths. Some gardeners treat these as annuals, removing the bulbs after flowering and planting fresh bulbs each fall. Note that many bulbs are toxic so store them appropriately so that your pets or little people are not able to access them.
Plant them now! A spring garden with a mixture of different bulbs looks lovely! Plant bulbs along a path or close to your home’s entrance to be able to enjoy their dramatic scent. They will also add a burst of colour to your perennial garden before other early flowers are up. A mass planting of spring flowering bulbs will make a bold statement in your garden!