By Christine Freeburn, Master Gardener
When we are using plant nomenclature, there are a couple family names for the evergreens we love and include in our winter decorating. Phinaceae includes hemlock (Tsuga), spruce (Picea), pine (Pinus) and fir (Abies). Cedar (Thuja) and cypress are in the Cupressaceae family.
One good way to identify evergreens is to look at the needle arrangement. Pine needles are bunched together in two, three or five groupings rather than single needles like hemlock or balsam. Spruce needles are four sided, so when you roll them in your fingers you can feel the sides.
Cone size and shape also helps with evergreen identification. PIne cones hang down as do spruce cones, but spruce cones are flexible while pine cones are stiff and more woody. Balsam cones grow upwards.
Native Evergreens
White Pine (Pinus strobus) has 5 needles bunched together which can be up to 15 cm long. They give the appearance of being wispy and soft. These boughs flow over your container, giving it shape.
Red Pine (Pinus resinosa ) has needles in bunches of two that will snap if bent. Needles tend to be stiffer than white pine and are longer. These branches can be the “bones” of your container, including the centre piece.
Ontario Cedar (Thuja occidentalis) has a lighter underside to the fan-like branches which give a pop of lime green colour to your display. It also drapes nicely in your arrangement.

Balsam Fir (Abies balsamea) has smooth, flat needles that are soft and aromatic. Balsam are the most popular tree for live Christmas trees because of the soft needles and bushy appearance. Adding another texture to your pines and cedar gives more dimension to your creation.
Hemlock (Tsuga canadensis) is another native tree that is similar to balsam with flat needles that have a white stripe on the underside. Hemlock needles are shorter than balsam and have stalks that the needles form on. They have a lighter coloured underside.
Spruce needles are square and prickly growing all the way around the twig. Black spruce, white spruce & red spruce are native while Norway Spruce (Picea abies) are not..White spruce (Picea glauca) needles are much longer than black spruce (Picea mariana) needles.Check out this article from the Toronto Master Gardeners on the difference between white and black spruce.

Non Native Evergreens
Scotch Pine (Pinus sylvestris) is easy to spot along roadsides in the area. Needles are grouped in twos, slightly twisty, sharp and 4-8 cm long. It was one of the first trees to be brought to Canada from Europe. It was imported to help with soil erosion in the early 1900s. This tree is listed on the Ontario Invasive Species list. Its sturdy branches make it another good choice for the “bones” of your container if you don’t use red pine.
Natural additions like pine cones or dried flowers like hydrangea, sedum, sumac or allium add to the natural look. Coloured ornaments can add a pop of colour, but the textures and colours of the greens are the true stars of an arrangement.
There are boughs that you can purchase that you cannot find in the wild. BC cedar has beautiful drapey branches. Incense cedar has lovely seed pods that you won’t want to put in your indoor displays as they will burst when the warmth hits them. Carolina Sapphire Cypress, Noble Fir and Leyland Cypress will add different shades and textures. Many of us cut from ditches and our own properties. Remember if you are out cutting to do it responsibly and respect private property.
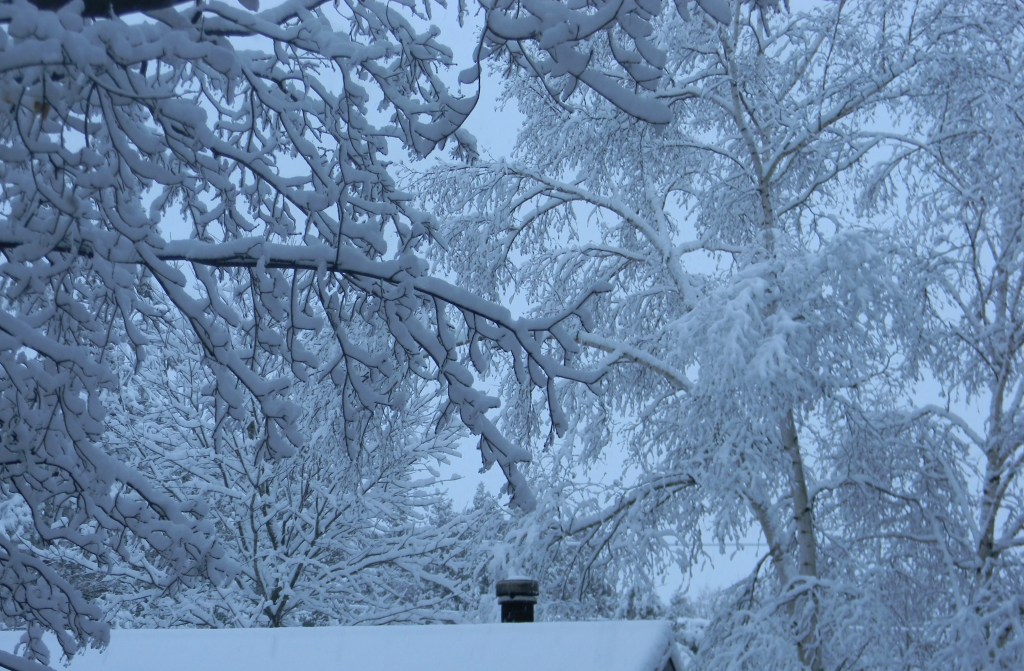
Enjoy the green of the season….along with the white of the sparkling snow.

References
Botanica North America by Marjorie Harris
GT Trees of Canada and North America by Alan Mitchell