By Mary-Jane Pilgrim, Master Gardener
Winter is fast approaching, and it’s time to prepare your gardens for the long, cold months ahead. By spending a little time this fall preparing, you can insure a healthier start to next year’s season. Here’s a checklist of fall activities to get them ready for winter before it gets too cold to comfortably work outside.


Autumn Joy Stonecrop
- In all areas, spring-flowering bulbs, such as tulips and daffodils, should be planted six weeks before you expect the ground to freeze.
- Dig and store tender summer bulbs, such as dahlias and canna lilies, after the first hard killing frost. Store them in wood shavings or crumpled/shredded newspaper in a cool, dry place.
- Stake and tie up any young trees or shrubs that may break under the weight of wet snow or ice. Use soft (but strong) ties around the bark of trees, as wire or twine can cut into the bark and cause serious damage. Place wooden tepees over shrubs growing under eaves where snow tends to fall off the roof.
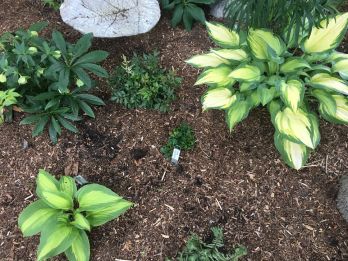
- After the first couple of frosts, hosta and daylily leaves will pull up very easily. Doing the removal in the fall means that you don’t have to deal with a slippery mess next spring.
- To prune or not to prune perennials to ground level? It’s a good idea to leave some plant material for visual interest through the winter months; ornamental grasses and hydrangeas have attractive seed heads and always look gorgeous in the winter, especially sprinkled with snow. With the exception of hosta and daylily leaves, I choose to leave everything else for spring cleanup.
- Protect hybrid roses with rose cones or bark mulch piled over the crown of the plant after a hard freeze.
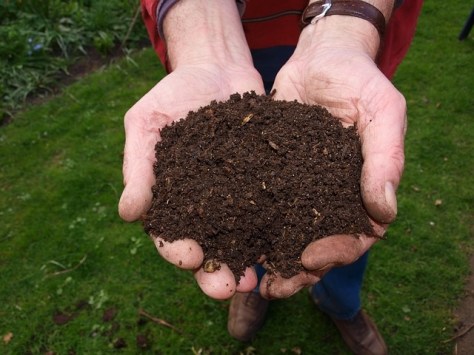
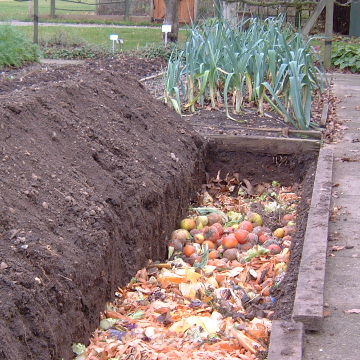
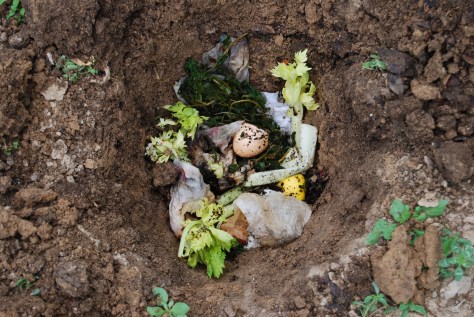
- Remove all weeds from your perennial beds, and add compost to create a good base for next year’s growth. Compost applied in the fall is better than the spring as it has had time to break down and release its nutrients into the soil.
- Move containers to a protected location when frost threatens. After a frost, remove soil and plants from containers and store ceramic and clay pots in a garage or basement. Place used potting soil in the compost pile. If the containers have perennials planted in them, consider digging a hole to bury the plant including the pot, or bury in leaves in a protected area. Potted perennials will not usually survive the winter if not buried/covered.
- Instead of raking and bagging the leaves to cart off to the landfill, shred leaves with a mower to create amazing leaf mulch which can be spread on the garden as a winter protectant. The earthworms will love the food, and the leaves will eventually break down, adding nutrients to the soil. If you decide to cover gardens with unmulched leaves, do not apply a thickness of more than about 10 centimetres (four inches). Any deeper will smother bulbs and perennials trying to grow in the spring.
- Take pictures of your gardens to assist with your dreaming and planning for the next season after the snow flies!
- As you wind down the garden season, make notes on what worked and what didn’t work, to help you plan for a successful garden next year. You are more likely to remember key points now rather than next April or May.
- Join a local garden or horticultural society. Many organizations meet over the winter on a monthly basis and provide interesting speakers who can help chase away the winter blues and provide you with great ideas for your upcoming garden season.


 Shredded leaves are also an excellent choice, but they break down faster than wood mulch and may harbor seeds like maple keys. However, earthworms love shredded leaves and will make the soil more friable and fertile with their castings. If leaves are hard and fibrous, leave them in place to decay. Oak and other tough leaves should be shredded and allowed to decay a bit before placing on the garden. Soils topped with shredded leaves will soon be crumbly and easy to plant.


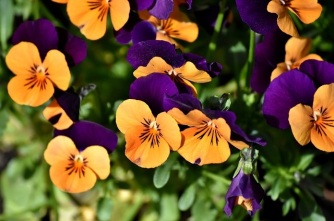 Some annuals such as pansies, dusty miller and english daisies are cold tolerant while others like potato vine and impatiens do not like temperature changes. Do not plant the latter 2 choices into the ground until all danger of frost has passed and the soil temperature has warmed. If the nights temperatures are dropping, bring your pots into your garage or cover with an old sheet to protect.